Posts Tagged ‘Gardening tips’

…and the bees love it too.

4106-mostly-turnips-as-cover-crop-10-6-16

Want to grow spinach? We have been wildly unsuccessful in growing it, but guess what…steamed turnip greens taste just like spinach. It turns out they are very easy to grow and are good for you too. This was supposed to be a mixture of several cover crop seeds, Fava beans, Winter Rye, and Hairy Vetch included. It looks like the turnips took over. Uh, I might have broadcast them a little thick. My “solar-roller water pump panel” is positioned for the afternoon sun. Gotta keep the flow going. 🙂

honeybee-on-turnip-blossom-jan-16-2014

Turnip flowers in January provide nourishment for bees in the critical winter months.

4108-turnips-planted-a-month-ago-10-6-16

October 8…This bed was planted August 1. Turnips grow fast. Plant them thick, then you can harvest the thinnings by steaming the greens.  Leave a few to go to flowers in winter.

4110-short-bed-of-turnips-10-6-16

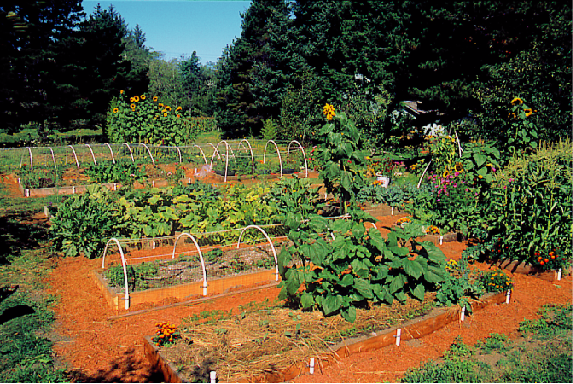
We’ve been getting three crops a year in our raised beds. This was lettuce last winter, then kale, now turnips. In between we bury crab shell when we can get it. This being October, that resource will soon be gone.

4120-one-of-5-turnips-used-for-turnip-soup-10-10-16

Oct. 10…My sweetheart made a delicious turnip soup for dinner this evening. These turnips were planted in early August. They grow fast!!!

4116-planted-more-turnips-yesterday-10-8-16

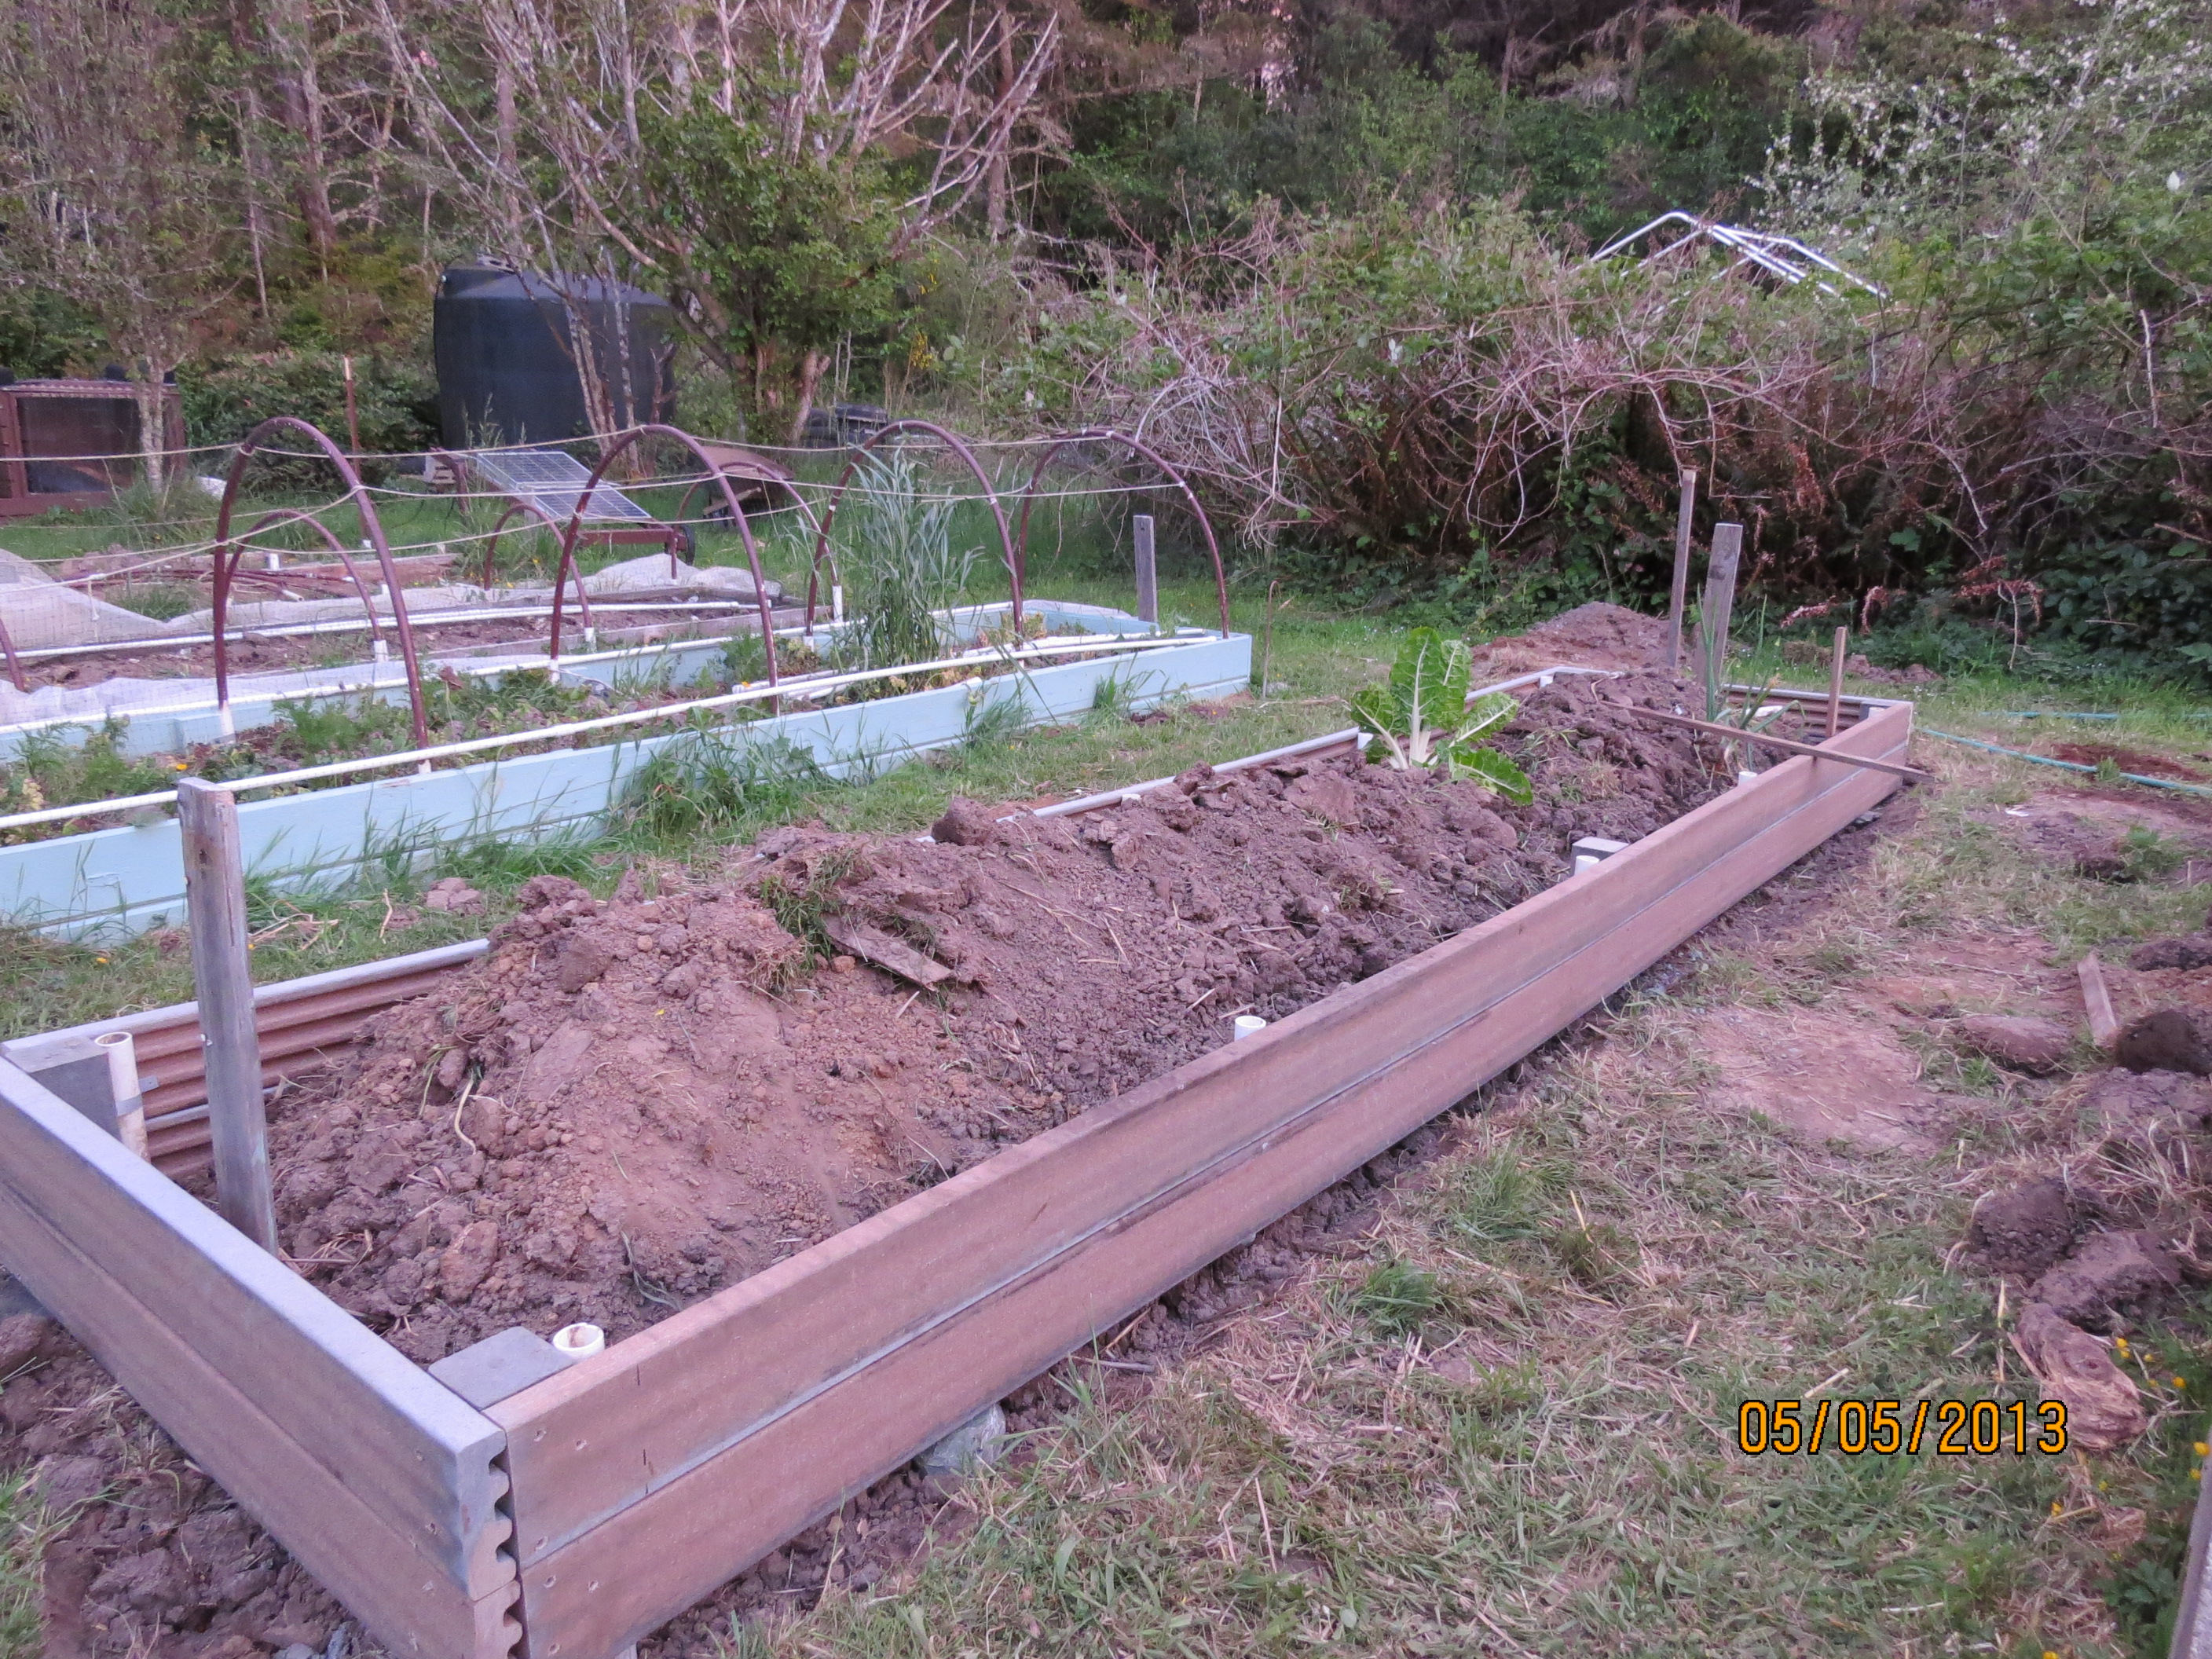
Oct. 8…just in case we haven’t planted enough turnips, here is another bed started…complete with drip water grid.

4132a-turnips-growing-well-rain-cloth-10-15-16-smlr

Oct. 15…Turnips are up already. The shade cloth is to protect the little darlings from the hurricane force winds and 12-18 inches (300-450mm) of rain that was forecast…didn’t happen, at least, not yet.

Turnip soup recipe

Chop an onion, saute in olive oil, add 4 to 5 cups of peeled chopped turnips, two garlic cloves (peeled and cut in half), add two teaspoons of smoked paprika, and teaspoon of thyme  leaves.  Cook until lightly brown, add three cups of vegetable or chicken broth, salt to taste.  Bring to boil and simmer until veggies are cooked.  Blend in blender, return to pan, add a cup of milk, or milk alternative.

Read Full Post »

March 23, 2013...Lots of blossoms, hope the bees find them.

March 23, 2013…Lots of blossoms, hope the bees find them.

We’ve got plums!!!  Yes, we’ve had plums before, but not like this.  Our honey bees and Mason bees have contributed to the success…but now I’ve got to protect them.  I’ve also seen evidence of raccoons.  I won’t show the photo of raccoon scat, just trust me on this.  Raccoons can climb fences (in my case, deer cages that surround the trees.)  Last year we had counted about 40 to 50 plums almost ready to harvest, which disappeared overnight from raccoons climbing the wire deer proof cage.

6-1-13...Plums getting bigger.

6-1-13…Plums getting bigger…Hummm, I better start preparing raccoon protection.

I had noticed the sheet metal wrapped around Hal's plum tree every time we looked at his bee hives.  One day I asked about it.  "It's to prevent the raccoons from getting a foot hold on the plum tree."

I had noticed the sheet metal wrapped around Hal’s plum tree every time we looked at his bee hives. One day I asked about it. “It’s to prevent the raccoons from getting a foot hold on the plum tree.”

Hal's plum tree supports protected with sheet metal.

Even Hal’s plum tree supports are protected with sheet metal.

I removed the wire deer cage and bought a roll of sheet metal to prevent the raccoons from climbing the trunk. This little trick I learned from Hal.

I removed the wire deer cage and bought a roll of sheet metal to prevent the raccoons from climbing the trunk.  I figured if Hal had success with it, so would I.

June 3, 2013...After removing the wire cage (protection from deer) which served as a ladder for the raccoons last year, I wrapped sheet metal around the trunk to prevent the raccoons from climbing up.

July 7, 2013  These branches were starting to break  under the weight of all those plums.

I also copied Hal's method of holding up the branches.  Hope the can't climb 2x4's.

I  copied Hal’s method of holding up the branches.  These supports also serve to keep the branches higher off the ground so the raccoons can’t pull on them.  Hope they can’t climb 2×4’s. Footnote:   I traded the 2×4’s for 2×2’s the next day…I didn’t want to take any chances.

This young tree even has plums.  I didn't want to pull off the deer fence so I hung the sheet metal on it, hoping the height is up far enough that the raccoons can't climb it.  The plums are getting ripe so we'll soon find out.

Even this young tree has plums. I didn’t want to pull off the deer fence so I hung the sheet metal on it, hoping the height is up far enough that the raccoons can’t climb it. The plums are getting ripe so we’ll soon find out.

My sweetheart has enough plums for the first batch of plum jam.

July 19, 2013,,,My sweetheart has enough plums for the first batch of plum jam.  Carmen approves.

The deer help themselves to the dropped plums.  We're happy to share.

The deer help themselves to the dropped plums. We’re happy to share.

Read Full Post »

This is how the garden looked in August 1998.  All those beautiful raised beds are rotting into the ground after 15 years and need to be replaced.

This is how the garden looked in August 1997. All those beautiful raised beds are now rotting into the ground after 16 years and need to be replaced.

Trex-built raised bed 5-5-13

Trex-built raised bed 5-5-13  Don’t look at the background…it’s messy.  I’m linear.  I can only work on one bed at a time!

We built most of our raised beds in 1996 and ’97.  The lumber came from a small sawmill using white cedar that had been passed over by the big timber companies.  It was sawn to a full 2 x 10 x 16′ (5.08 cm x 25.4 cm x 4.87 m)  It was beautiful wood.  We had less personal time then but more energy…lots more.  As good as that wood was, it still rots when in contact with the soil.  So after 17 years all those 16 beds have got to be replaced.  We found this decking material on close-out.  It’s not cheap but is supposed to outlast wood.  It’s a little wobbly so I had to set the corners in concrete, but if it outlasts wood, it’ll be worth it.  We’re trying to replace ONE raised bed a year now.  The green one was built last year out of old siding…much cheaper than this one, but won’t last as long.

Soil leveled, drip water grid laid out, tires centered over drip holes in pvc.

Soil leveled, drip water grid laid out, tires centered over drip holes. The tires extend the warm temps into the cool evening.

Hoops added with 1x2x8 re-enforcement.

Hoops added with 1 x2x 8 re-enforcement.  I use this to hold the tent open  too.

Don't glue any of the pvc like I did for many years.  That way you can have more options like this swing-away hose connection

Don’t glue any of the pvc like I did for many years. That way you can have more options like this swing-away hose connection

Clear plastic over hoops, held up rope and the re-enforcement wood.

Clear plastic over hoops, held up by rope and the re-enforcement wood.  Why have ‘tents?’  Our night time temperatures will dip to 45 deg. F (7 deg. c)  even in the middle of summer.  Use 6 mil UV stable greenhouse film. It’ll last for years of opening and closing every day.  We like our tomatoes to be warm and happy.

Read Full Post »

It’s a quick job to shred the leaves with the mower.

We always follow tomatoes with garlic.  One of the few winter crops, it grows from Halloween to the July 4th harvest.   After  the tomato vines have been pulled out, we add our soil enhancers…

Shredded leaves ready to be added to  coffee grounds and crab shell as soil enhancers

Shredded leaves ready to be added to coffee grounds and crab shell.

I get as much crab shell as I want from Tony's Crab Shack in town.  It's only about 4 miles (6.4 km) round trip by bicycle, my transportation of choice.

I get as much crab shell as I want from Tony’s Crab Shack in town. It’s only about 4 miles (6.4 km) round trip by bicycle, my transportation of choice.

All these things are trench composted into the soil along with kitchen garbage and the odd sunflower stem or comfrey leaves.

Smooth the soil level and hook the hose to water grid.

Smooth the soil level and hook the hose to water grid.

Break apart the garlic bulb into individual cloves...

Break apart the garlic bulb into individual cloves…

Push garlic clove into soil to just below soil surface, "hair" end down.

Push garlic clove into soil about 3 inches deep, “hair” end down.  This one should be pushed down a little more, but we were just posing it and wanted a ‘handle’ to pull it back out.

Garlic planted almost a month ago is just starting to show.

Garlic planted almost a month ago is just starting to show.

What is garlic good for?  GOOD HEALTH and BEE STINGS!

Read Full Post »

Our nights get down to a chilly 47 degrees F (8 deg. C.) so without extra care it would be impossible to grow things like peppers and eggplants.

Water grid in place, hook up hose and place transplants where the water drips out.

Add hoops, deer netting and the plastic film weighted with 1×2’s nailed to  2×2’s.

This is what it looks like now (after 3 1/2 months) with some calendulas that my wife won’t let me take out and a volunteer Swiss Chard.

The green peppers are small because the nights are so cool, but at least we get some.

Japanese eggplant (the only one that will ripen here because it’s smaller) is finally ready to be picked.

Tomatoes are coming on strong…ready for sandwiches or to be roasted.

Tomatoes, peppers, eggplants, string beans, carrots, beets, basil, (and other herbs like oregano and thyme), onions and garlic slathered with olive oil, balsamic vinegar, salt and pepper.  Roast it at 425 deg. F for about 25 minutes or until the tomatoes start to brown.

After this cools, we throw it in the blender, then it goes into the quart size freezer bags so it will stack up well.  It can be used over rice or potatoes, or as a spaghetti or pizza sauce.

Check out planting tomatoes in a cool rainy climate.

Read Full Post »

Two years ago we wanted to quit having to mow between our blueberry bushes. We laid down landscape cloth, covered it with sawdust, and our mowing days were behind us. That year we watched the bees pollinate the blossoms and the berries grew like never before. We had a huge berry crop but couldn’t eat a single berry because as they ripened, a family of robins spotted them first…each bush was clearly visible from a bird’s eye view and as the berries ripened, the birds easily picked them off before we could. We laid fake snakes on the ground. We hung shiny wind socks to distract them. We thought about netting them, but it would have been difficult to pick them. So we let the birds have them.

Last year we tried a different strategy. We let the comfrey that we had been treating as weeds, grow up next to the bushes. We didn’t have any bird problems. So this year we’re doing the same thing. The comfrey provides blossoms to attract the bees which pollinate both the blueberries and the comfrey and we are assured of having berries without birds.

Bumblebee pollinating Comfrey blossoms. The bees work both the comfrey and the blueberry bushes that the comfrey hides from the birds.

Bumblebee on Blueberry blossom

The comfrey is still blooming!! It’s been over two months since the first picture was taken.   The blueberries are now ripe and ready to pick.  Thanks to the comfrey for hiding the blueberries from the birds, we can now pick them.

The bumblebees are still pollinating the comfrey even though it’s been over two months.

These blueberries were picked today. This is probably our best harvest yet.  We’ve been getting this much every couple of days.

It’s been a successful experiment.  The comfrey might compete somewhat with the blueberries for water and space…but what matters most is the successful harvest before the birds get them.

As a win-win, comfrey is known for it’s healing qualities also.  For growing and using comfrey see this article by The Mother Earth News.  And here’s a another person’s story of how to make a poultice and apply it.  I just came across yet another site about the great qualities of comfrey.

Read Full Post »

Hey…not so fast, you guys.

Every night 30 to 50 new offenders enroll in the SLUG REHAB program.  The first night is a ‘drying out’ process.  We take them off their favorite foods…cabbages, collards, marigolds and especially bee-loving plants like sunflowers, wall flowers, daisies, and salvia.  We dump them in the woods where they can feast on pine needles.   Repeat offenders  spend a night in the ‘slammer’ (freezer) where it’s guaranteed they won’t be back…and we don’t waste any beer on them.

Come on kid, we’re out of here.

See also Slug Control

Note:  No slugs were harmed in the making of this blog.

I was looking for something good to say about slugs, how they fit into the circle of life, prove invaluable to humanity or something like that when I came upon this blog… The Four Slugs of the Apocalypes

Read Full Post »

The tomato bed has weathered through the cold wind and rain. They’re looking good so I added the cages.

Tomatoes prove their worth and get supports
Likewise the Red Pontiacs are looking good

Potato bed gets hilled up.  These were planted April 9th and harvested August 1 to make way for buckwheat.

Greens Grow the Garden

Our supply of salad greens. Pick it, eat it 15 minutes later for lunch. I wonder what’s cooking in the Solar Oven

Read Full Post »

Get out the Solar Oven and let’s have enchiladas for lunch.

Enchiladas for lunch.

Now that the sun has warmed up the soil enough to plant, we’ve got to hook up the Solar Roller. These panels are mounted on a 2 x 4″

Solar panels on handmade wheeled cart

cart with some old lawnmower wheels attached. Since I have many trees shading parts of the garden, this roller allows me to follow the sun. I can actually get 12 hours of sun-pumping water into the large tank in the background and then gravity flow to 1/2″ pvc placed in the raised beds. The kit came with solar panels, submersible pump, and a Dankoff control box. This control box allows the pump to kick on in low light and works so well that it’ll pump on a gray shadowless day. I’ve even seen it pump during a light rain.

Gray shadowless day, solar pump still working…thank you Mr. Dankoff, for inventing the controller that makes the pump work on a very gray day!

The tank feeds into a regular garden hose and into the water grids. The grids are drilled with 1/16” holes. Hook up the hose to the grid and plant next to the holes.

Drip water grid in tomato bed

Drip watering potatoes

Placing the plants next to a pre-drilled hole.

Ready to close the tent on the warm loving eggplant and peppers

And that’s how we spent Mother’s Day, how about you?

For more solar check out my little solar system.

Read Full Post »

Growing tomatoes on the Oregon Coast calls for special measures. This clear 6 mil UV resistant film ‘tent’ shields the soil from the drenching rainfalls of April and May. To get ripe tomatoes by early August we must often plant in inclement weather.

Beating the late blight is the name of the game in a cool climate. We don’t use fungicides so since the mid to late 90’s we follow some strict rules…NO overhead watering, drip watering only. Trim lower branches a so no leaves touch the ground. Do not follow tomatoes with potatoes or vice-versa for at least one year (two years are better).

After gardening in the same location for over 35 years, we always add amenities to enhance the soil…cottonseed meal, kelp meal, bone meal, blood meal, dolomite, gypsum. This is in addition to trenching in deciduous leaves, crab shell, and coffee grounds in the fall.

The water grid is 1/2″ pvc with 1/8″ holes drilled in the proper spacing for tomatoes. It can be gravity fed from the tank that is powered by solar, delivering the water directly to the roots.

The tires are centered over the holes to add extra warmth into the evening.

Pinch off lower leaves, add a bit of fish meal, place in ground with lots of compost and plant deep.

Next add the hoops…these are 3/4″ pvc that fit loosely into 1 1/4″ pvc sockets. These hoops are strong and last for years (Schedule 40) Strengthen them with rope and 1×2’s.

Use a taut-line hitch to take up slack when rope stretches.

This is 6 mil, UV resistant film. 2x2x8’s are butted up to each other and 1×2’s are nailed to hold them together. Then the film is nailed to them using more 1×2’s. That forms the weight to hold the film over the hoops. If you “under roll” the film and tie it to the hoop with a slip knot it will stay up all day. At night or during a rain, we always close the tents to keep water off the leaves. Tomatoes need air circulation, so it’s important to open the tents whenever possible.Tent is closed protecting the plants from the cool night air. Since we like to eat tomatoes in the winter, we plant about 60 plants. This is the first tomato bed this season and holds 15 plants. The cages will be added later when after we’ve treated them with bleach water.  Check out the cages here…added a month later.

Preserving the tomatoes.

Read Full Post »