Here I am building a ring of re-purposed paver stones on top of the concrete foundation I poured. The ring will hold a bunch of rubble (old bits of concrete from pulling old fence posts, broken cinder blocks, rocks etc) that will make a solid base for the oven.
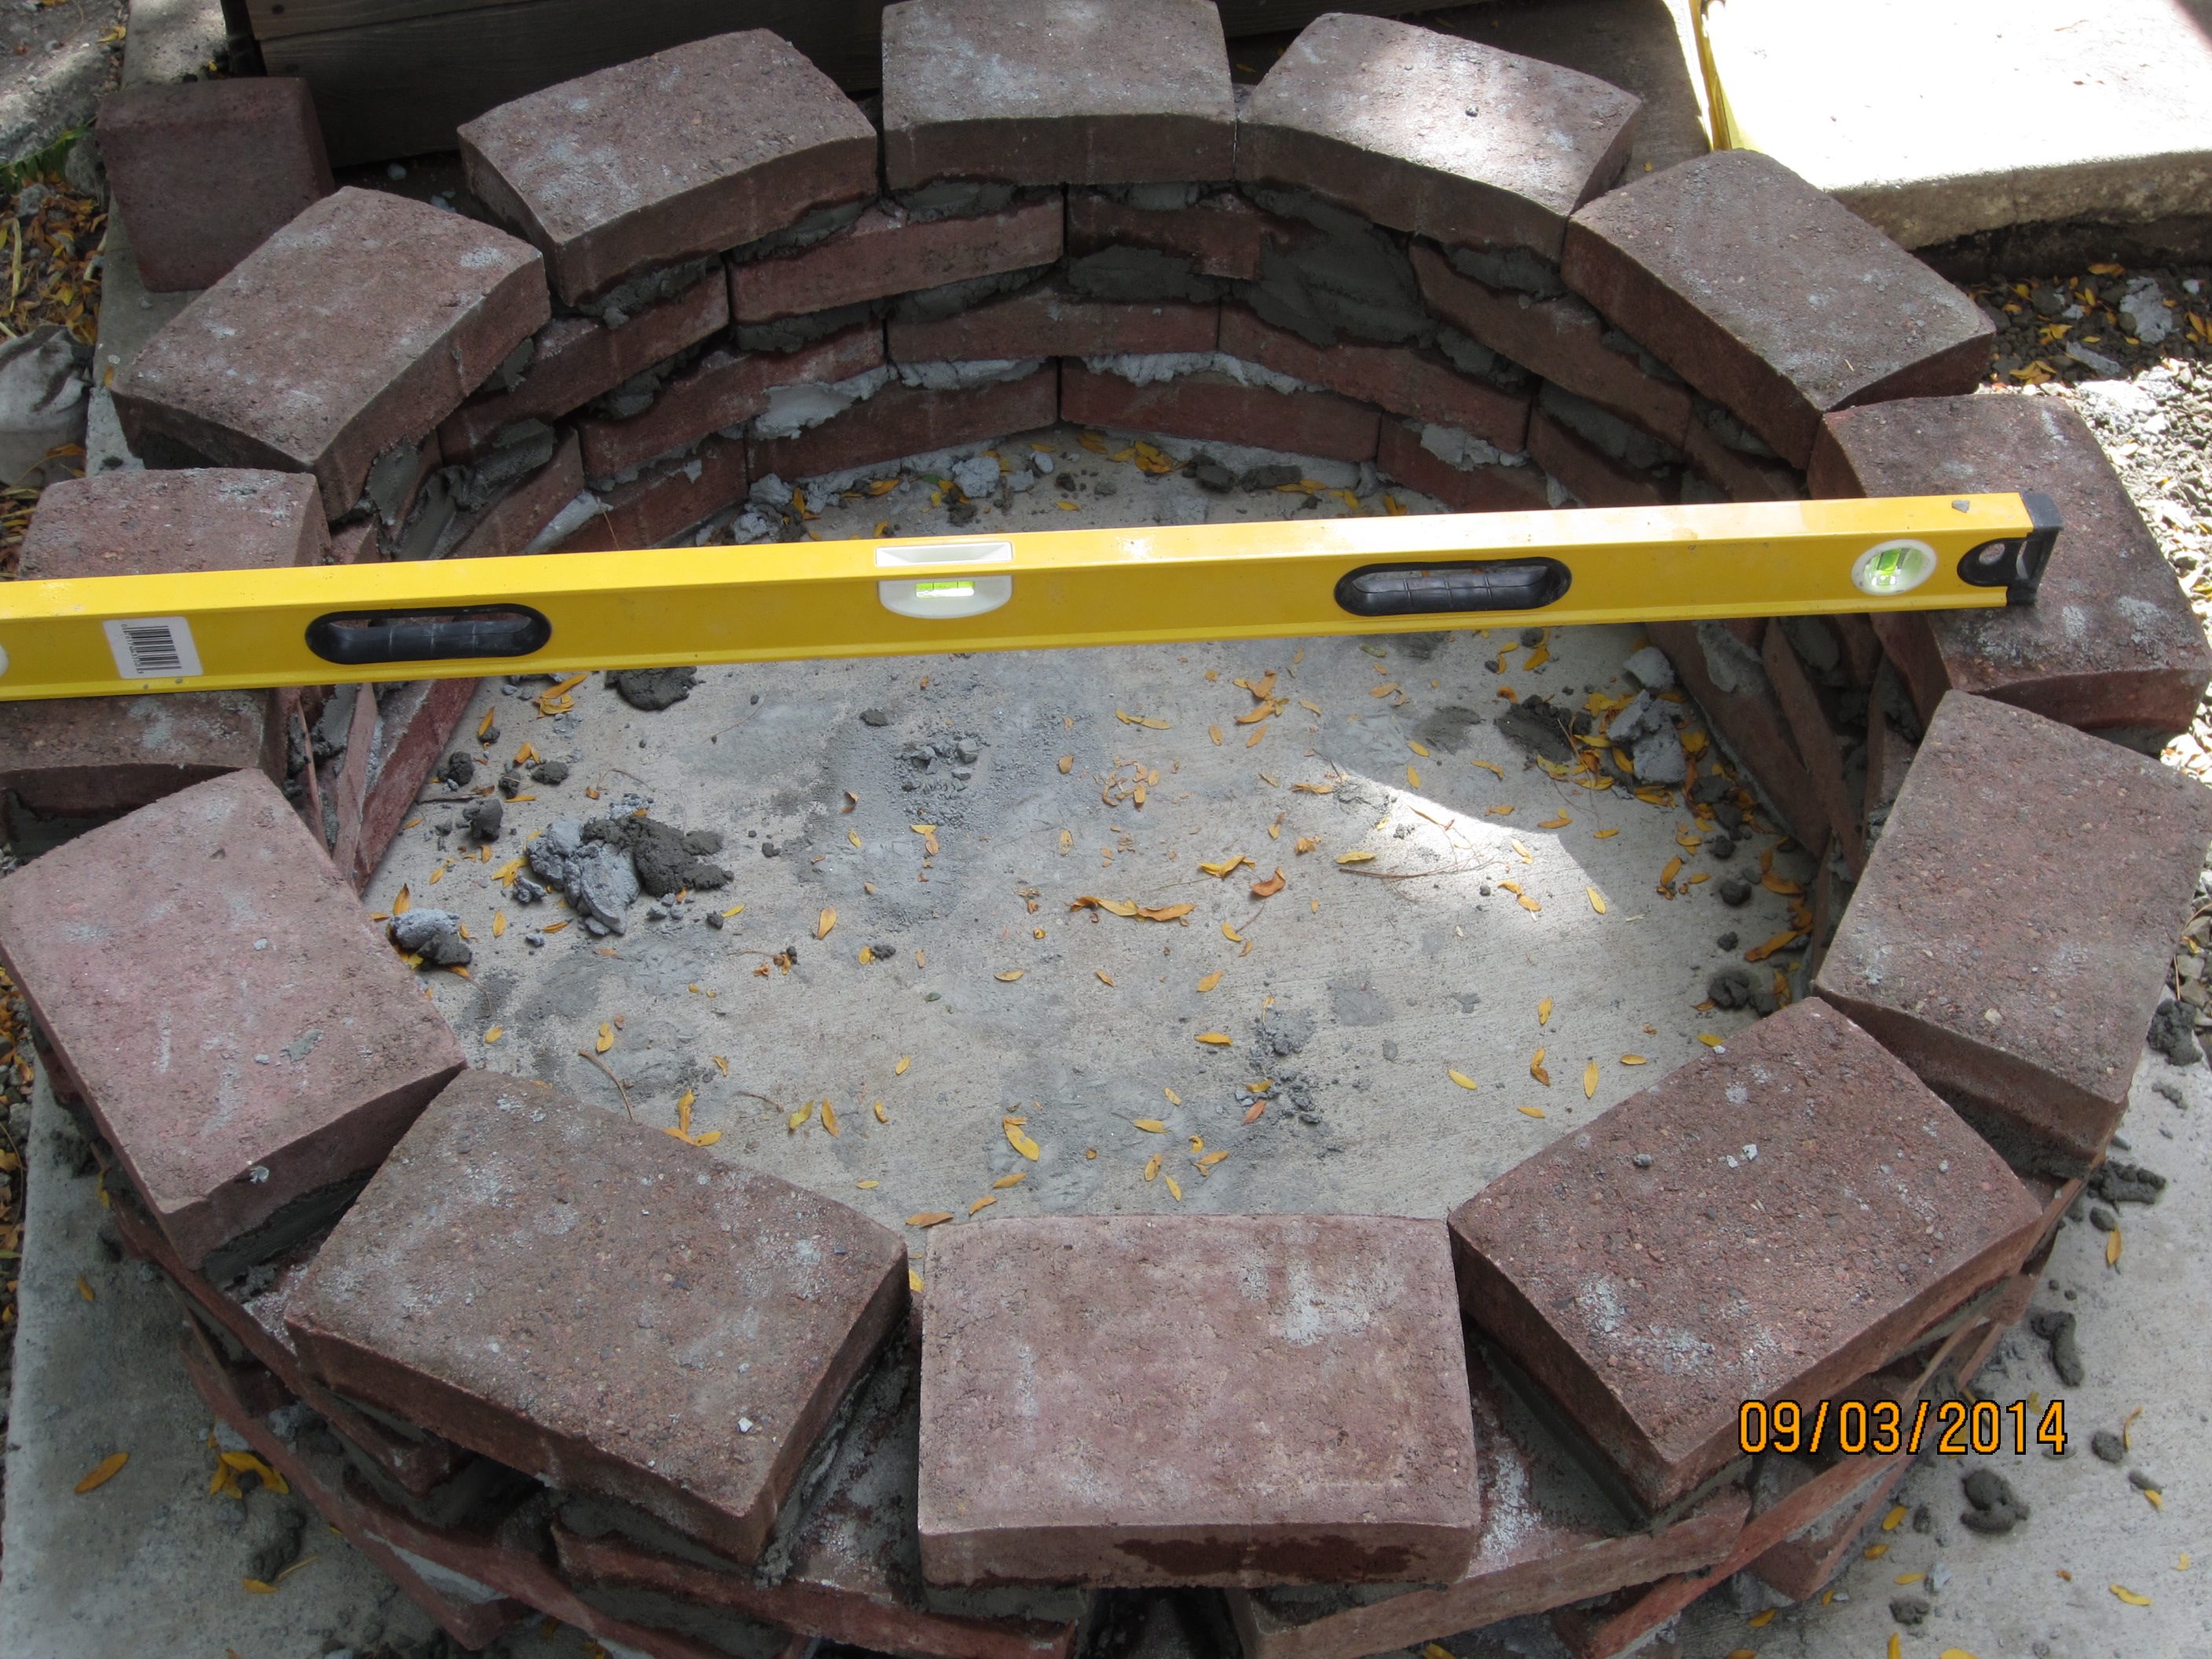
I’m up to 4 courses of bricks for the ring, and trying to keep everything level

I’ve got 8 courses of bricks at this point, which is as high as i’m going with the pavers (about 26″ high). I’ve also been filling in more rubble for the base and tamping it down.

I added on last ring of bricks to raise the height of the oven base a little. In this case I used standard red clay bricks and set them on edge. This will let me have a little more insulation between the oven and the base.

Adding more rubble, odds and ends from the brick wall project and a bag of concrete mix that got wet last year.
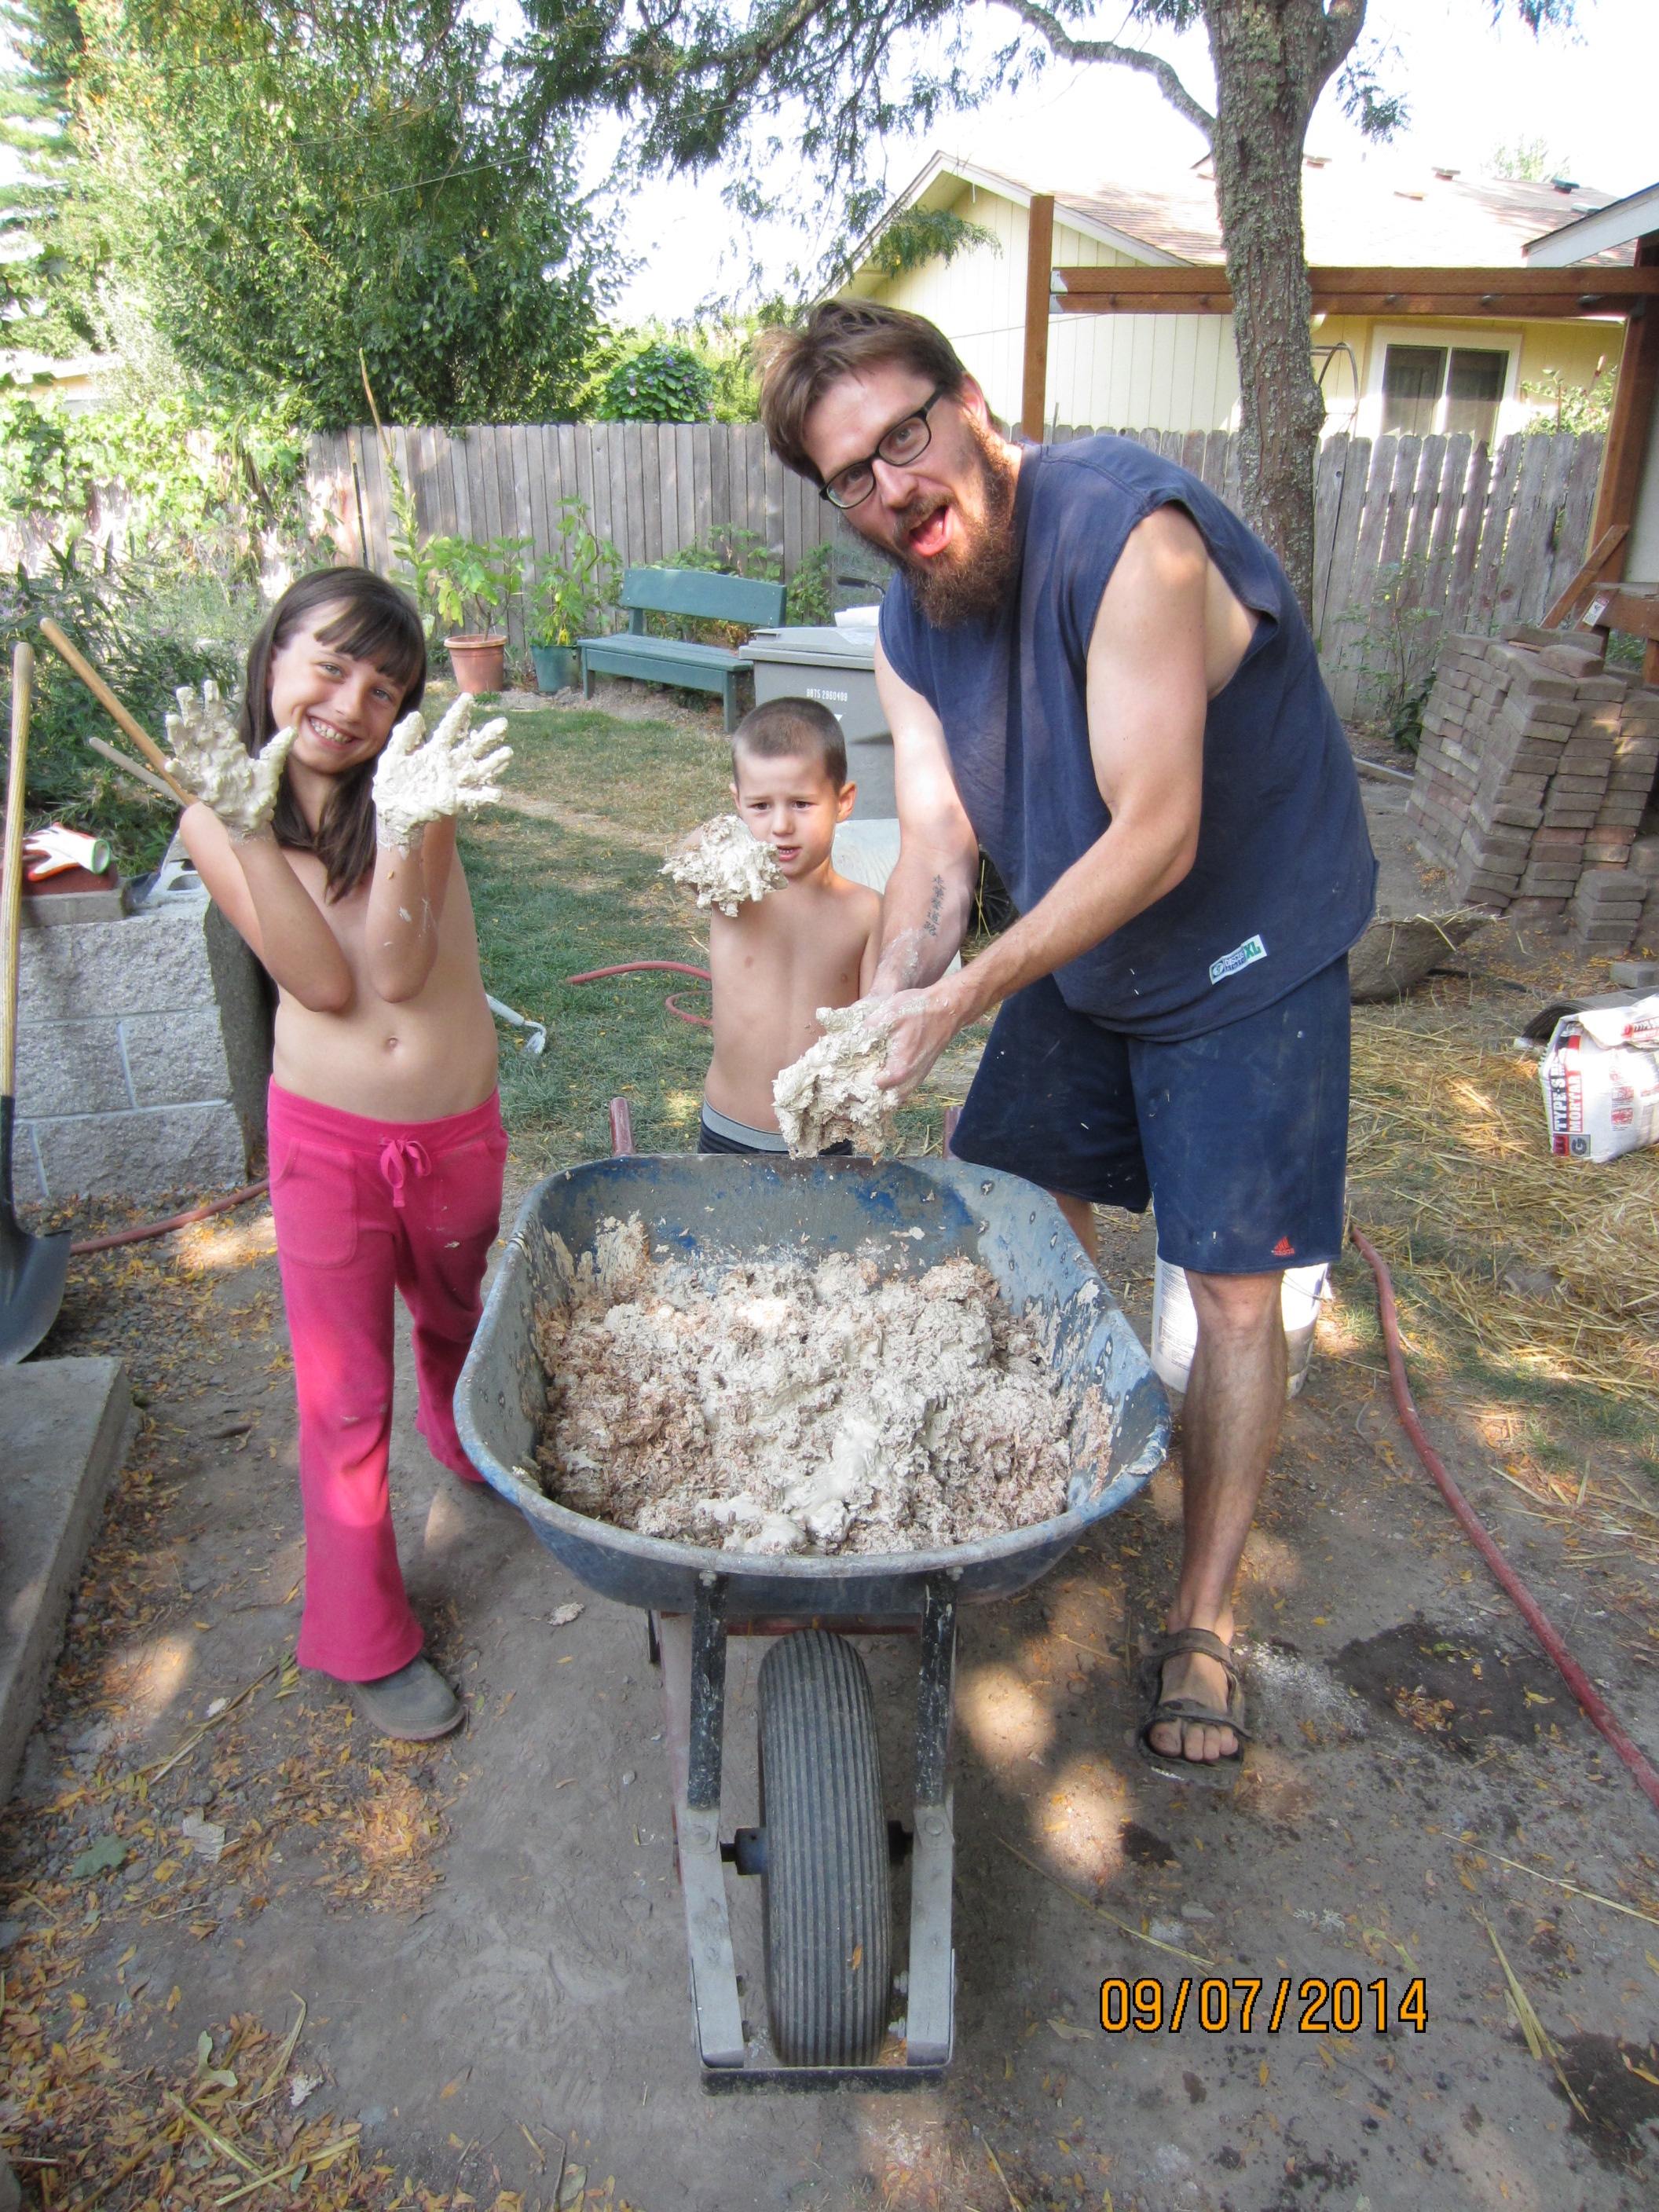
The kids and I mixing up our first batch of ‘insulation’ for the oven. We are using a thick clay slip made from fire clay and mixing in pine shavings (livestock bedding). The idea is when it dries and then gets really hot the wood will undergo pyrolysis (decompose to gaseous products without actual combustion) and leave a sort of clay sponge that should make a good insulator.

Here we are putting in the base insulation. Beer bottles separated by small gaps filled with the wood shaving/clay slip mix. The idea is to provide a solid base with good insulative properties.

Packing ‘insulation between the beer bottles. May have had a few beers (you know, for the good of the oven) at this point judging by my expression and the headband….

A second layer of bottles goes in the floor, and if you look you can see a ring of horizontal bottles between the vertical course of bottles and the outer brick.

The base insulation layer is done. There is now about six inches of insulation between the outer ring and base, and where the thermal mass of the hearth will be.

This is first layer (about 1 1/2″ thick) of thermal mud being put inside the insulation layer. The thermal mud will be directly under the fire bricks we are using as a hearth.

We filled in the base with a 4 inch thick layer of ‘thermal’ mix. 4 parts sand to 1 part fire clay. This will hold the heat of the oven, gradually releasing it after the fire is out so that we can bake for hours after removing the fire from the oven. A new edition to our flock is checking it out…. 🙂

Now that we have the insulation and thermal reservoir in the base it is time to lay out the hearth. The kids consider geometry….

A rough first pass at the hearth layout shown from the back side of the oven. Note the circle drawn on the bricks. That represents the internal void of the oven.

Here we are making a sand castle that will become the void space of our oven. Instead of going with the round oven hearth suggested in the book I extended it a wee bit into an elliptical base for a bit more cooking area. the damp sand was densely packed by whacking it with a 2×4.
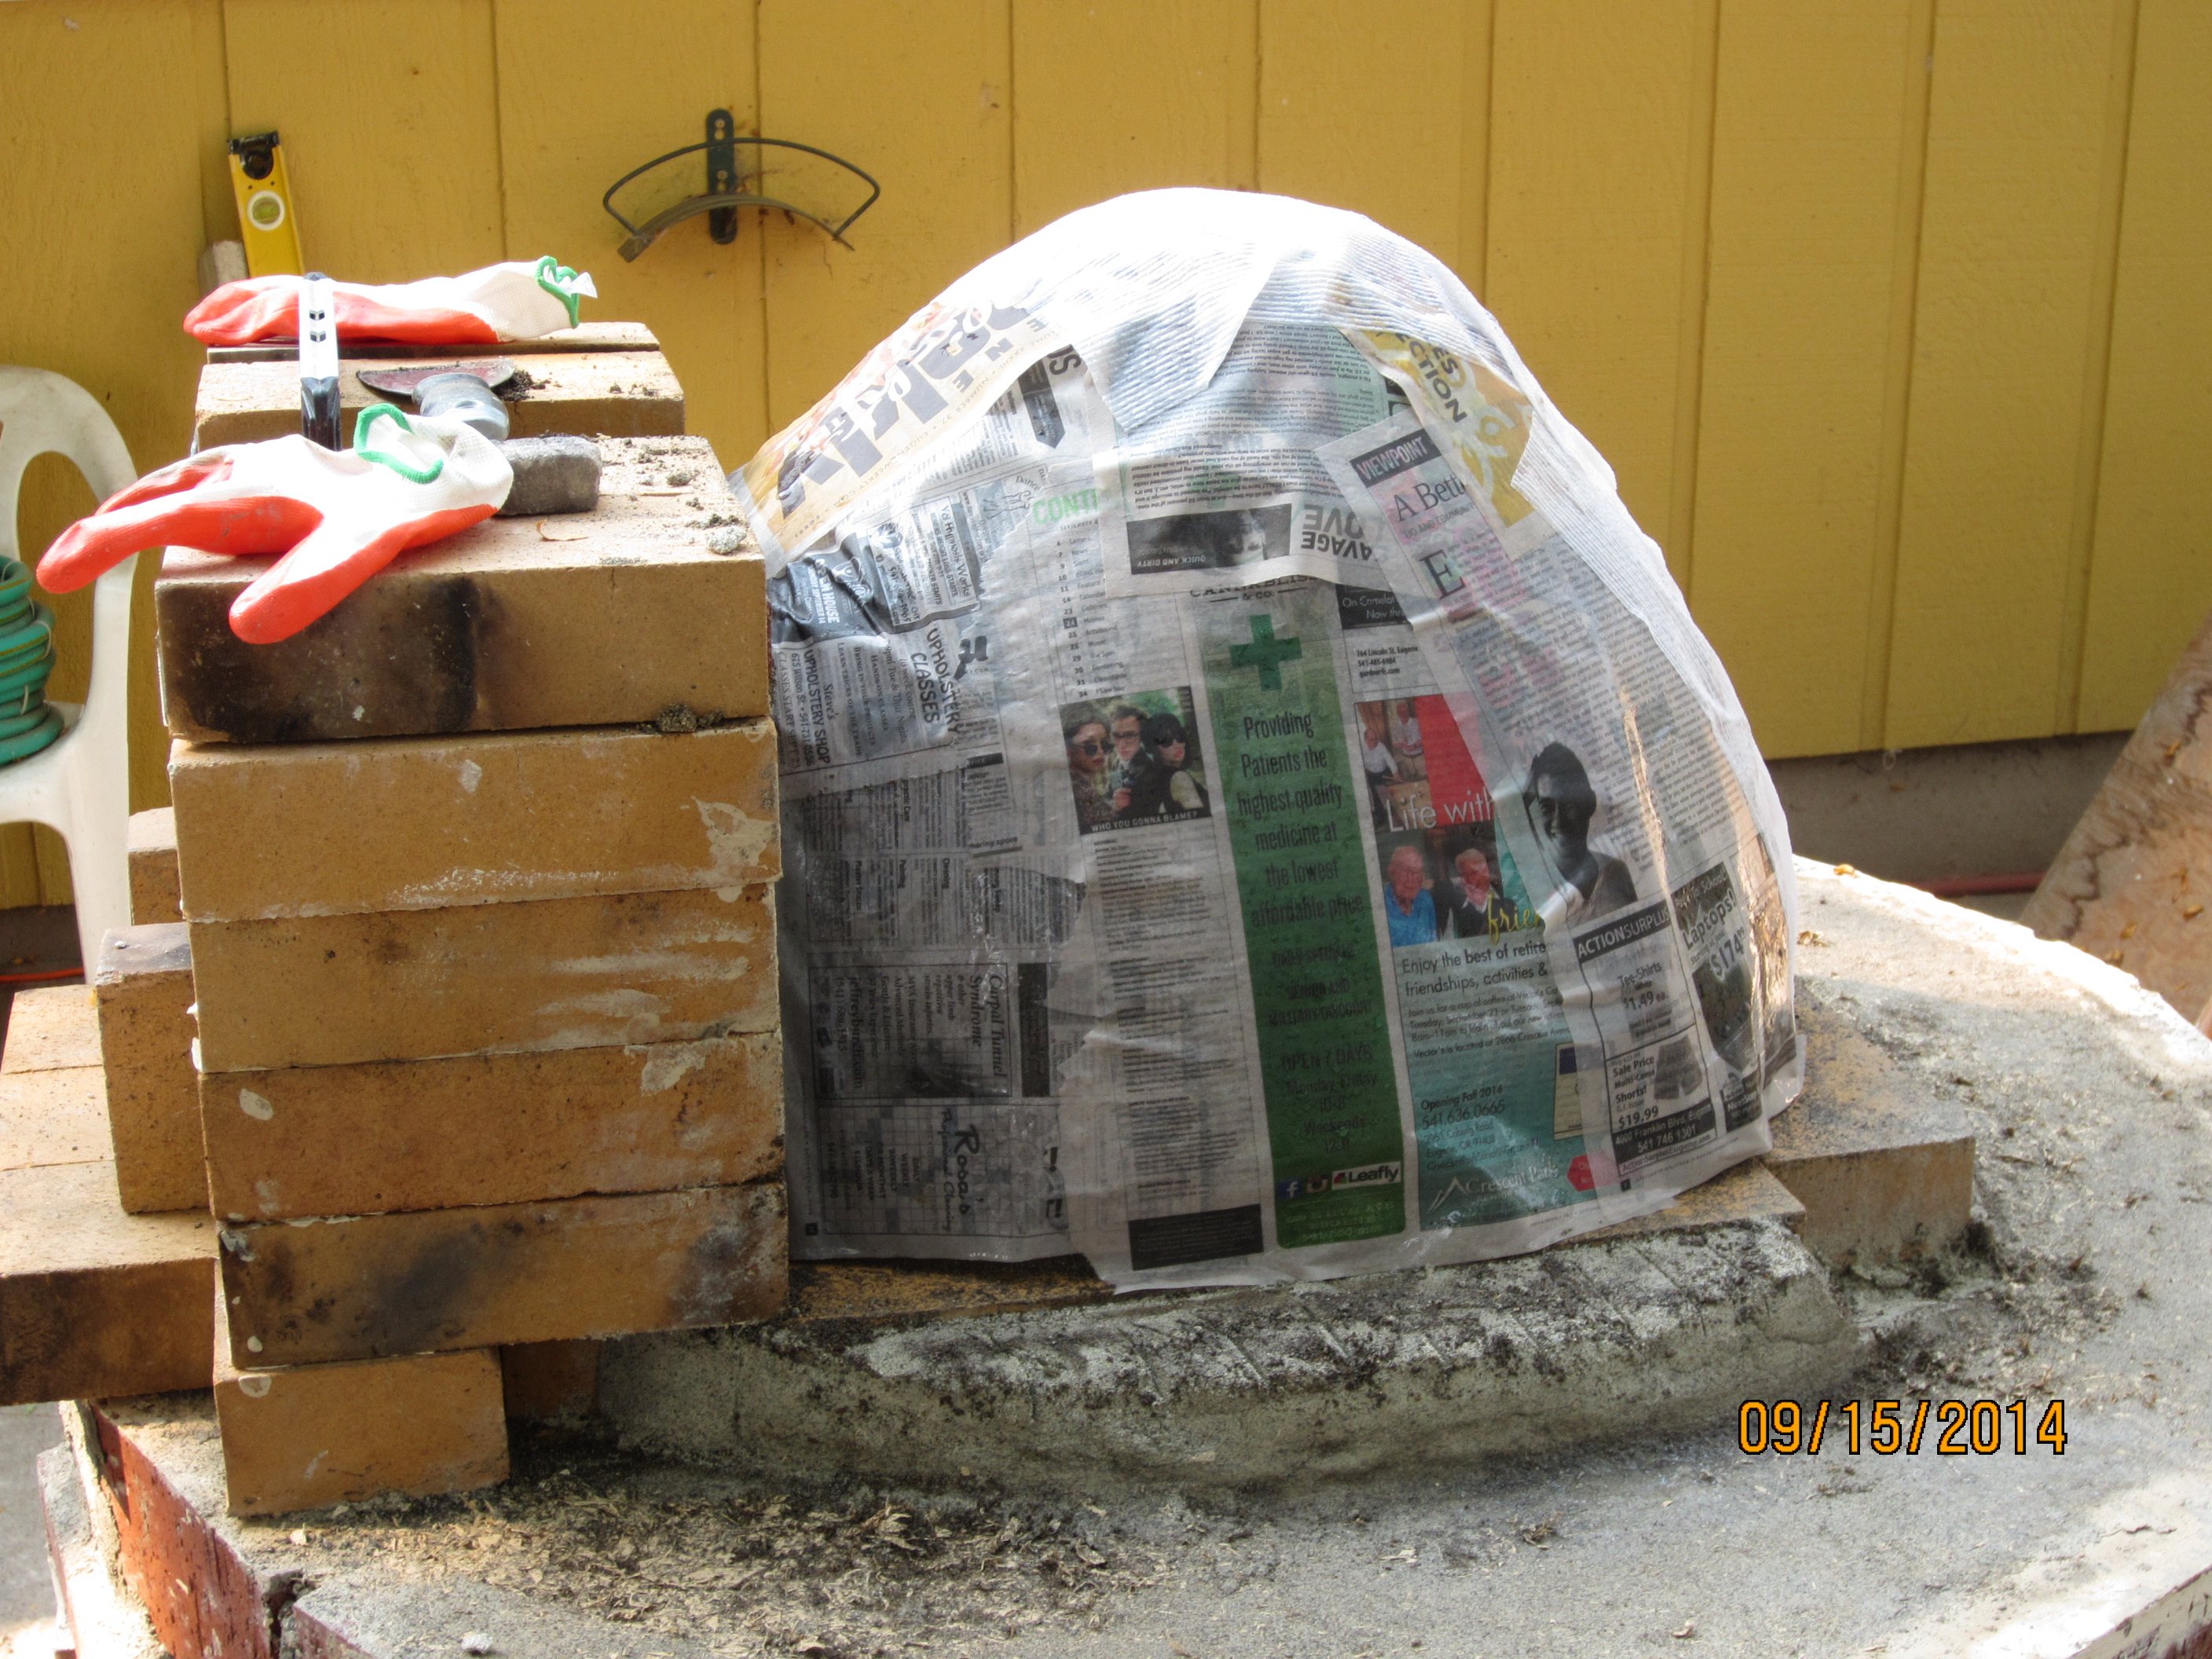
We cover the sand form with wet newspaper so that we can see the transition between sand and clay when digging out the oven.

Beginning to lay the thermal mix around the oven form. We are shooting for about 3-4 inches of thermal mix. Too much and it takes a lot of wood to heat the oven, too little and you run out of heat too quickly. The thickness of this thermal mass layer needs to be tailored to what you will use your oven for. Since I don’t plan on many marathon 16 hour baking days, 3 inches should be fine 🙂

Continuing to add to the dome. At this point there is about 350 lbs of clay and sand in the thermal layer.

The dome is finished (actually this is the second time we built the dome. The first time the kids were really trying to help and we were running out of daylight, so let us just say that quality control was lacking that day).

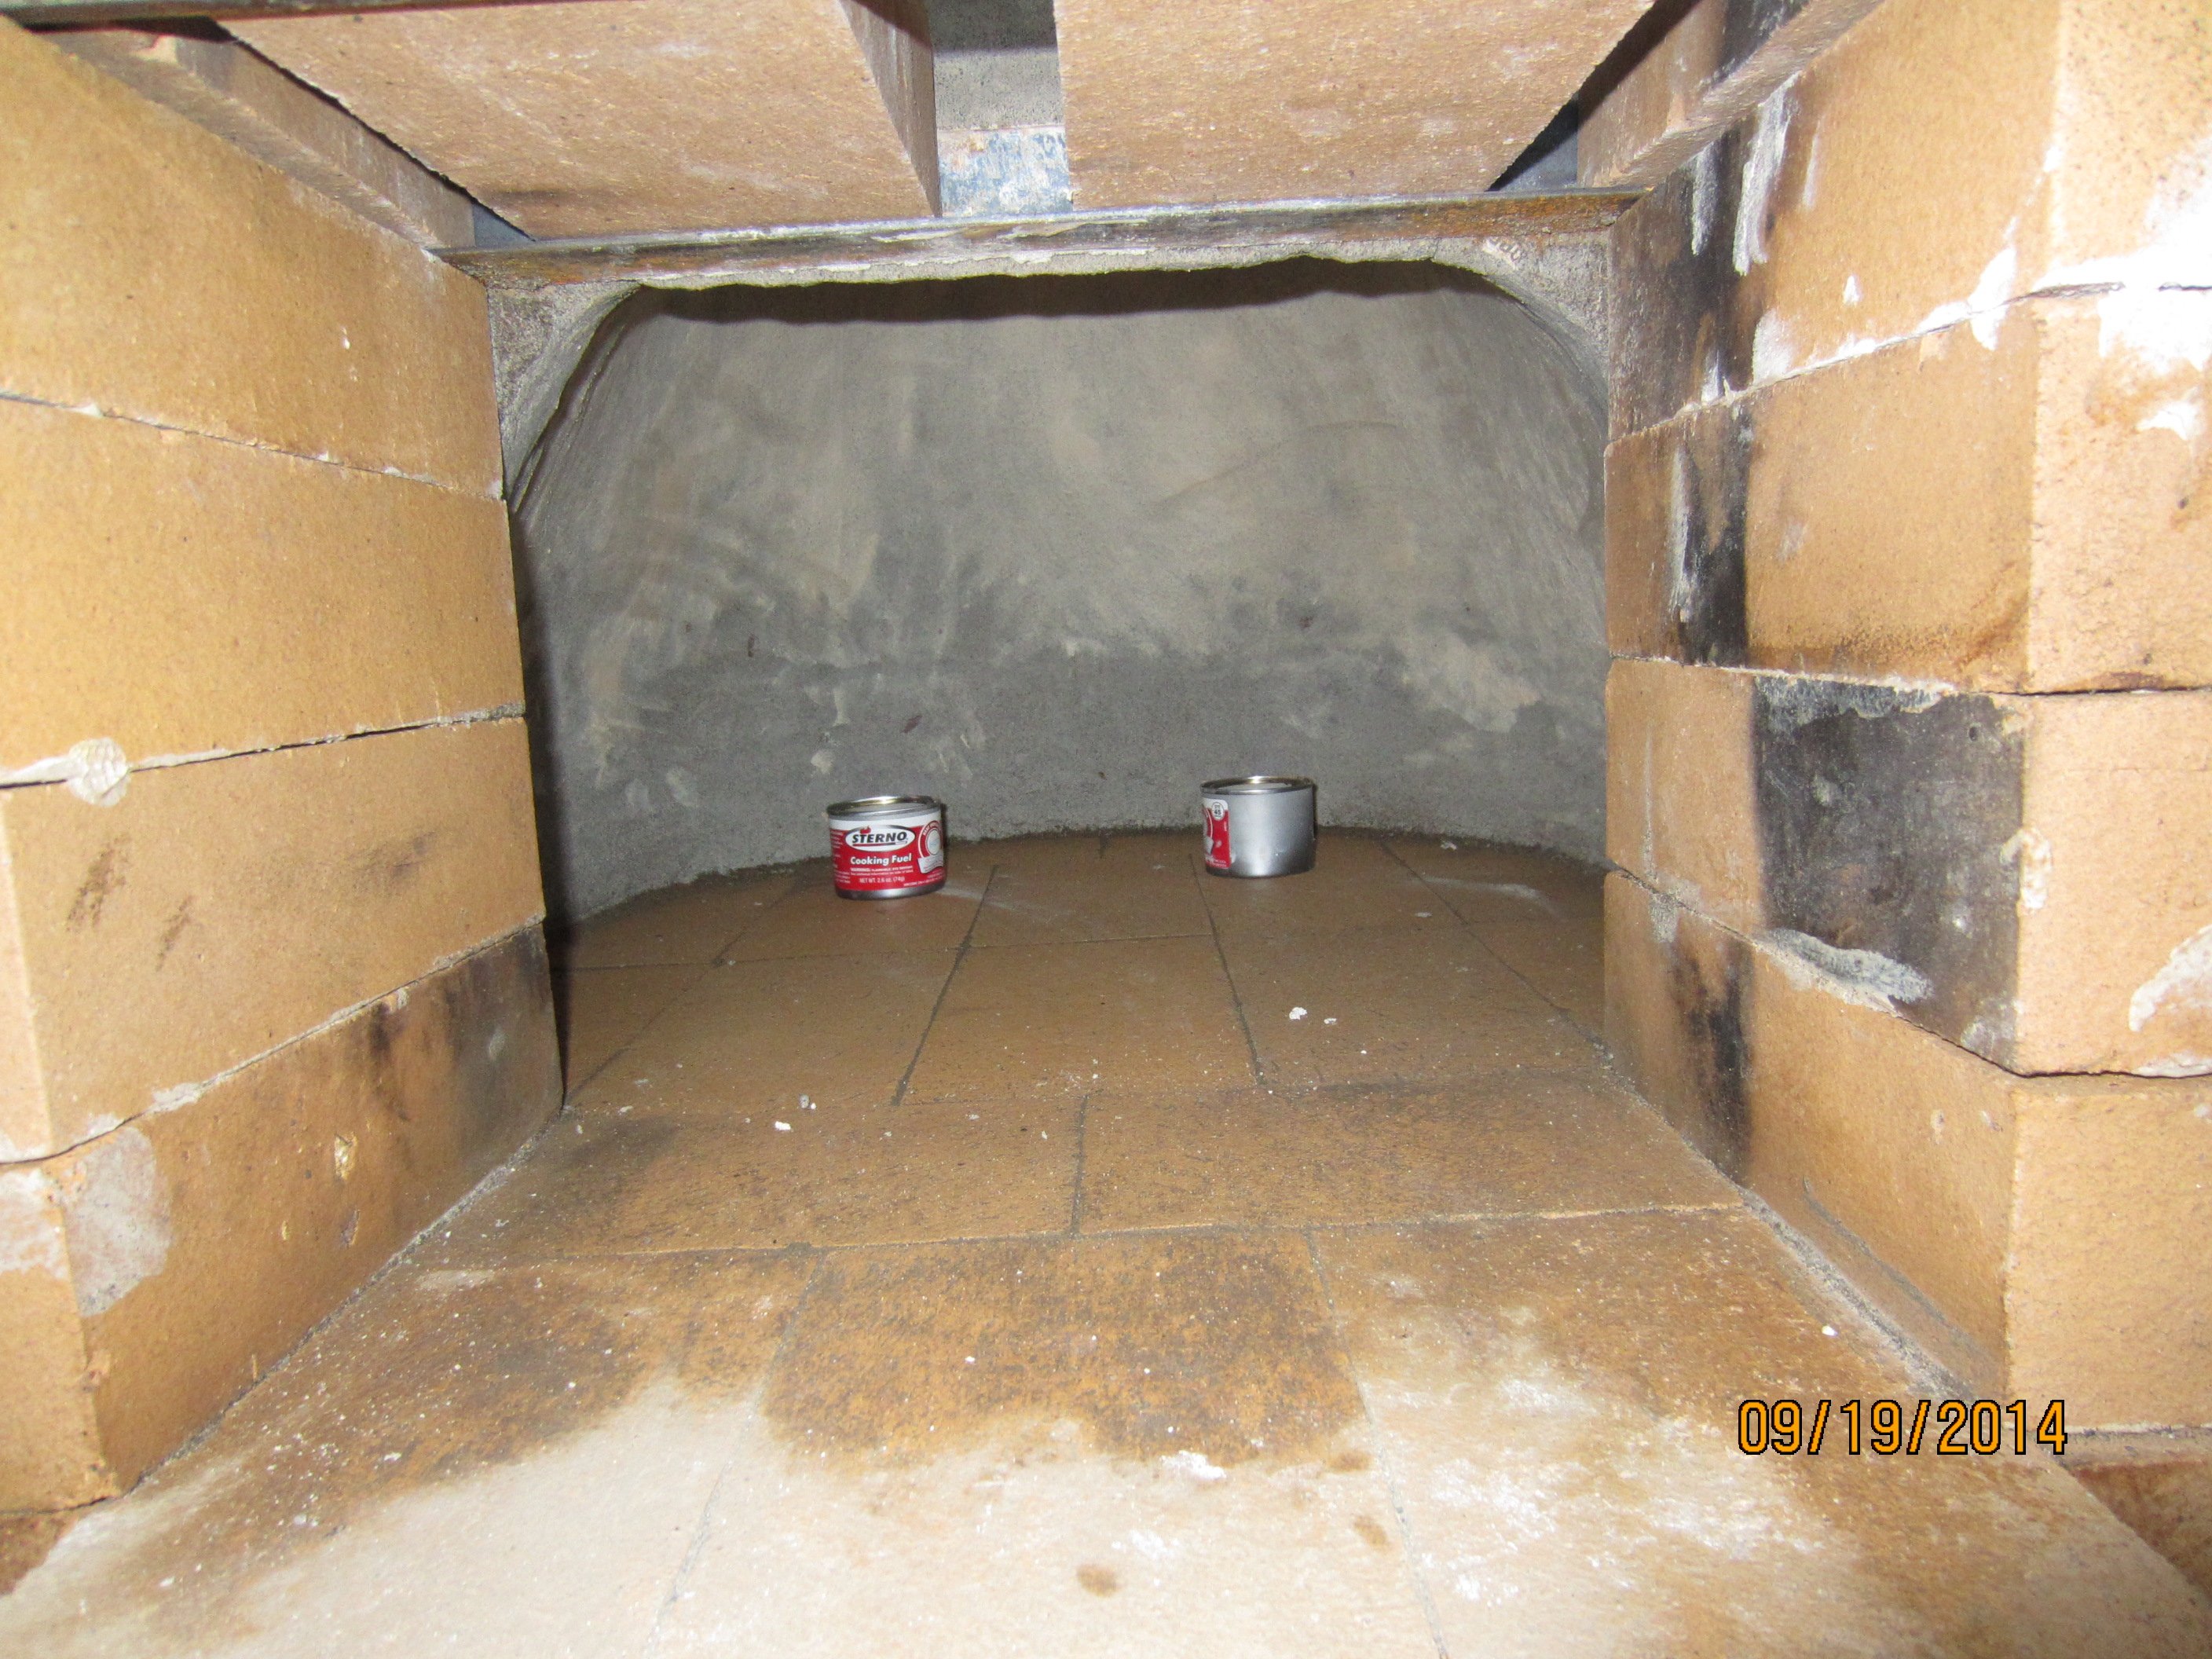
I am impatient, so I start scraping sand out of the dome after only 2 days. My plan is to speed the drying by using some Sterno inside the dome while leaving some of the sand for support. It seemed to work. The dome did not collapse and after 3 cans of Sterno I got most of the sand out.
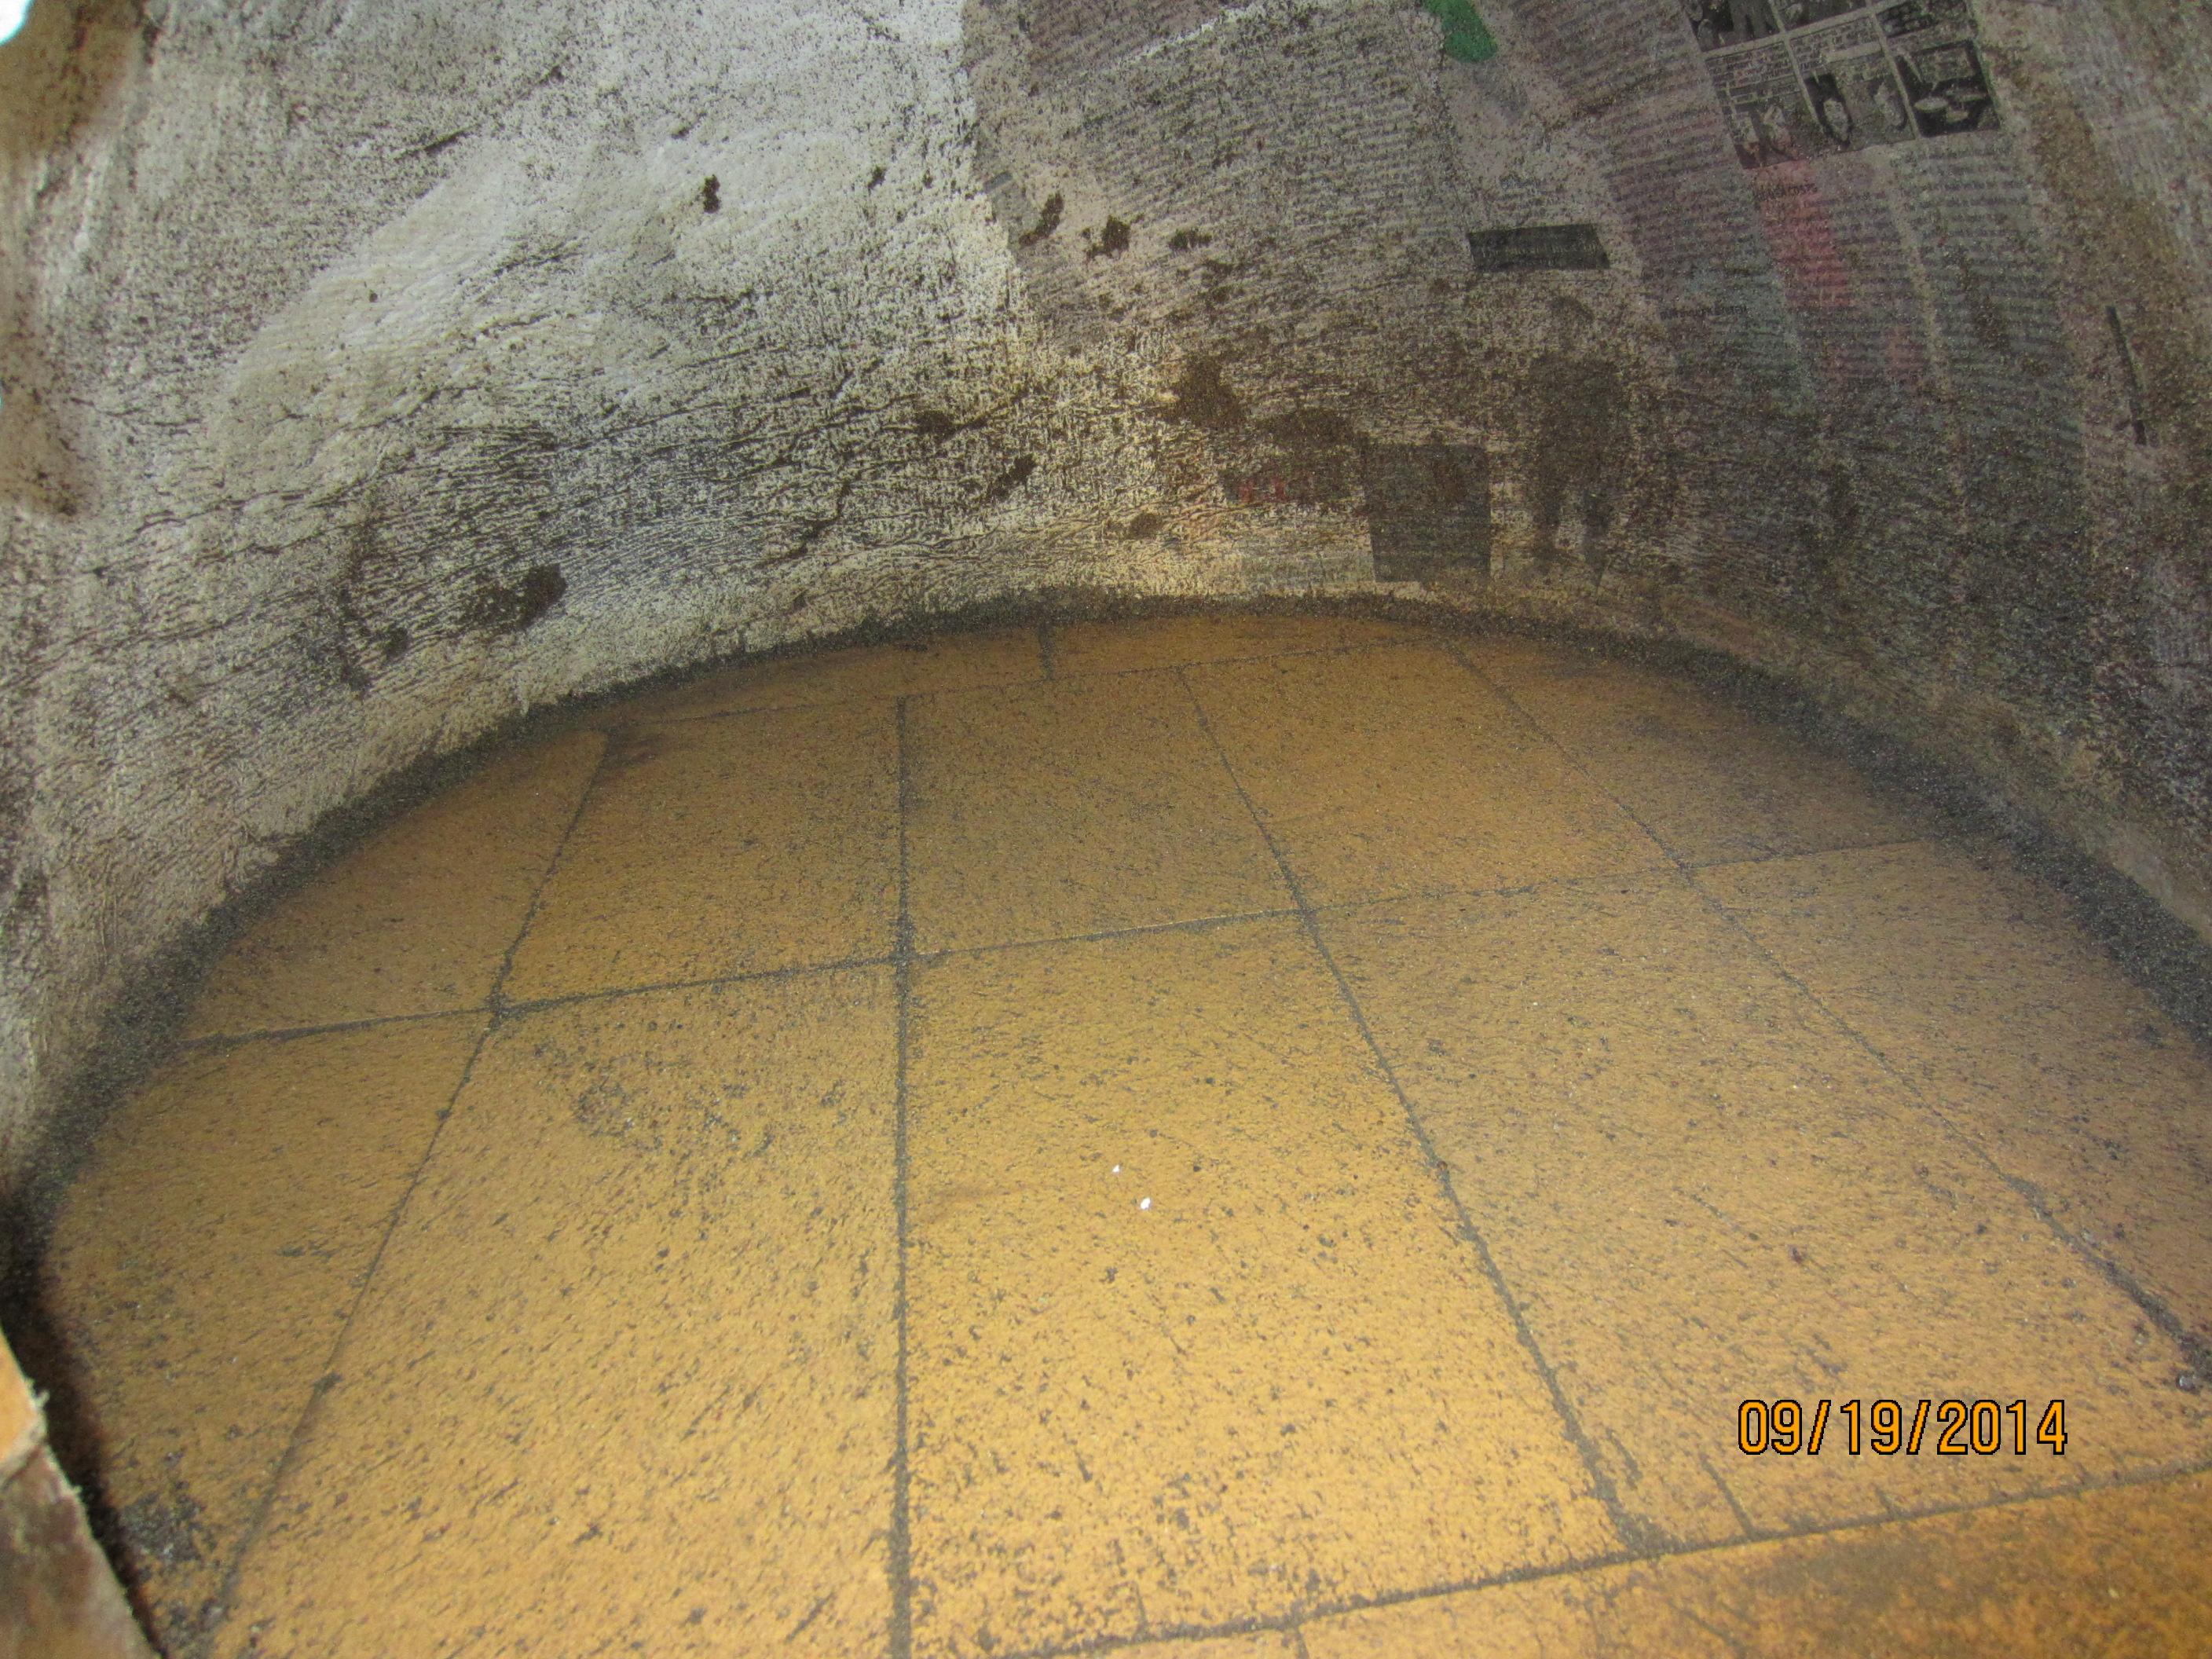
The sand is out!!! You can see the newspaper layer that we put down is intact, so I managed to remove the sand without messing up the inner surface (for the most part). Now I’ll peel the paper off and work on polishing the inside of the dome…

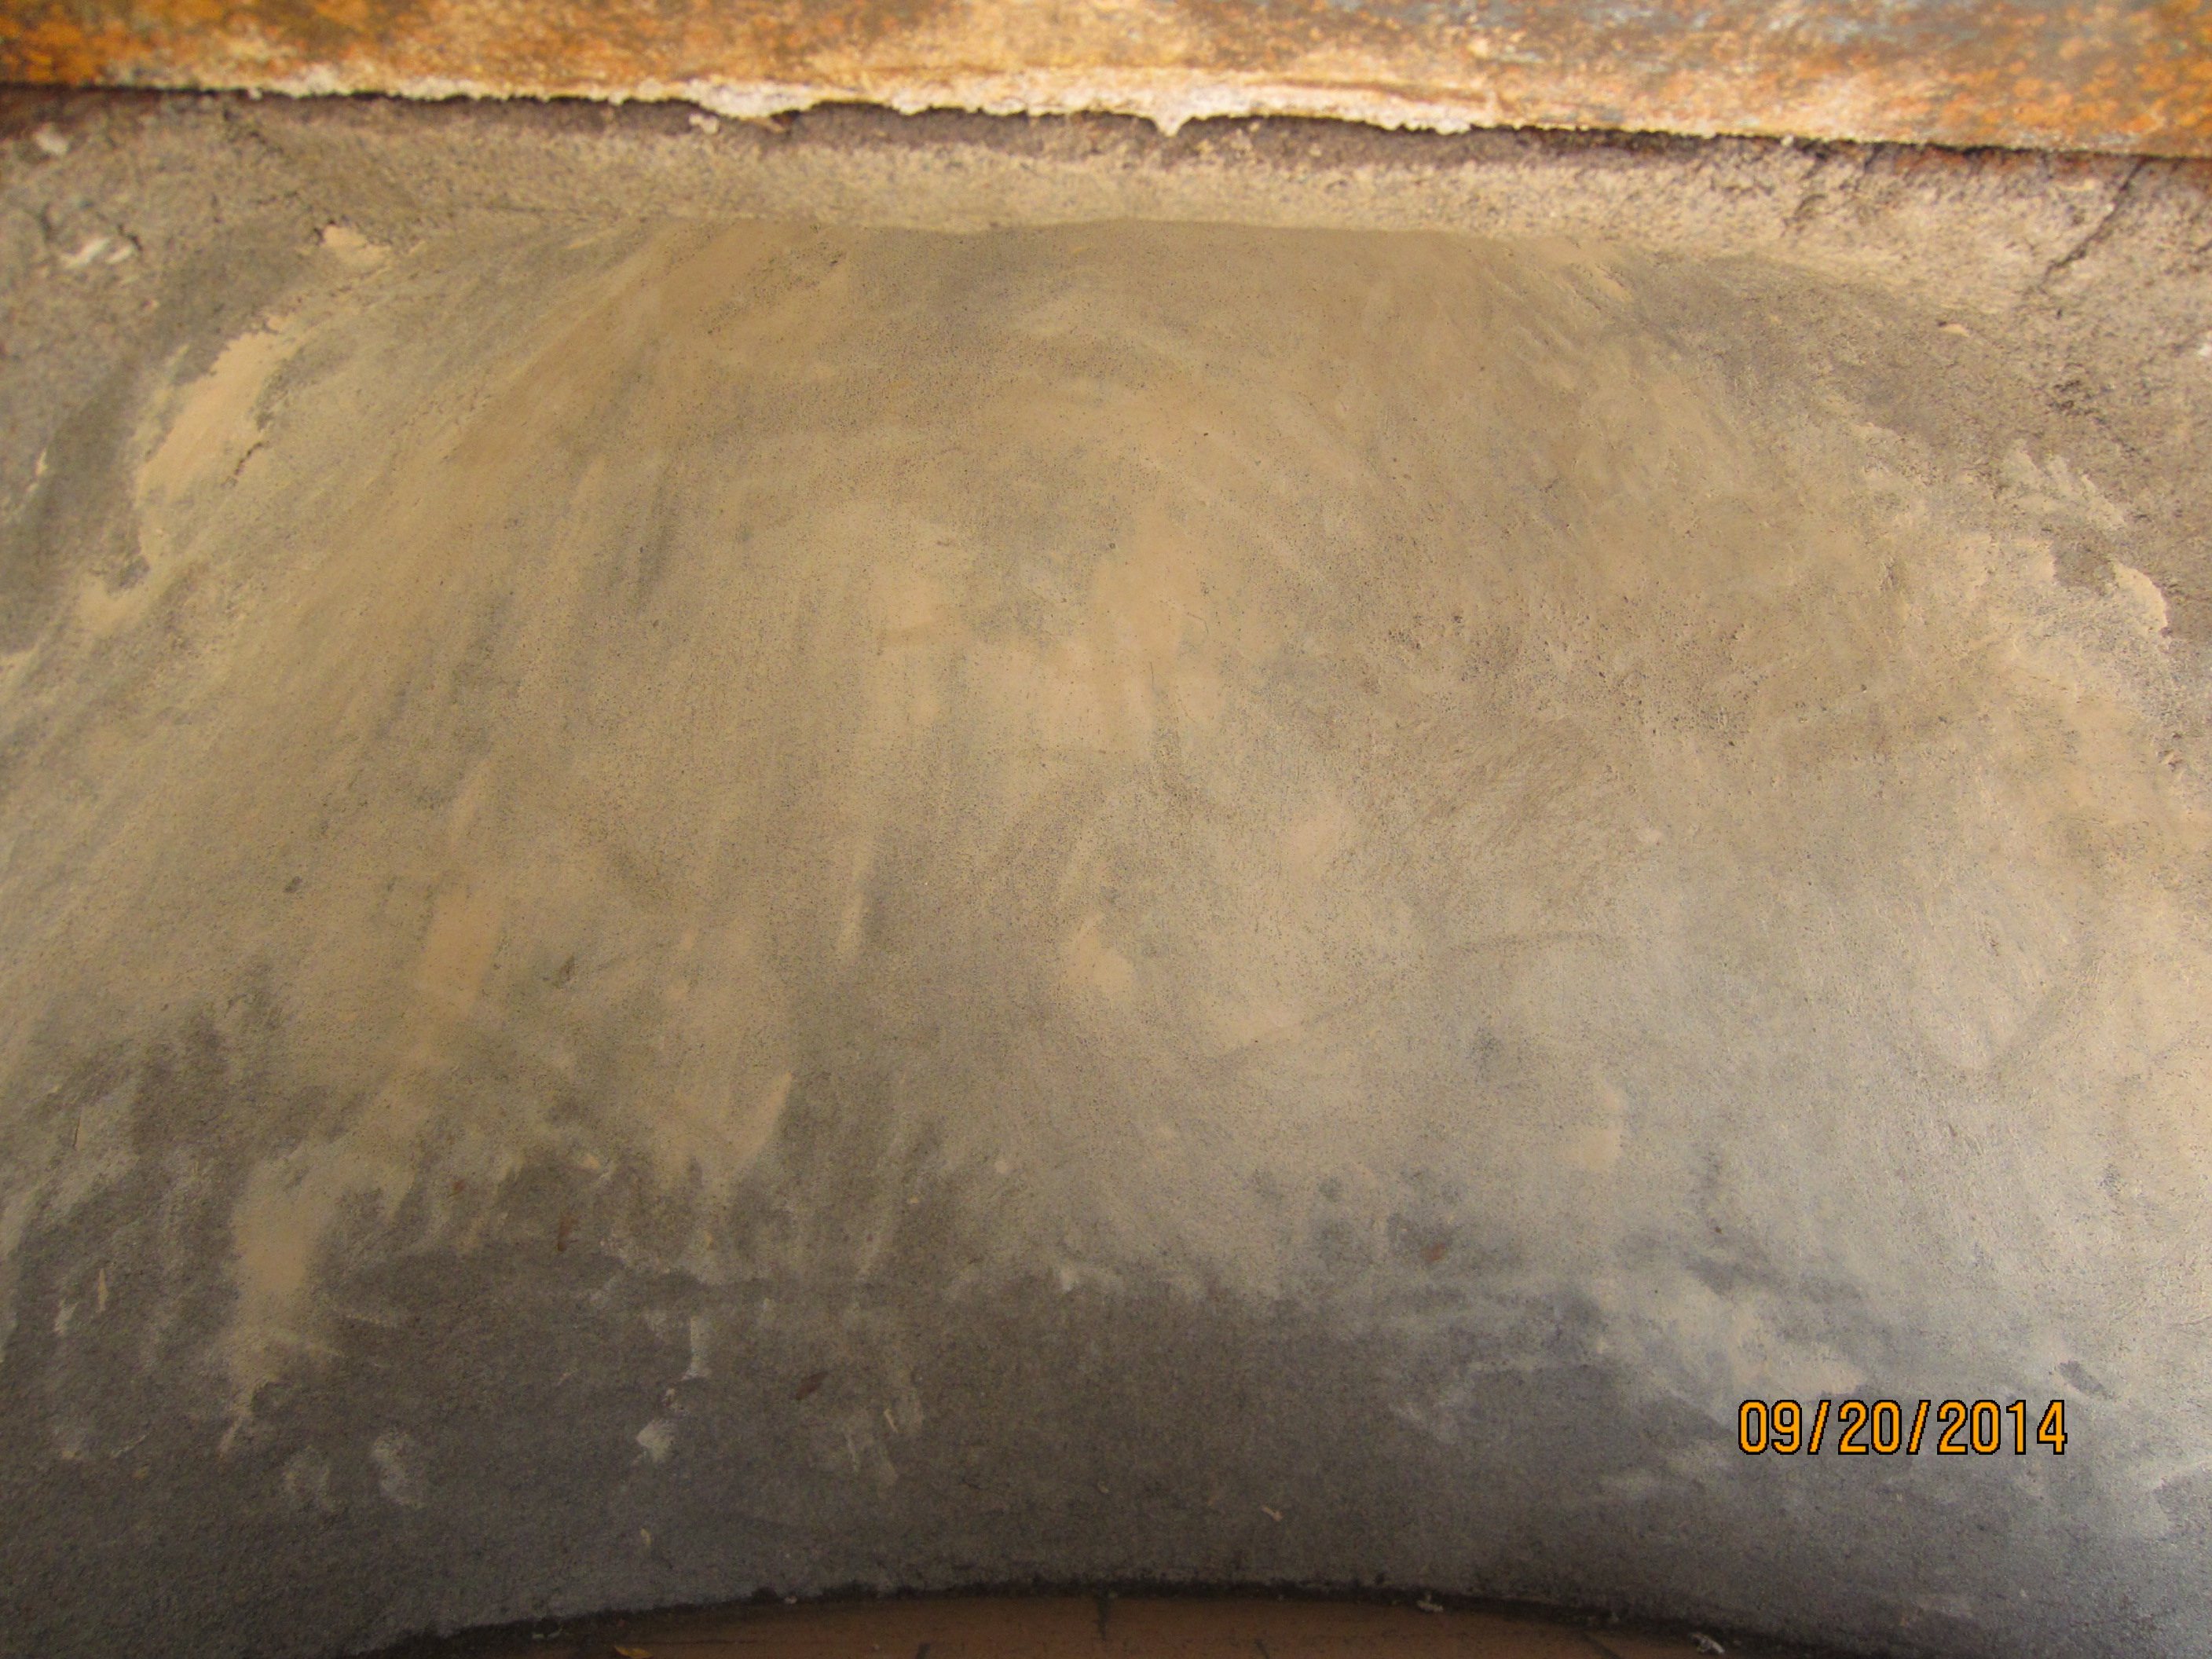
The sand and newspaper has been removed from the oven cavity. The inside of the dome isn’t dry yet, so I was a little concerned it might slump.

As the inside dries (the outside was significantly drier by now) some cracks form. I don’t want sand and clay to spall off of the dome into our food, so I set about filling in the cracks with some wet thermal mix and massaging it in with the back of a serving spoon.
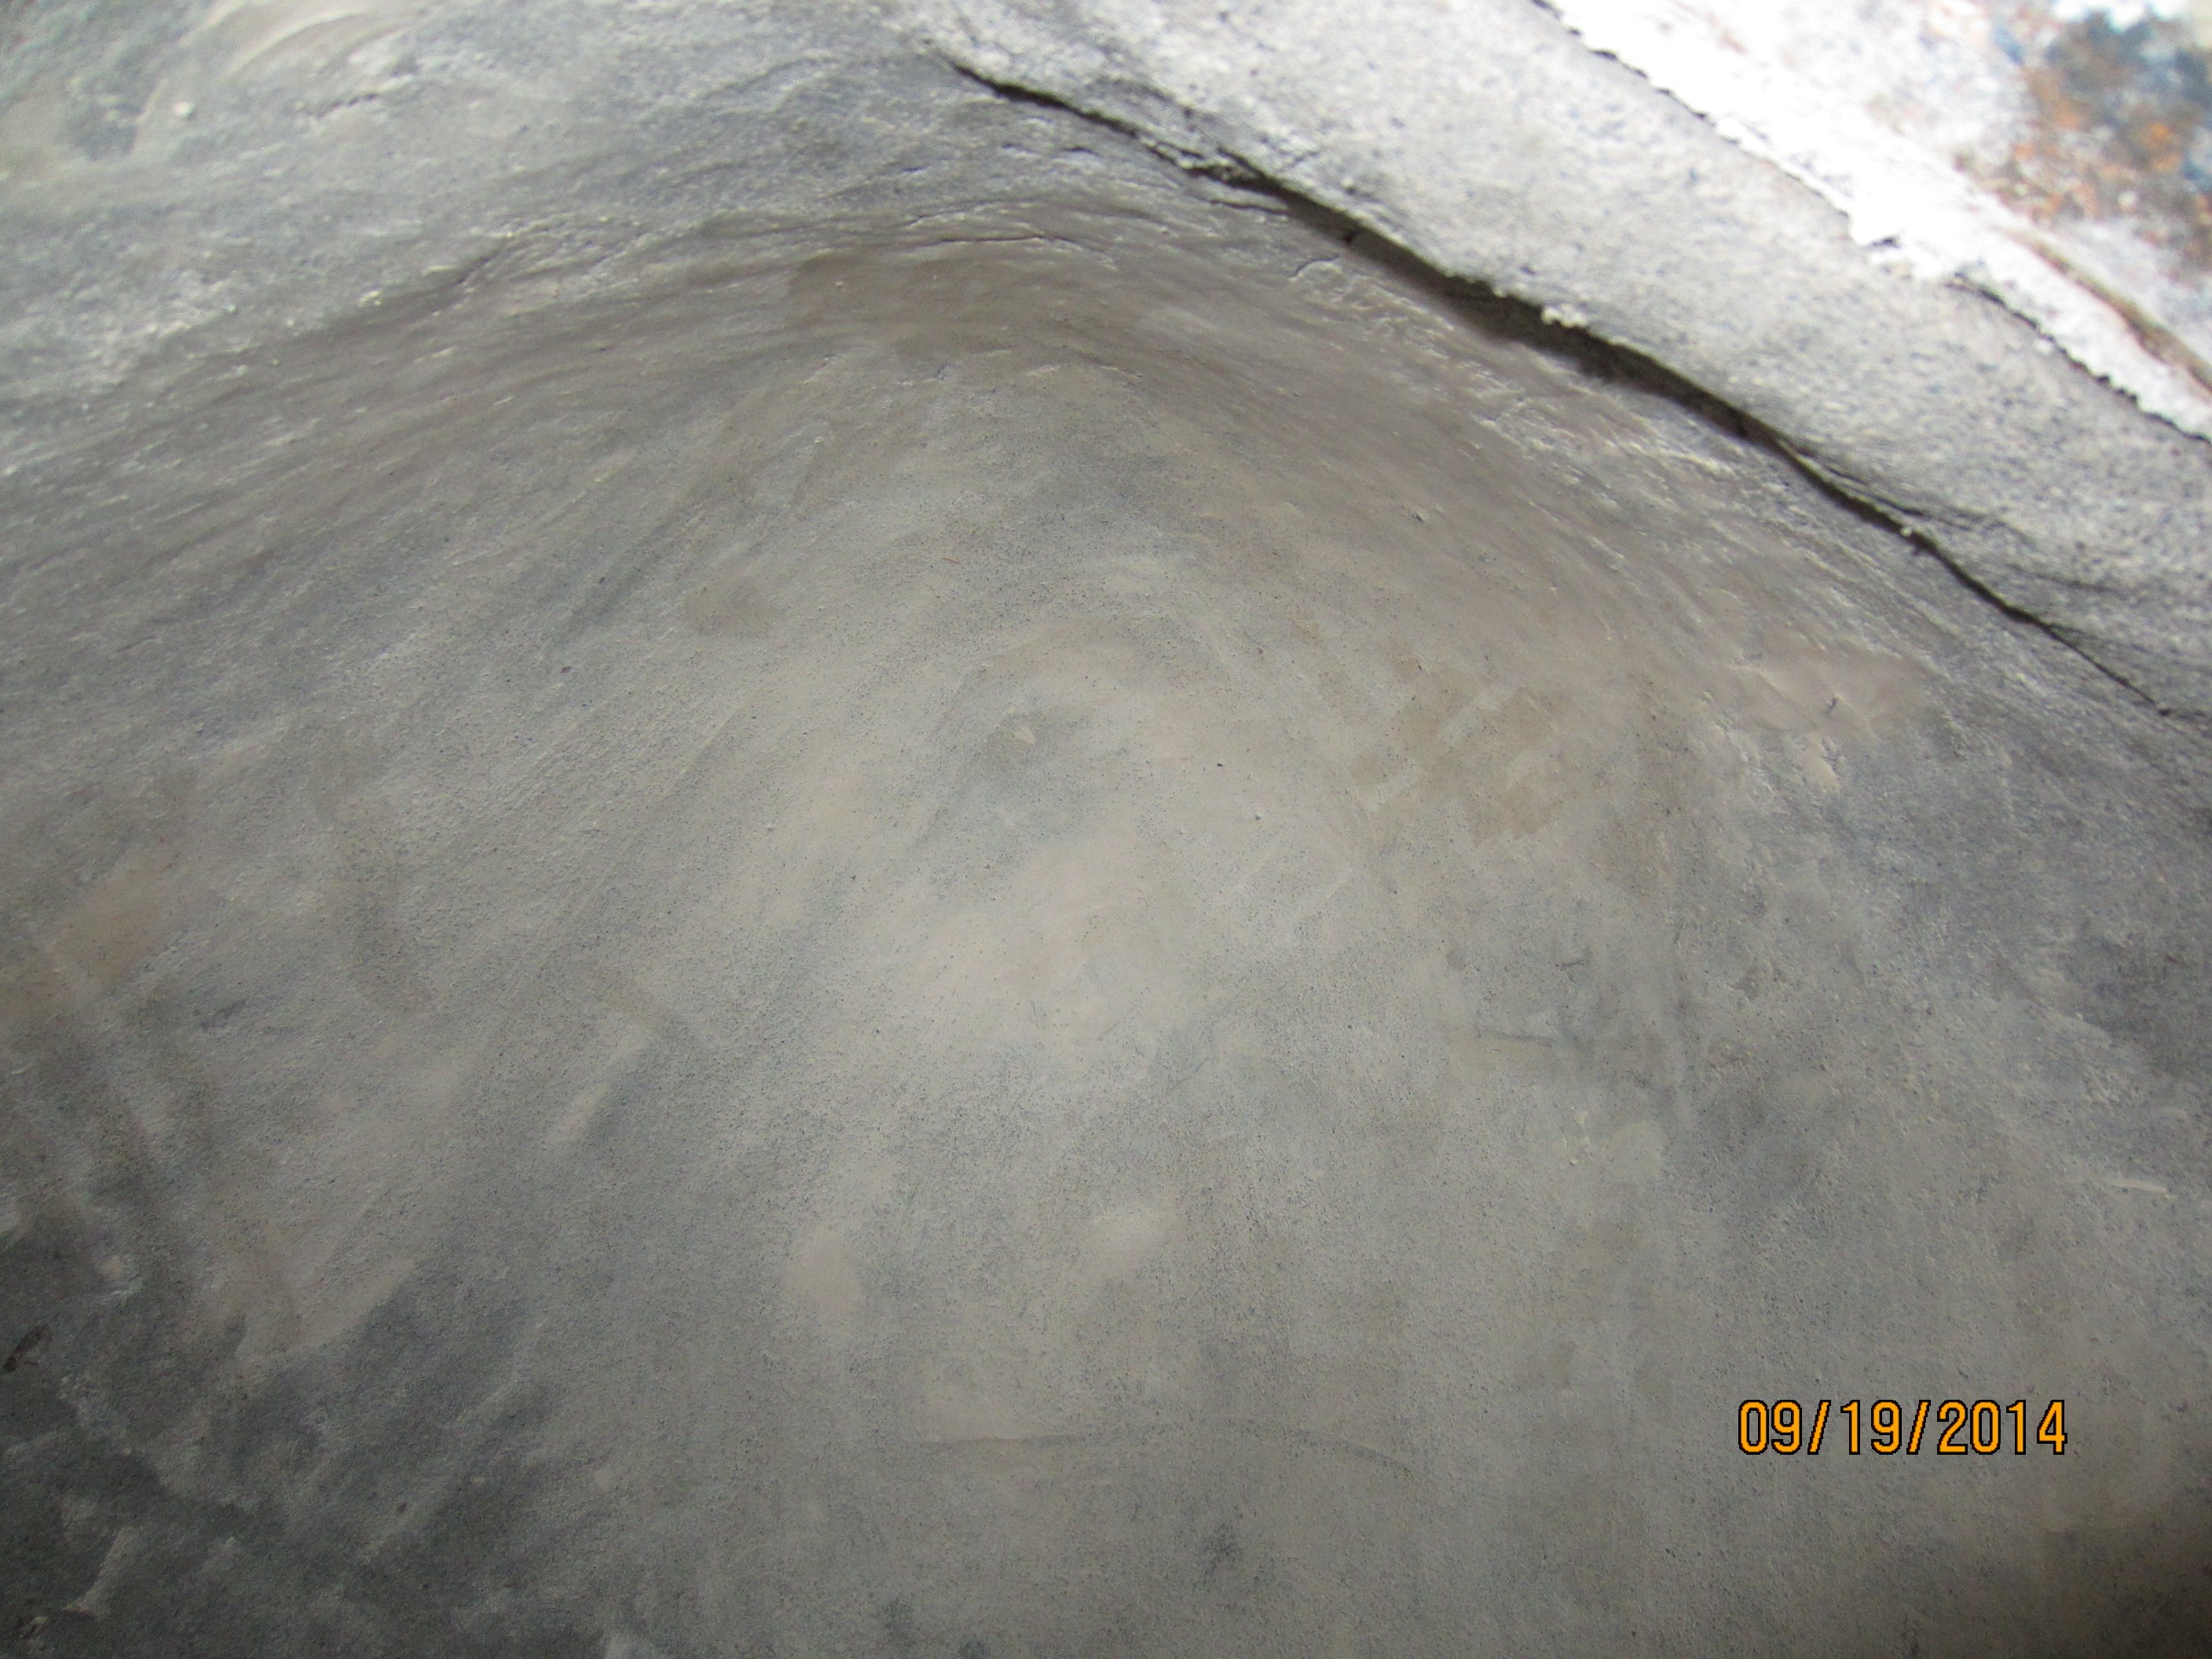
First pass with the spoon is done, and the dome is looking pretty smooth, though still pretty wet.
In an effort to speed things up on the inside I fire up two cans of sterno.
After a little more drying and cracking (and 2 more rounds of patching/smoothing) the dome is looking good and feeling dry.
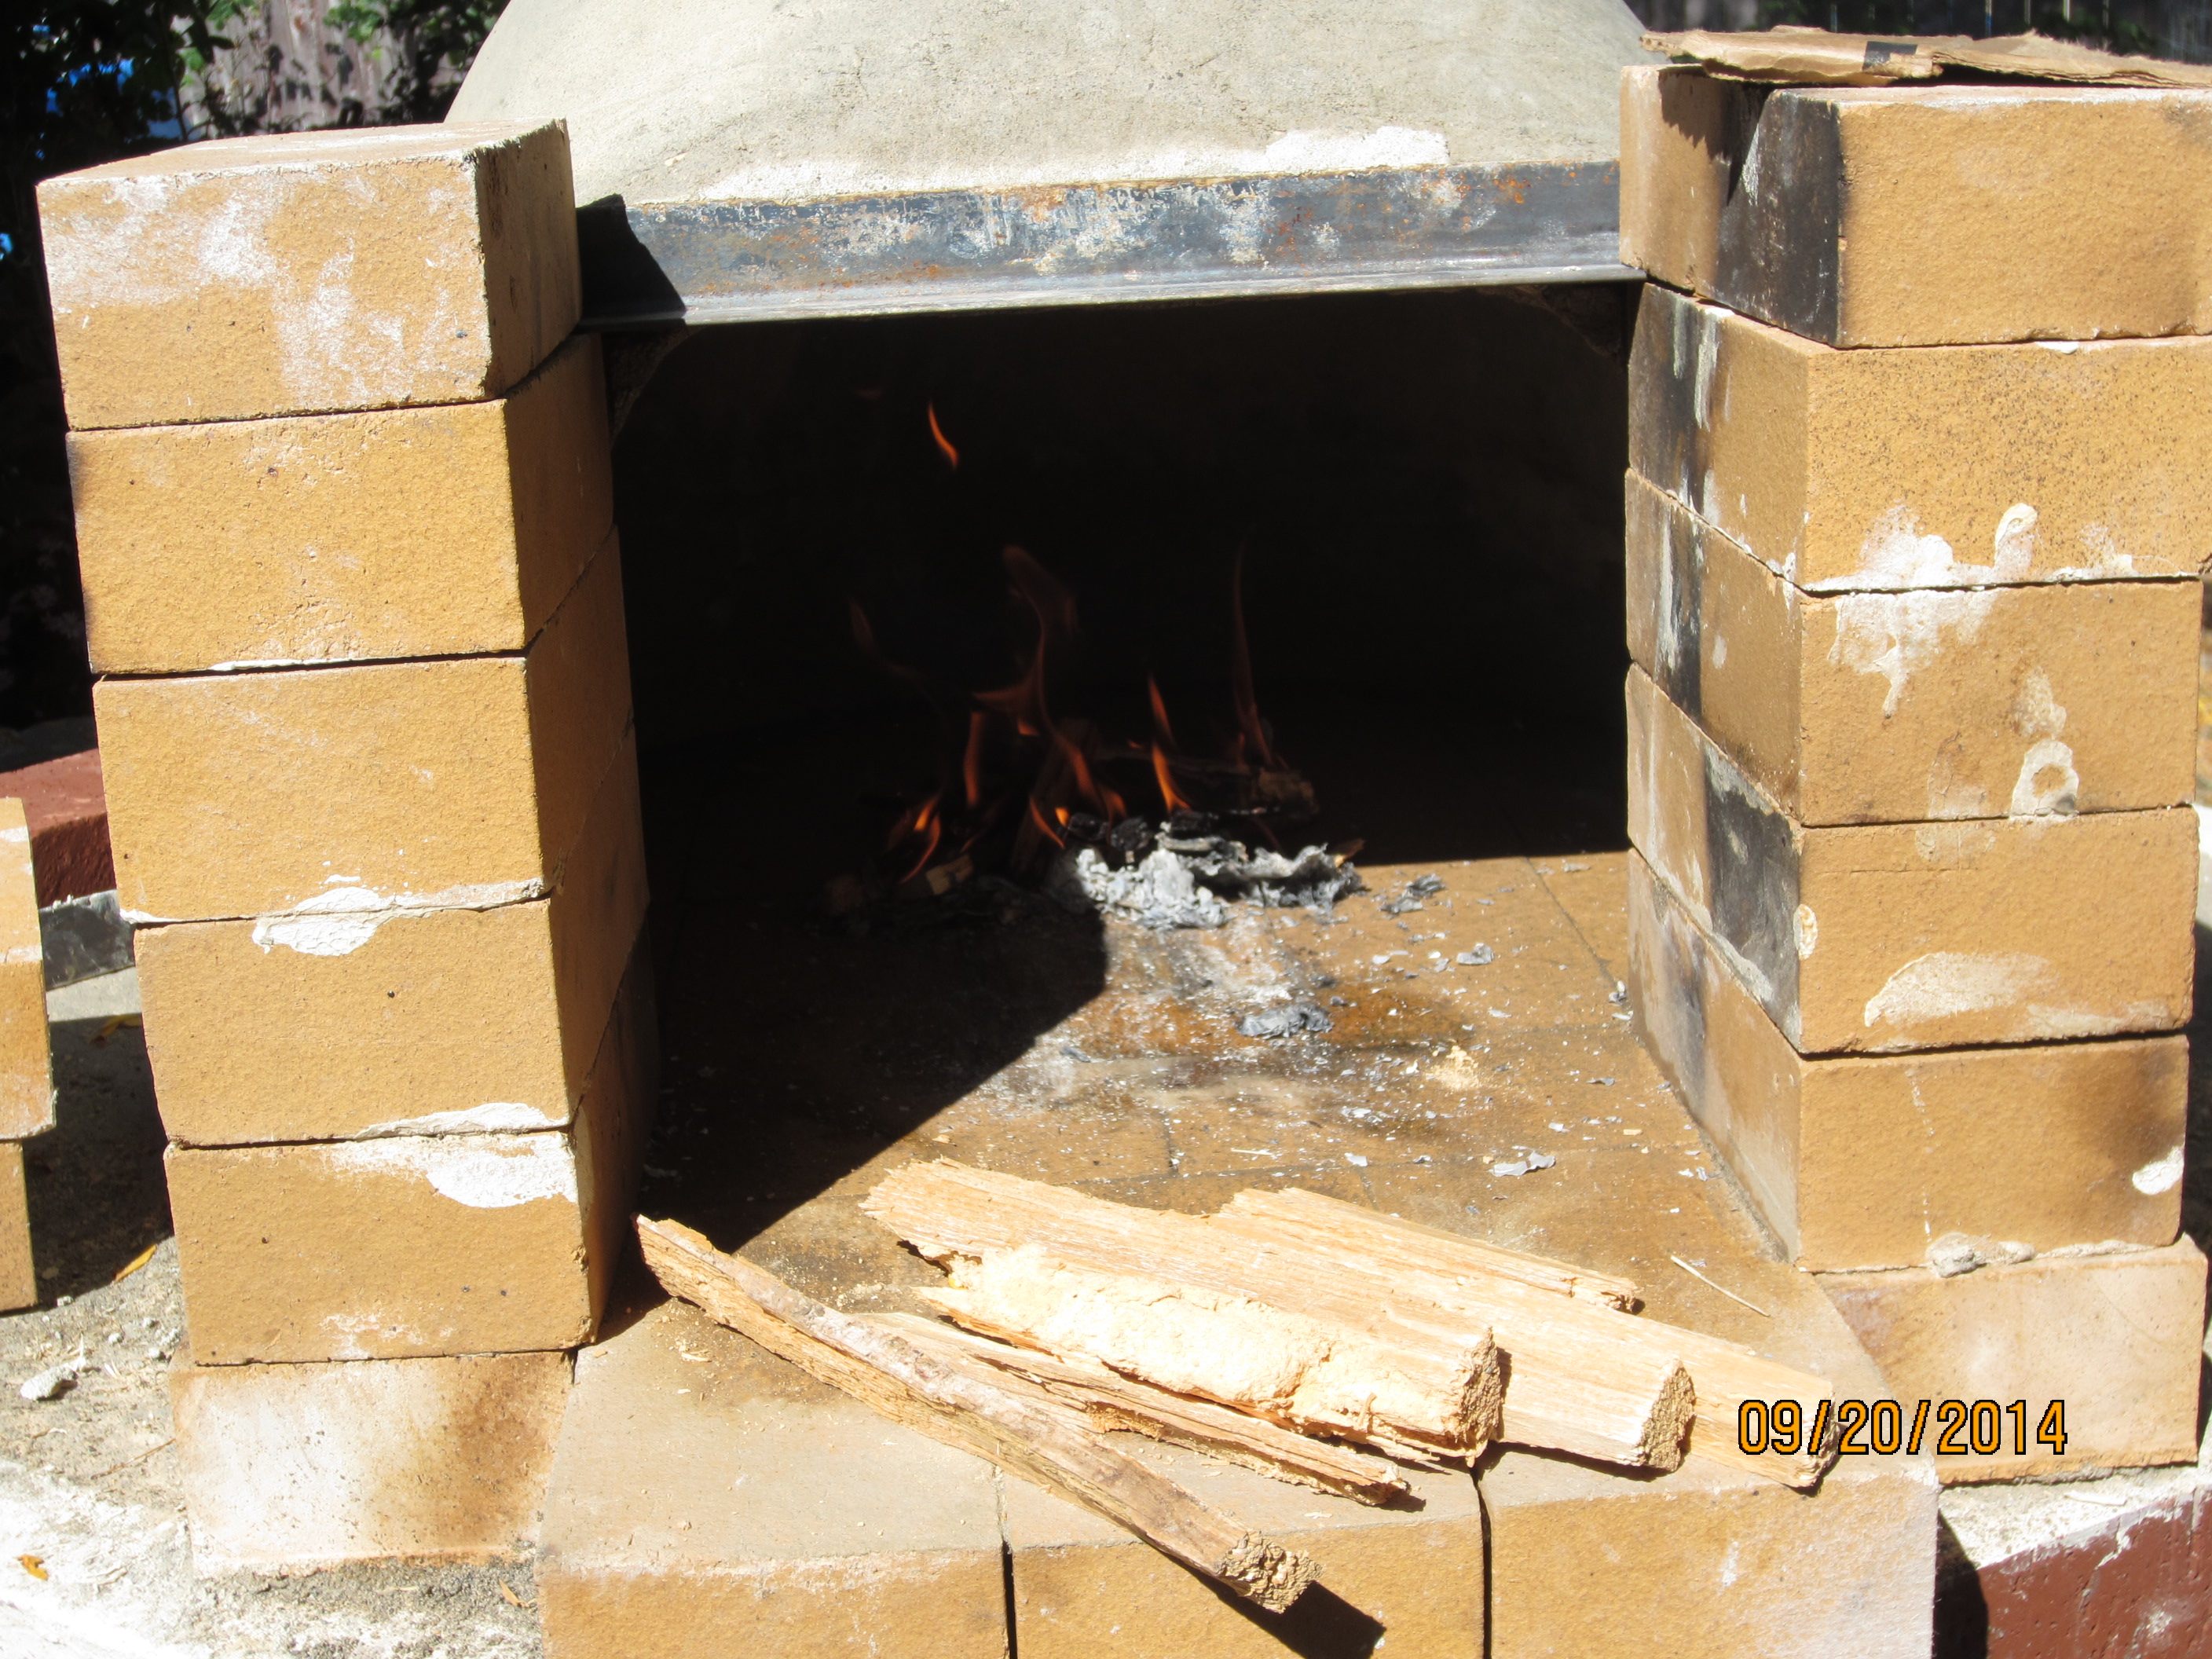
Now we attempt to really get things moving with a small ‘drying fire’ just inside the dome.

Since the drying fire went well I decide a little more fire might speed things up…

As the fire is burning, drying out the dome, we add the first layer of insulation mix. More of the clay slip and wood shavings. Since the dome is dry it probably won’t stick well, but this is OK since the layers will be acting independently, both structurally and functionally.
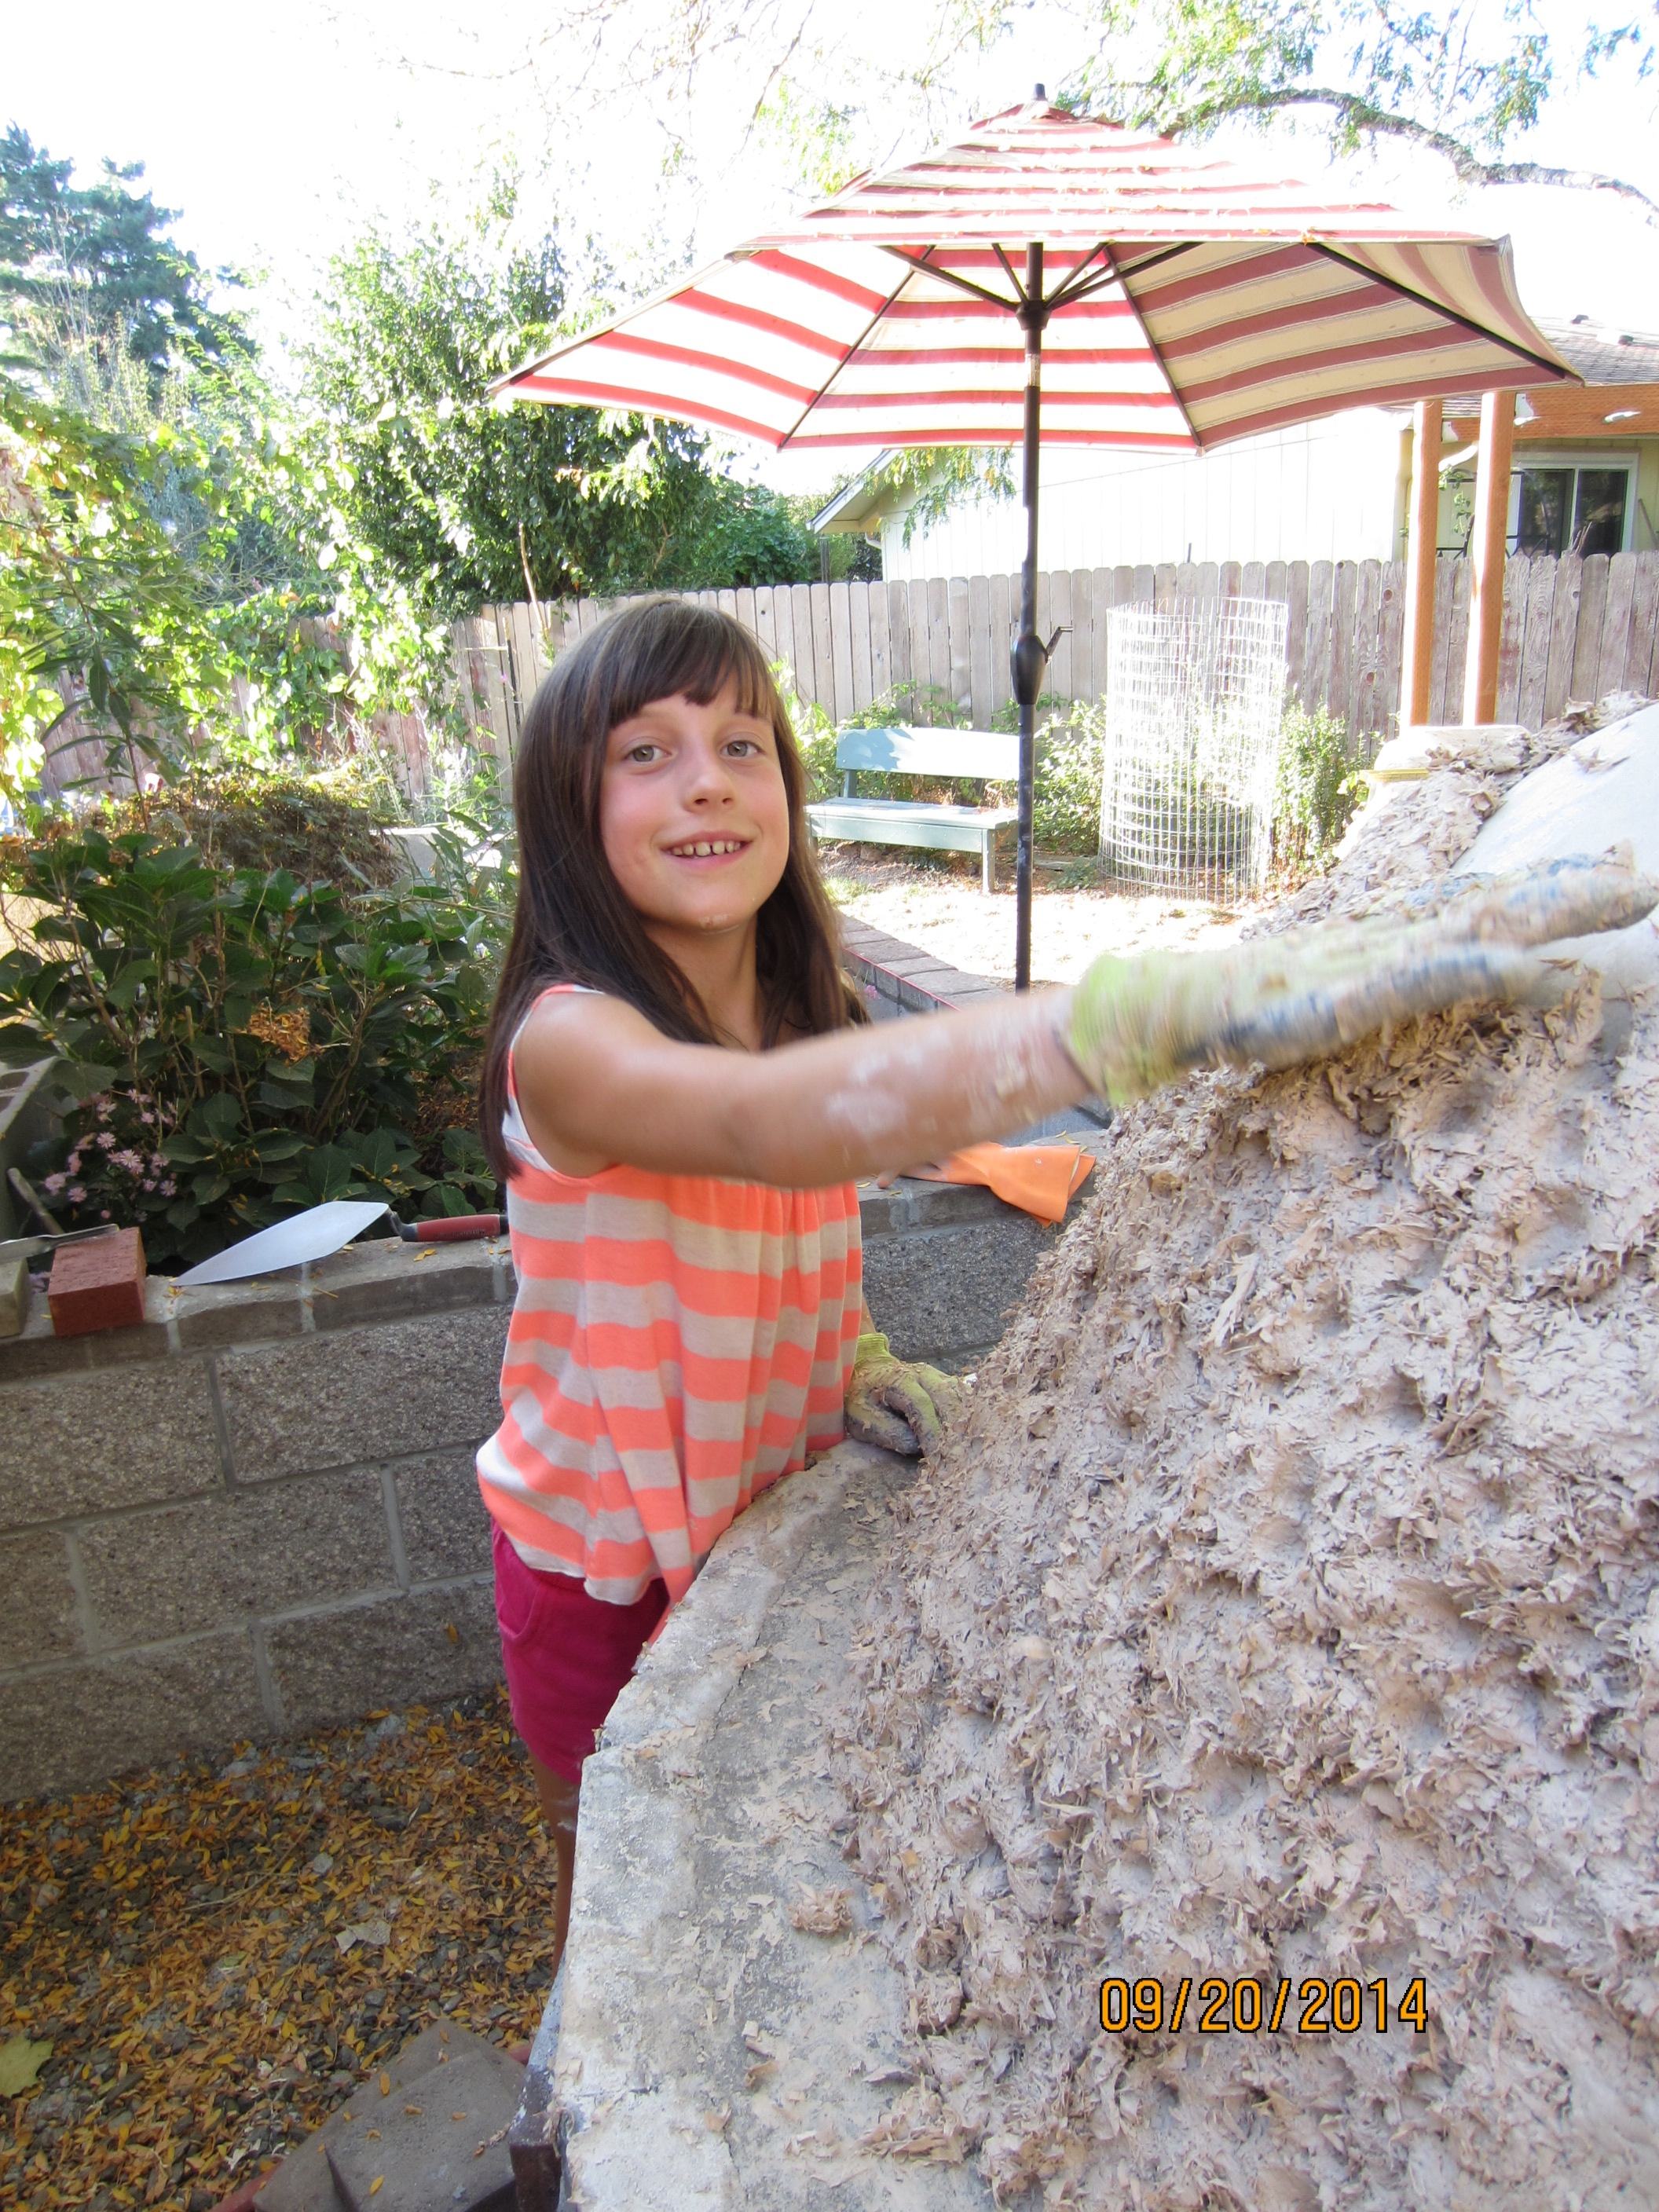
Chloe puts the finishing touches on the first insulation layer. Notice the divots in the insulation. This is so that the next layer will bond to it.