Posts Tagged ‘cloches’

This is how the garden looked in August 1998.  All those beautiful raised beds are rotting into the ground after 15 years and need to be replaced.

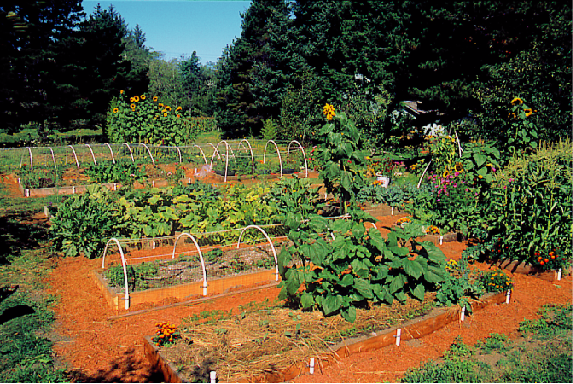
This is how the garden looked in August 1997. All those beautiful raised beds are now rotting into the ground after 16 years and need to be replaced.

Trex-built raised bed 5-5-13

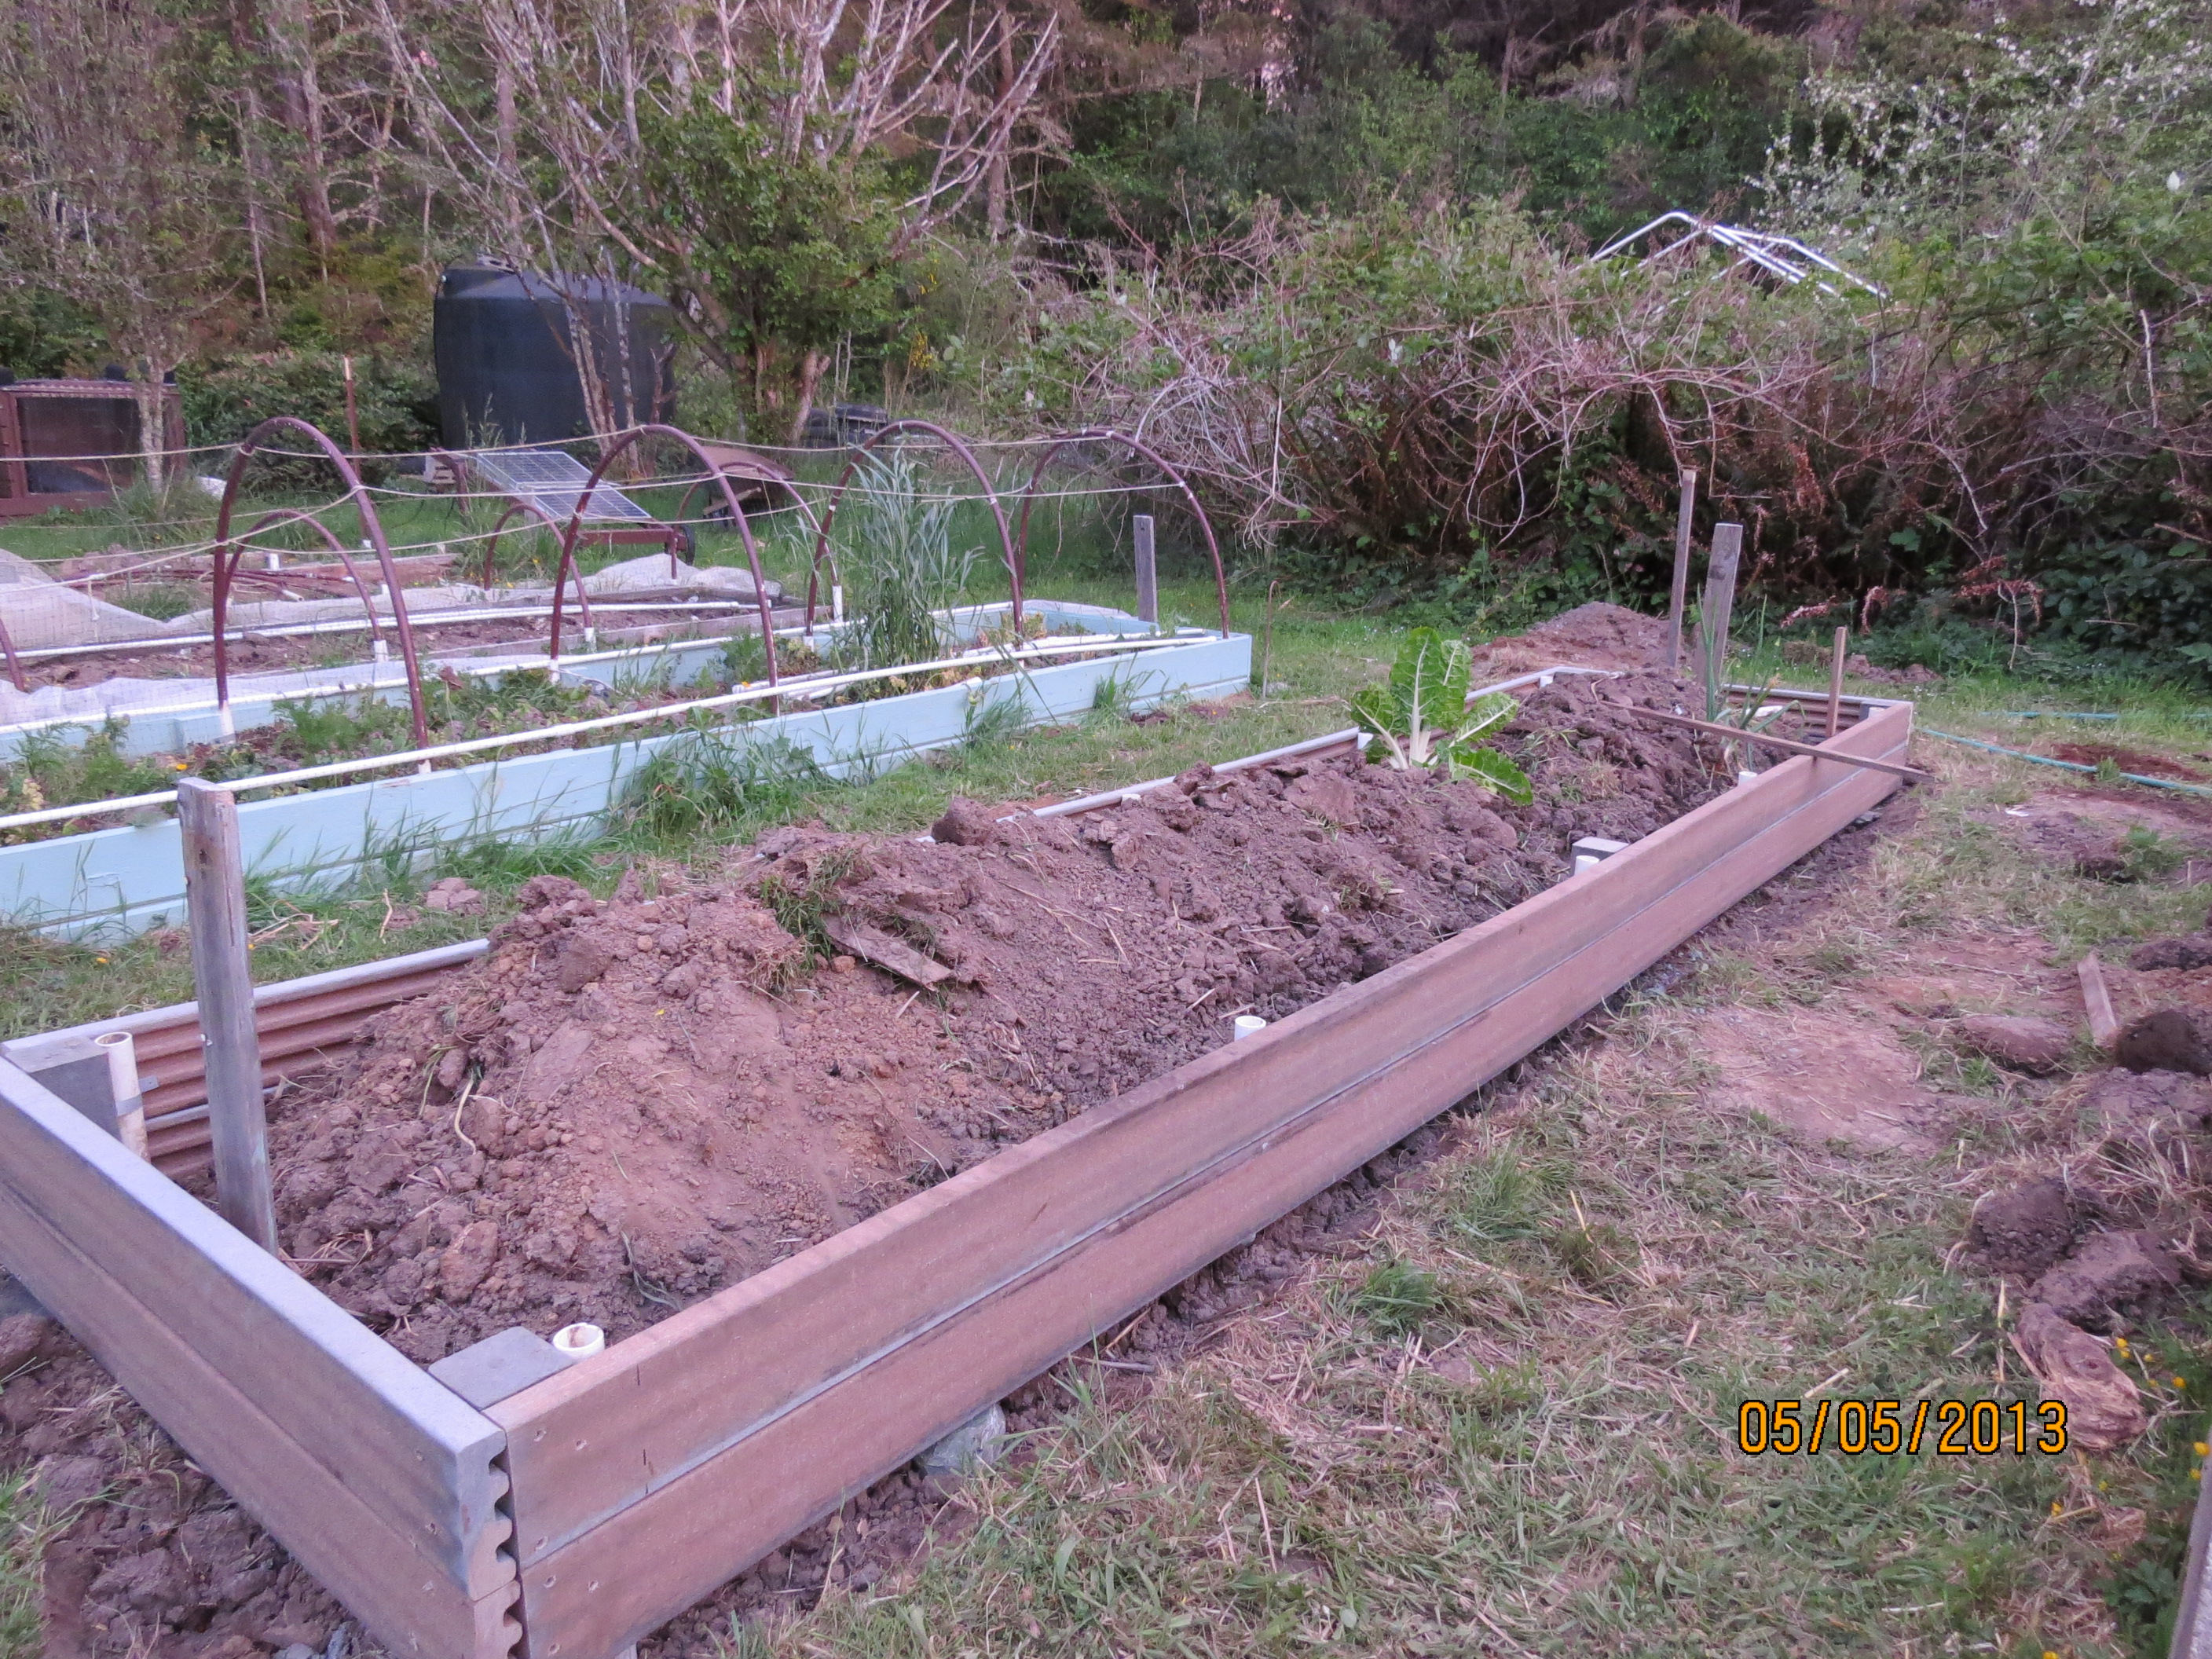
Trex-built raised bed 5-5-13  Don’t look at the background…it’s messy.  I’m linear.  I can only work on one bed at a time!

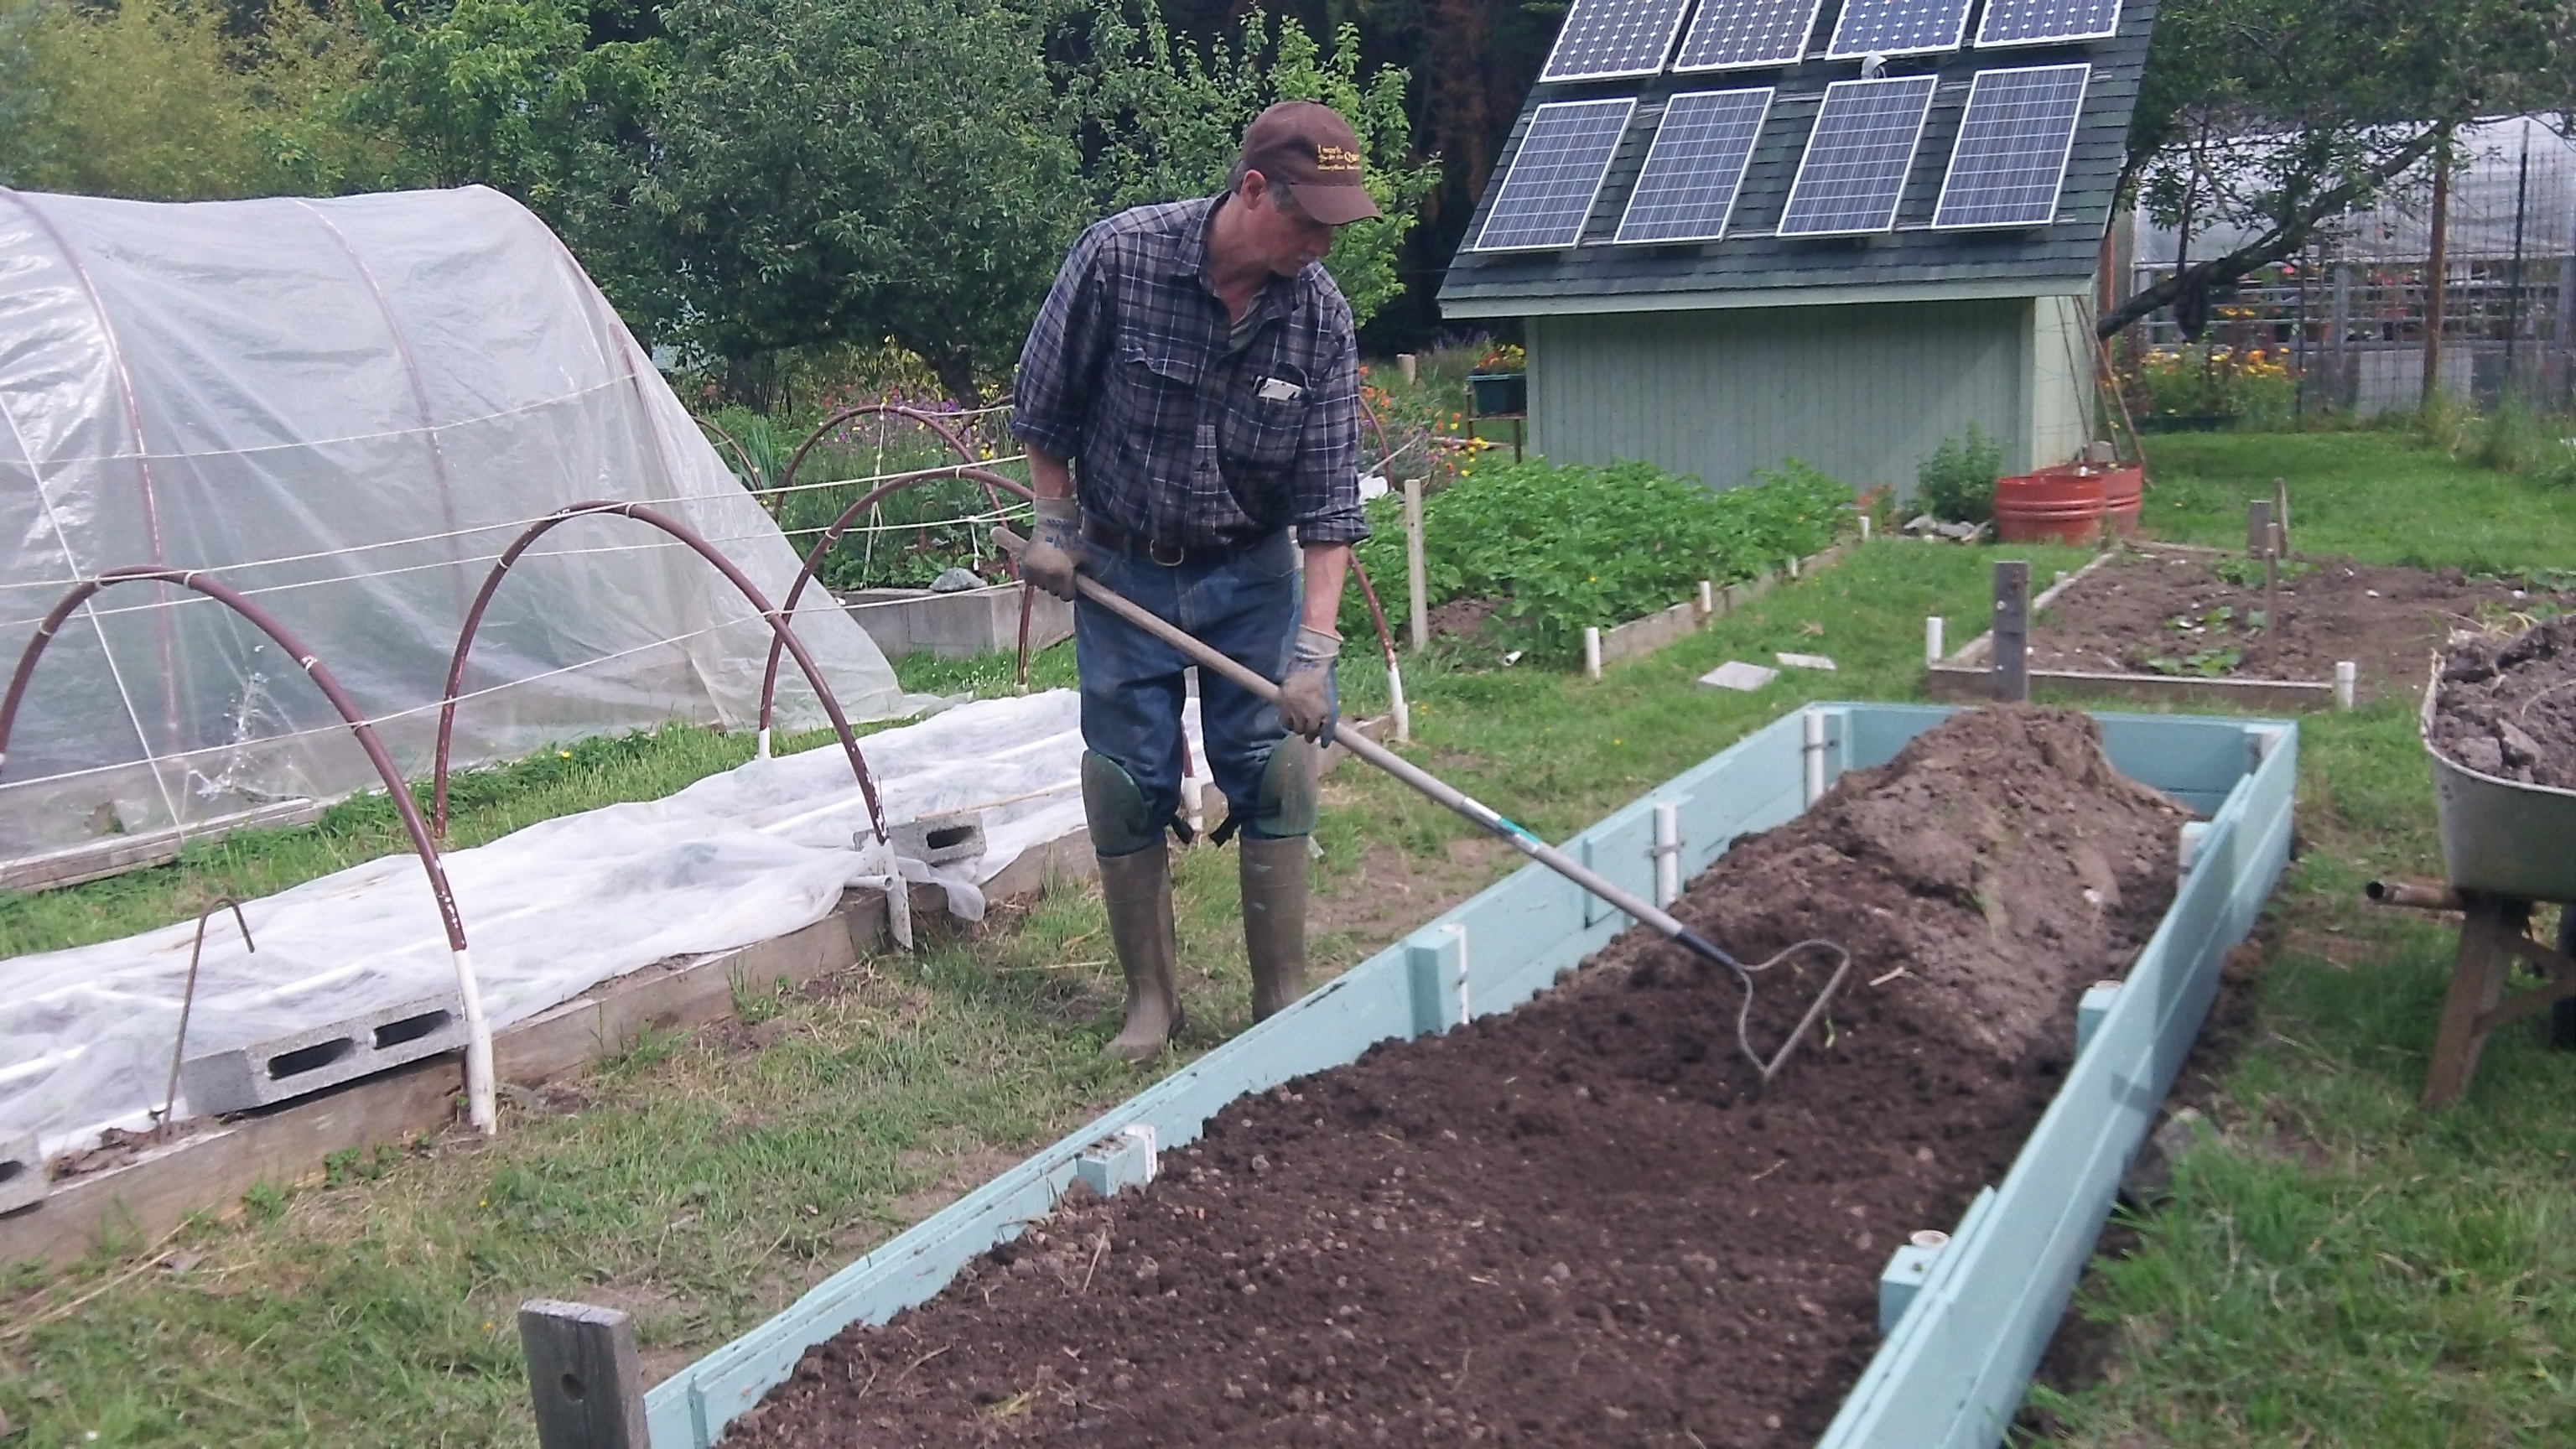
We built most of our raised beds in 1996 and ’97.  The lumber came from a small sawmill using white cedar that had been passed over by the big timber companies.  It was sawn to a full 2 x 10 x 16′ (5.08 cm x 25.4 cm x 4.87 m)  It was beautiful wood.  We had less personal time then but more energy…lots more.  As good as that wood was, it still rots when in contact with the soil.  So after 17 years all those 16 beds have got to be replaced.  We found this decking material on close-out.  It’s not cheap but is supposed to outlast wood.  It’s a little wobbly so I had to set the corners in concrete, but if it outlasts wood, it’ll be worth it.  We’re trying to replace ONE raised bed a year now.  The green one was built last year out of old siding…much cheaper than this one, but won’t last as long.

Soil leveled, drip water grid laid out, tires centered over drip holes in pvc.

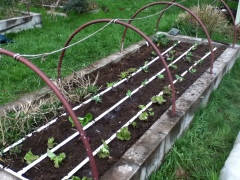
Soil leveled, drip water grid laid out, tires centered over drip holes. The tires extend the warm temps into the cool evening.

Hoops added with 1x2x8 re-enforcement.

Hoops added with 1 x2x 8 re-enforcement.  I use this to hold the tent open  too.

Don't glue any of the pvc like I did for many years.  That way you can have more options like this swing-away hose connection

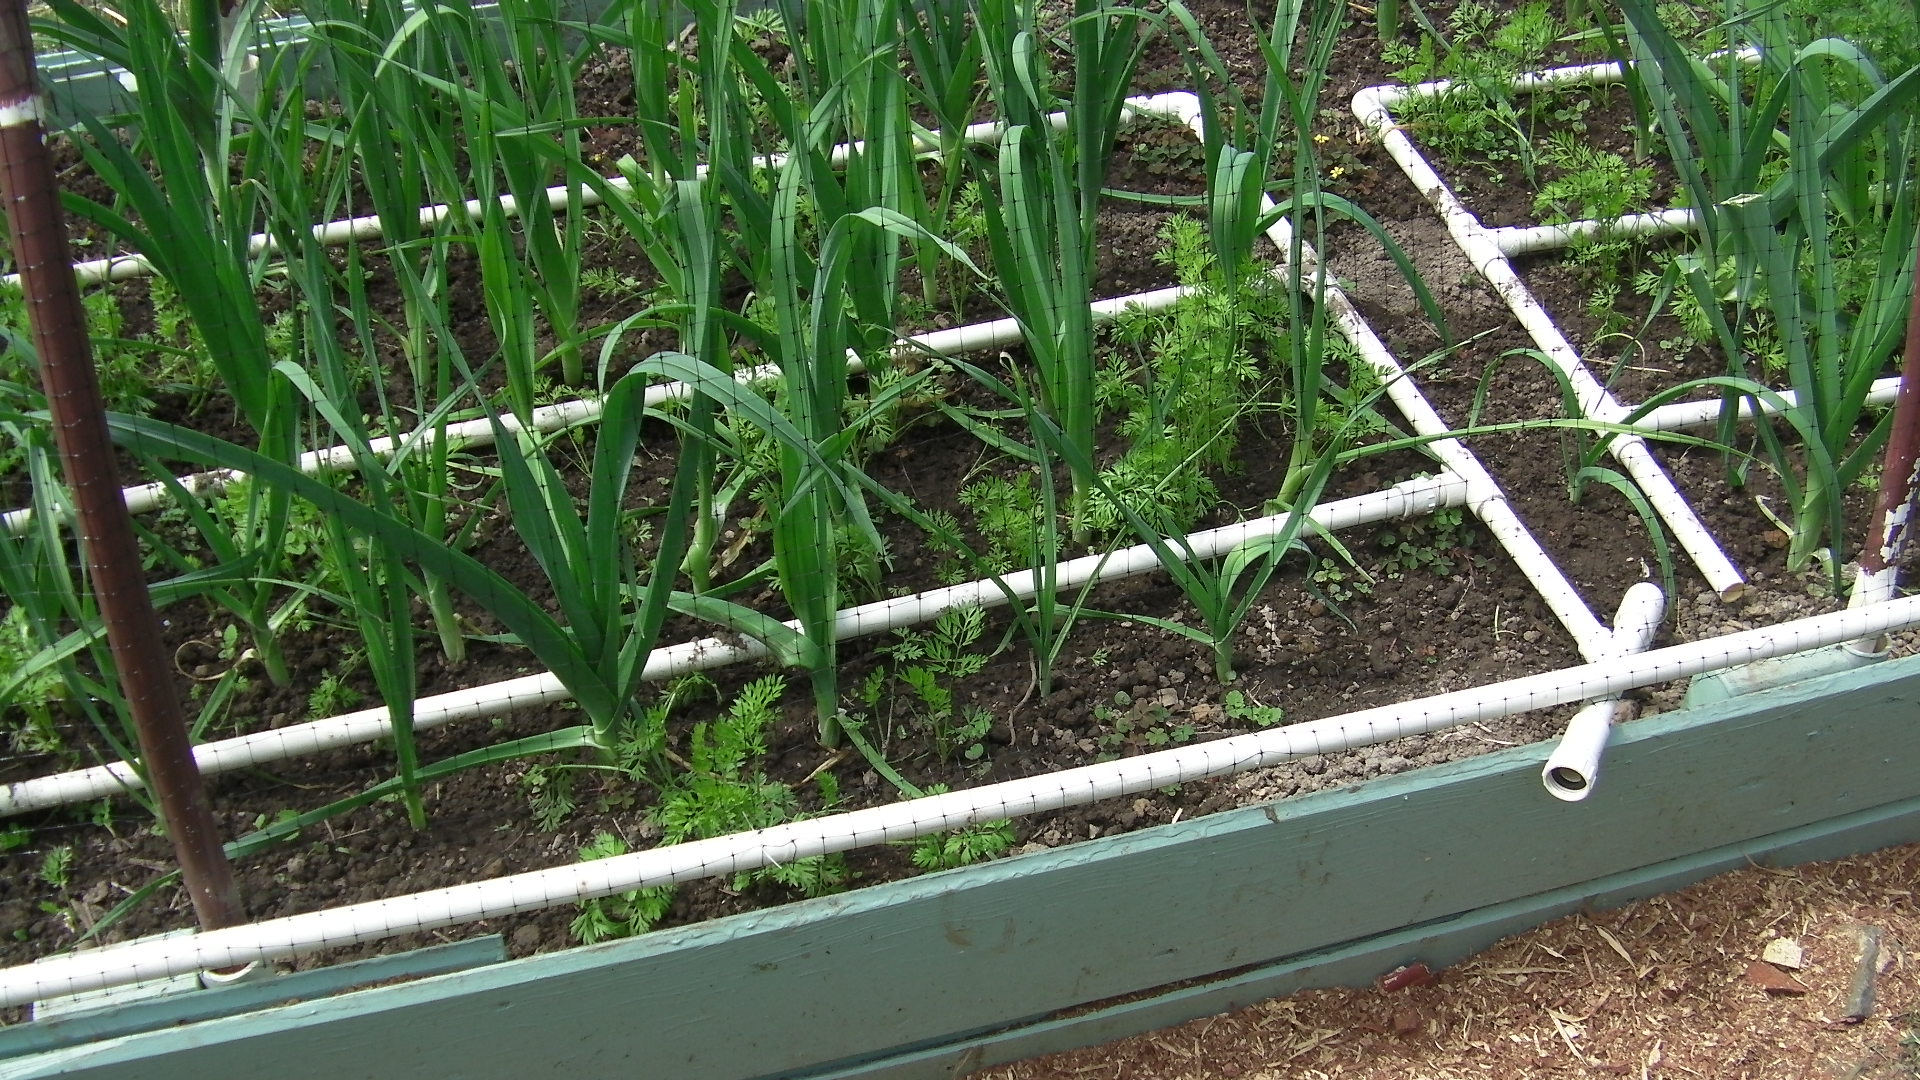
Don’t glue any of the pvc like I did for many years. That way you can have more options like this swing-away hose connection

Clear plastic over hoops, held up rope and the re-enforcement wood.

Clear plastic over hoops, held up by rope and the re-enforcement wood.  Why have ‘tents?’  Our night time temperatures will dip to 45 deg. F (7 deg. c)  even in the middle of summer.  Use 6 mil UV stable greenhouse film. It’ll last for years of opening and closing every day.  We like our tomatoes to be warm and happy.

Read Full Post »

Myy new raised bed made from scrap siding.

My new raised bed made from scrap siding.

After watching a video about extended season gardening about 15 years ago,  my wife and I decided to try it out.  We had to make a few adjustments to keep the tents from blowing down in the wind.  By strapping 1.25″ pvc to the inside of the wood we can adjust the height of the hoops…one year we’ll have short hoops for greens, the next year we’ll have tall hoops for tomatoes.

Those raised beds served us well, but are starting to rot.  When we replaced some partially rotten wood siding on the house, I decided to use it as a replacement raised bed.  I sawed out the rotten areas and just cobbled these together to get a 4′ x 16′ x 14″ tall bed.  (1.22 m x 4.87 m x 35 cm)  I painted this time with some left over house paint, hoping it will protect the wood for another 15 years.

I added two drip watering grids by using 8′ (2,44 m) pieces of pvc.  The joints do not have to be glued because with all the holes drilled in them, they won’t leak.   I drilled the holes about 6″ apart (15 cm) on each side and then plant where the water comes through.

Companion planting  (Look at the comfrey site too)

We’ve had trouble with growing carrots in the past.  Sometimes they fail to germinate.  If we get them to grow early in the season, the slugs get them.  So we wait until July or August, but then we get a carrot maggot, those little worms that tunnel into the carrots.  So in an effort to grow great carrots AND avoid the tunneling worms we found leeks to be a good companion plant to carrots.  They repel the carrot fly.

Drip water grid.  By not gluing the joints, I can use the same hose to grid connection, by slipping it off one grid, and onto the other.

Drip water grid. By not gluing the joints, I can use the same garden hose to water grid connection, by slipping it off one grid, and onto the other.  Also I can ‘mix and match’ the pvc to fit longer or shorter beds the following years.

Carrots and leeks growing well

Carrots and leeks growing well

3/4 inch pvc hoop slips easily into socket (Looks like I didn't paint it very well)

3/4 inch pvc hoop slips easily into socket (Looks like I didn’t paint it very well)

Deer love carrot tops, so to avoid building a 10' (3 m) fence all around the garden, we opt to net everything.  I've tried twine, wire, and now fishing line

Deer love carrot tops, so to avoid a high fence all around the garden, we opt to net everything. I’ve tried twine, wire, and now fishing line to tie the netting to some pvc.  It’s a very tedious job, but once it’s done, little effort is needed to flip the netting off.  Just remember to flip it back or the deer will enjoy.

By placing the plastic, I can decide to protect against the raging storms, or to let a gentle rain soak the soil

By placing the plastic, I can decide to protect against the raging storms, or to let a gentle rain soak the soil.  In winter, I keep the plastic on to protect them in frost or the occasional snow.

Healthy carrots and leeks

The reward are healthy carrots free of little black worms and leeks for the winter dishes.

Read Full Post »

Our nights get down to a chilly 47 degrees F (8 deg. C.) so without extra care it would be impossible to grow things like peppers and eggplants.

Water grid in place, hook up hose and place transplants where the water drips out.

Add hoops, deer netting and the plastic film weighted with 1×2’s nailed to  2×2’s.

This is what it looks like now (after 3 1/2 months) with some calendulas that my wife won’t let me take out and a volunteer Swiss Chard.

The green peppers are small because the nights are so cool, but at least we get some.

Japanese eggplant (the only one that will ripen here because it’s smaller) is finally ready to be picked.

Tomatoes are coming on strong…ready for sandwiches or to be roasted.

Tomatoes, peppers, eggplants, string beans, carrots, beets, basil, (and other herbs like oregano and thyme), onions and garlic slathered with olive oil, balsamic vinegar, salt and pepper.  Roast it at 425 deg. F for about 25 minutes or until the tomatoes start to brown.

After this cools, we throw it in the blender, then it goes into the quart size freezer bags so it will stack up well.  It can be used over rice or potatoes, or as a spaghetti or pizza sauce.

Check out planting tomatoes in a cool rainy climate.

Read Full Post »

Growing tomatoes on the Oregon Coast calls for special measures. This clear 6 mil UV resistant film ‘tent’ shields the soil from the drenching rainfalls of April and May. To get ripe tomatoes by early August we must often plant in inclement weather.

Beating the late blight is the name of the game in a cool climate. We don’t use fungicides so since the mid to late 90’s we follow some strict rules…NO overhead watering, drip watering only. Trim lower branches a so no leaves touch the ground. Do not follow tomatoes with potatoes or vice-versa for at least one year (two years are better).

After gardening in the same location for over 35 years, we always add amenities to enhance the soil…cottonseed meal, kelp meal, bone meal, blood meal, dolomite, gypsum. This is in addition to trenching in deciduous leaves, crab shell, and coffee grounds in the fall.

The water grid is 1/2″ pvc with 1/8″ holes drilled in the proper spacing for tomatoes. It can be gravity fed from the tank that is powered by solar, delivering the water directly to the roots.

The tires are centered over the holes to add extra warmth into the evening.

Pinch off lower leaves, add a bit of fish meal, place in ground with lots of compost and plant deep.

Next add the hoops…these are 3/4″ pvc that fit loosely into 1 1/4″ pvc sockets. These hoops are strong and last for years (Schedule 40) Strengthen them with rope and 1×2’s.

Use a taut-line hitch to take up slack when rope stretches.

This is 6 mil, UV resistant film. 2x2x8’s are butted up to each other and 1×2’s are nailed to hold them together. Then the film is nailed to them using more 1×2’s. That forms the weight to hold the film over the hoops. If you “under roll” the film and tie it to the hoop with a slip knot it will stay up all day. At night or during a rain, we always close the tents to keep water off the leaves. Tomatoes need air circulation, so it’s important to open the tents whenever possible.Tent is closed protecting the plants from the cool night air. Since we like to eat tomatoes in the winter, we plant about 60 plants. This is the first tomato bed this season and holds 15 plants. The cages will be added later when after we’ve treated them with bleach water.  Check out the cages here…added a month later.

Preserving the tomatoes.

Read Full Post »

20120331-204020.jpg
This bed has crab shell and coffee grounds. Both are waste products that I picked up last summer using my bicycle and trailer. Also buried within are autumn leaves.
Last weekend we covered the bed with a plastic tent over pvc hoops to dry out the soil.
Today a 3 hour break in the storm served as our chance to get this first bed planted.
The cabbage, collards, and lettuce were started from seed in the house under lights in late February. The soil was full of earthworms and just right to add amenities, rake smooth, hook up the water grid, and pop in the transplants. (no rototilling because we’re trying to avoid using fossil fuel in the garden)

20120331-210342.jpg
A floating row cover will be placed over the cabbages to protect them from the cabbage moth and cabbage fly, then netting to keep out the deer, followed by the plastic film tent to protect them from the high winds and driving rain from the next set of storms. March came in like a lamb and is going out like a lion.

20120424-193710.jpg

Read Full Post »