Archive for the ‘Uncategorized’ Category
Contact
Posted in Uncategorized on August 26, 2015| 2 Comments »


Tulip Tree Wrap-up
Posted in Follow a tree, Tulip Tree, Uncategorized, tagged American Tulip tree, Liriodendron tulipfera, Tulip Tree, Tulip tree blossom, Tulip tree leaf, Tulip tree seed pod on February 8, 2015| 16 Comments »


Things I learned this year…
• The Tulip tree (Liriodendron tulipfera) also called the American Tulip, Tulip Poplar, or Yellow Poplar is a member of the Magnolia family. It’s an important nectar source for bees across Tennessee, Kentucky, and much of the eastern US.
• The wood of choice for organs, panels of carriages, coffin boxes, wooden ware and because it’s resistant to termites, house and barn sills were made using tulip poplar beams.
• The wood is lightweight and was preferred by Native American tribes in the construction of canoes.
• Tea was made from the inner bark to treat fevers and indigestion.
• The bark can be chewed for an aphrodisiac.
Many thanks to Lucy Corrander at Loose and Leafy for hosting the Tree Following blog
If you have keen powers of observation, a curiosity about nature, and a camera to record tree changes, please consider following a tree.
Let It Bee
Posted in Uncategorized, Videos, tagged bee mandala, mandalaone, painting a mandala on January 29, 2015| 16 Comments »

Let It Bee mandala…watercolor painting by Vikki Reed.
My sister is an artist who loves to paint mandalas. She starts on a mandala sometimes not knowing where it will lead. It was during one of our weekly conversations when I’m excited about hollowing out my next log hive that she feels compelled to add bees to her mandala and changes the title from “Let it Be” to “Let it Bee.”
“Let It Be” The story behind the mandala
“Let It Bee” The conclusion
This is a short video showing how the mandala takes shape. No computer graphics either…it’s all hand painted watercolor.
Building the Modern Way
Posted in Uncategorized on January 16, 2015| 8 Comments »
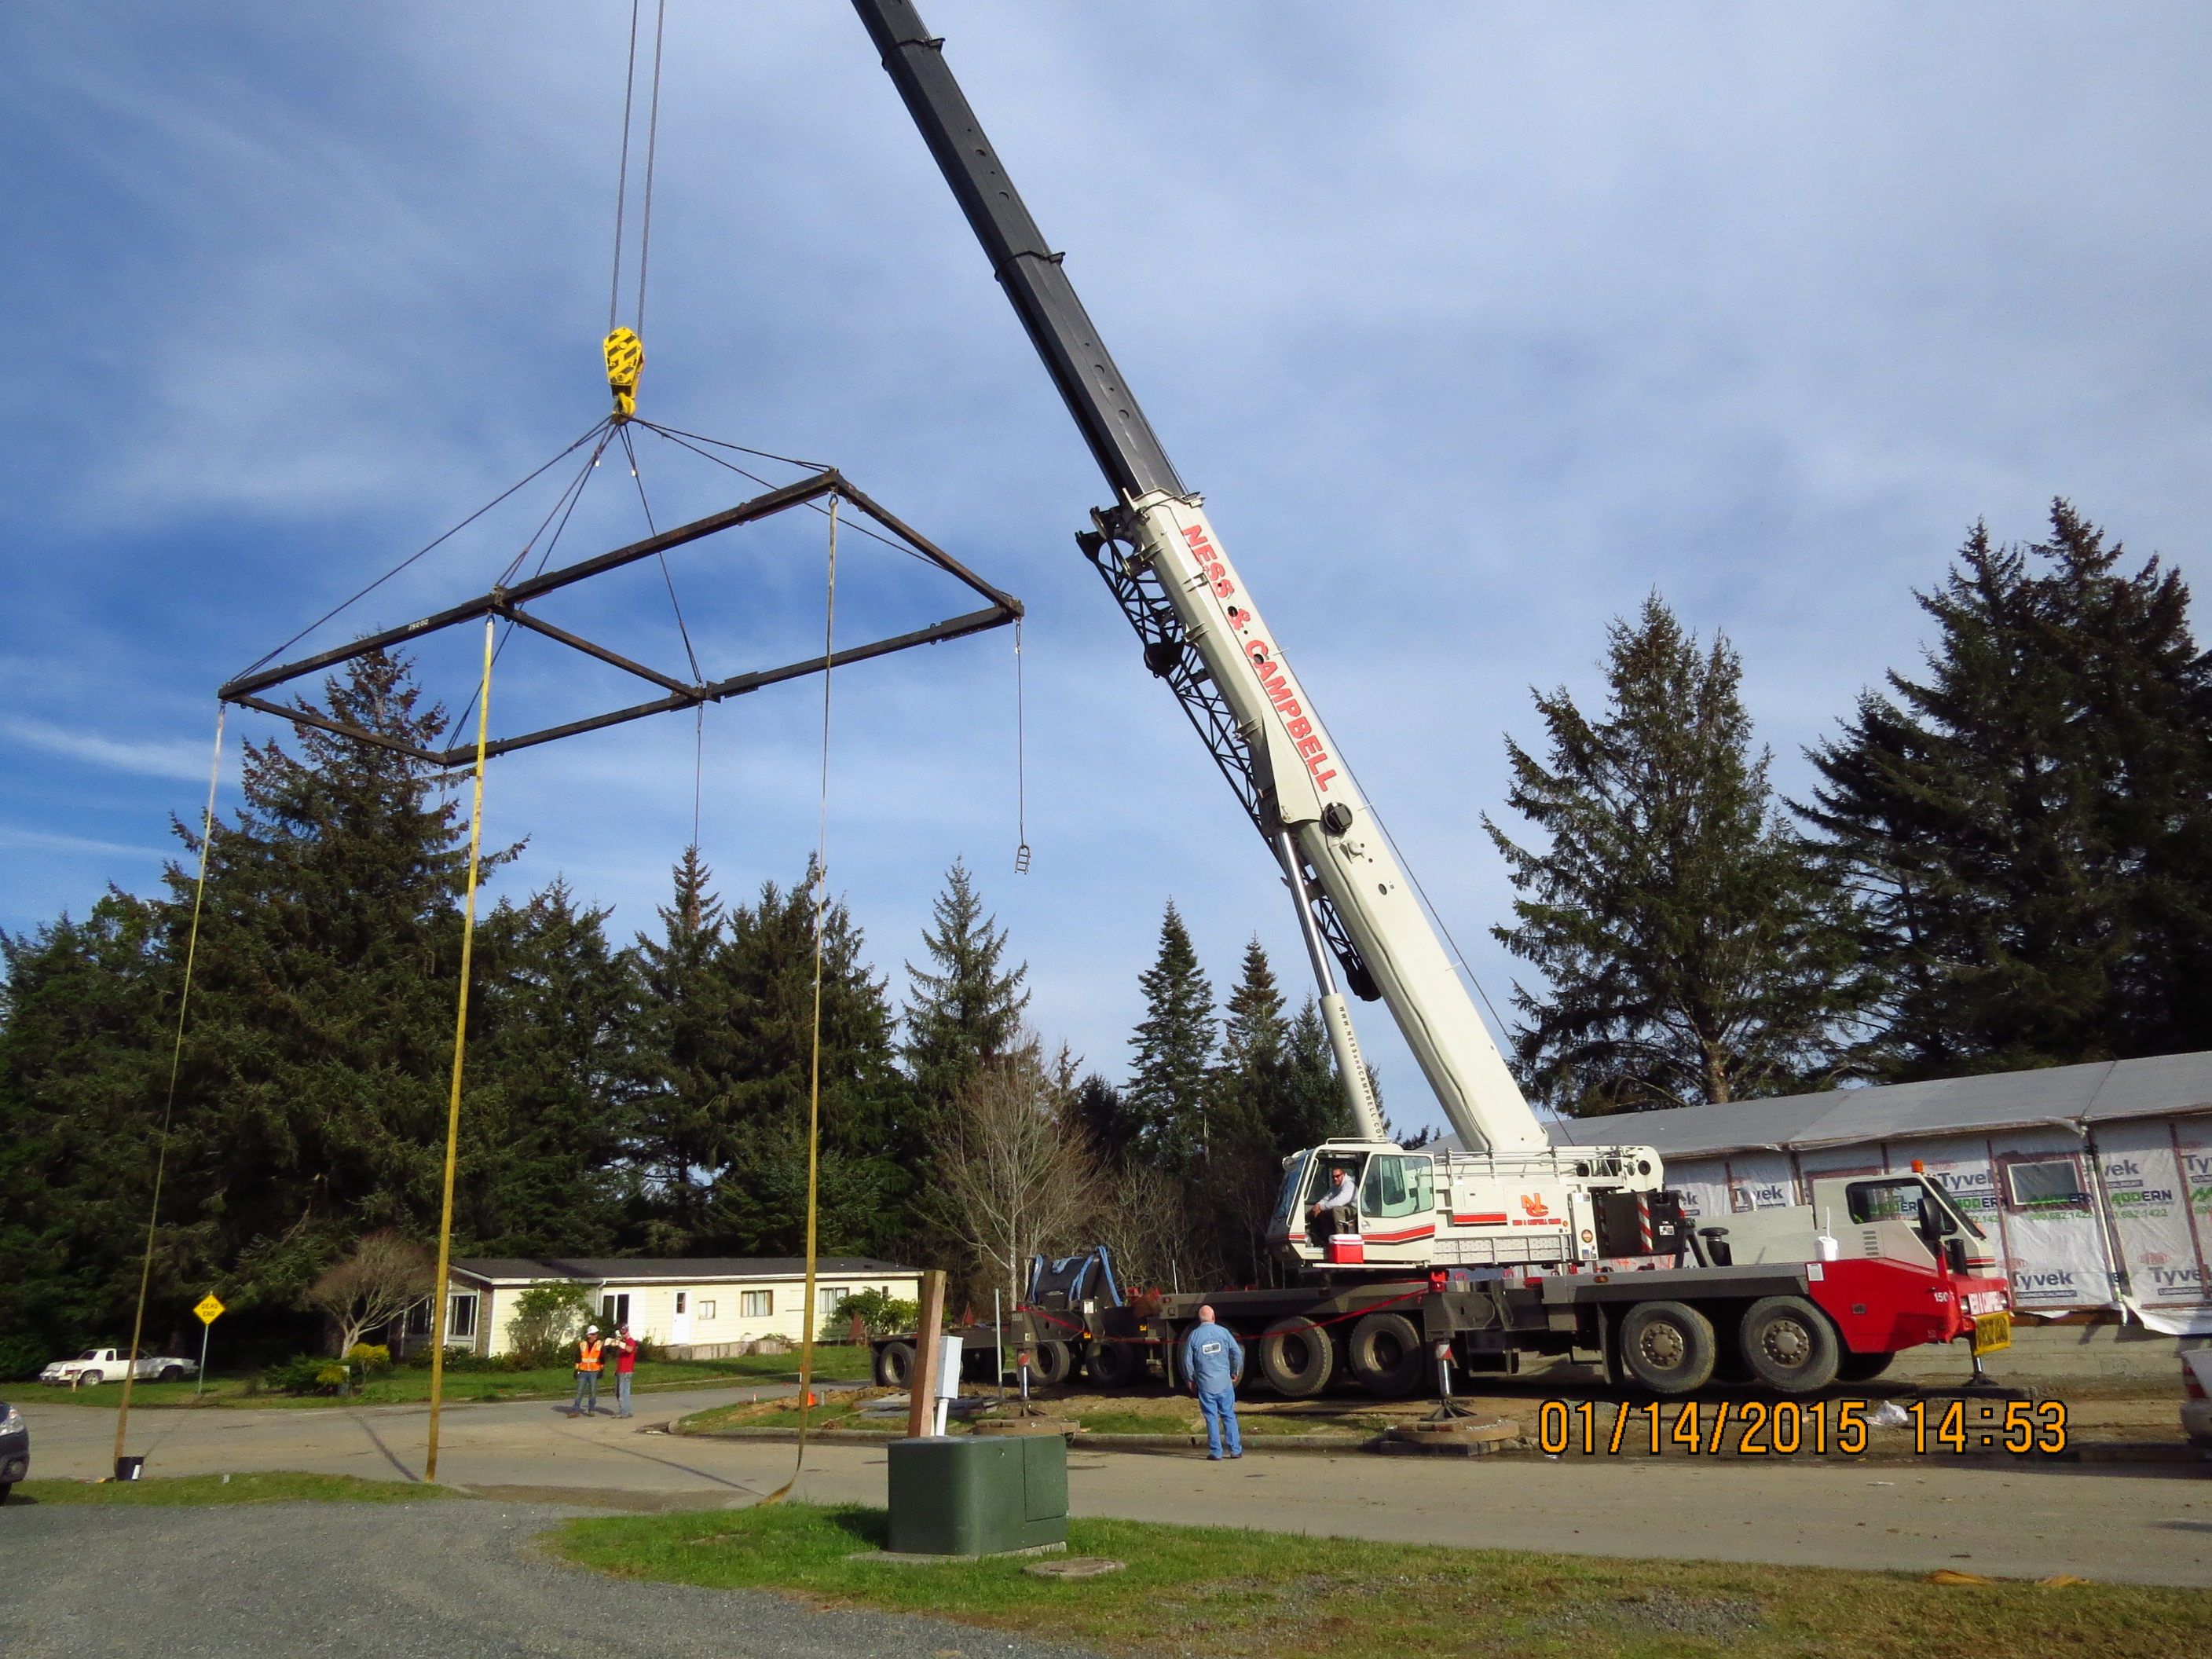
This crane is waiting to off load the last module of the medical office.
At the risk of losing all street cred, I shot a video of a medical building getting off loaded and set up. In my defense, I set out on this day to shoot videos of bees. Beth had called to say that she saw bees out front in the heather, bumblebees as well as honeybees. I wheeled out my bicycle, packed my cameras and headed over to her place. The weather had turned cool and there were no bees to be found. Rain was in the forecast for the next 7 days so I figured I’d better get back to working on my log hive. On my way home I see these construction guys staring in my direction. I roll up to them and ask, “You guys waiting for me?” The reply, “Nope, but we ARE waiting for that truck behind you.”
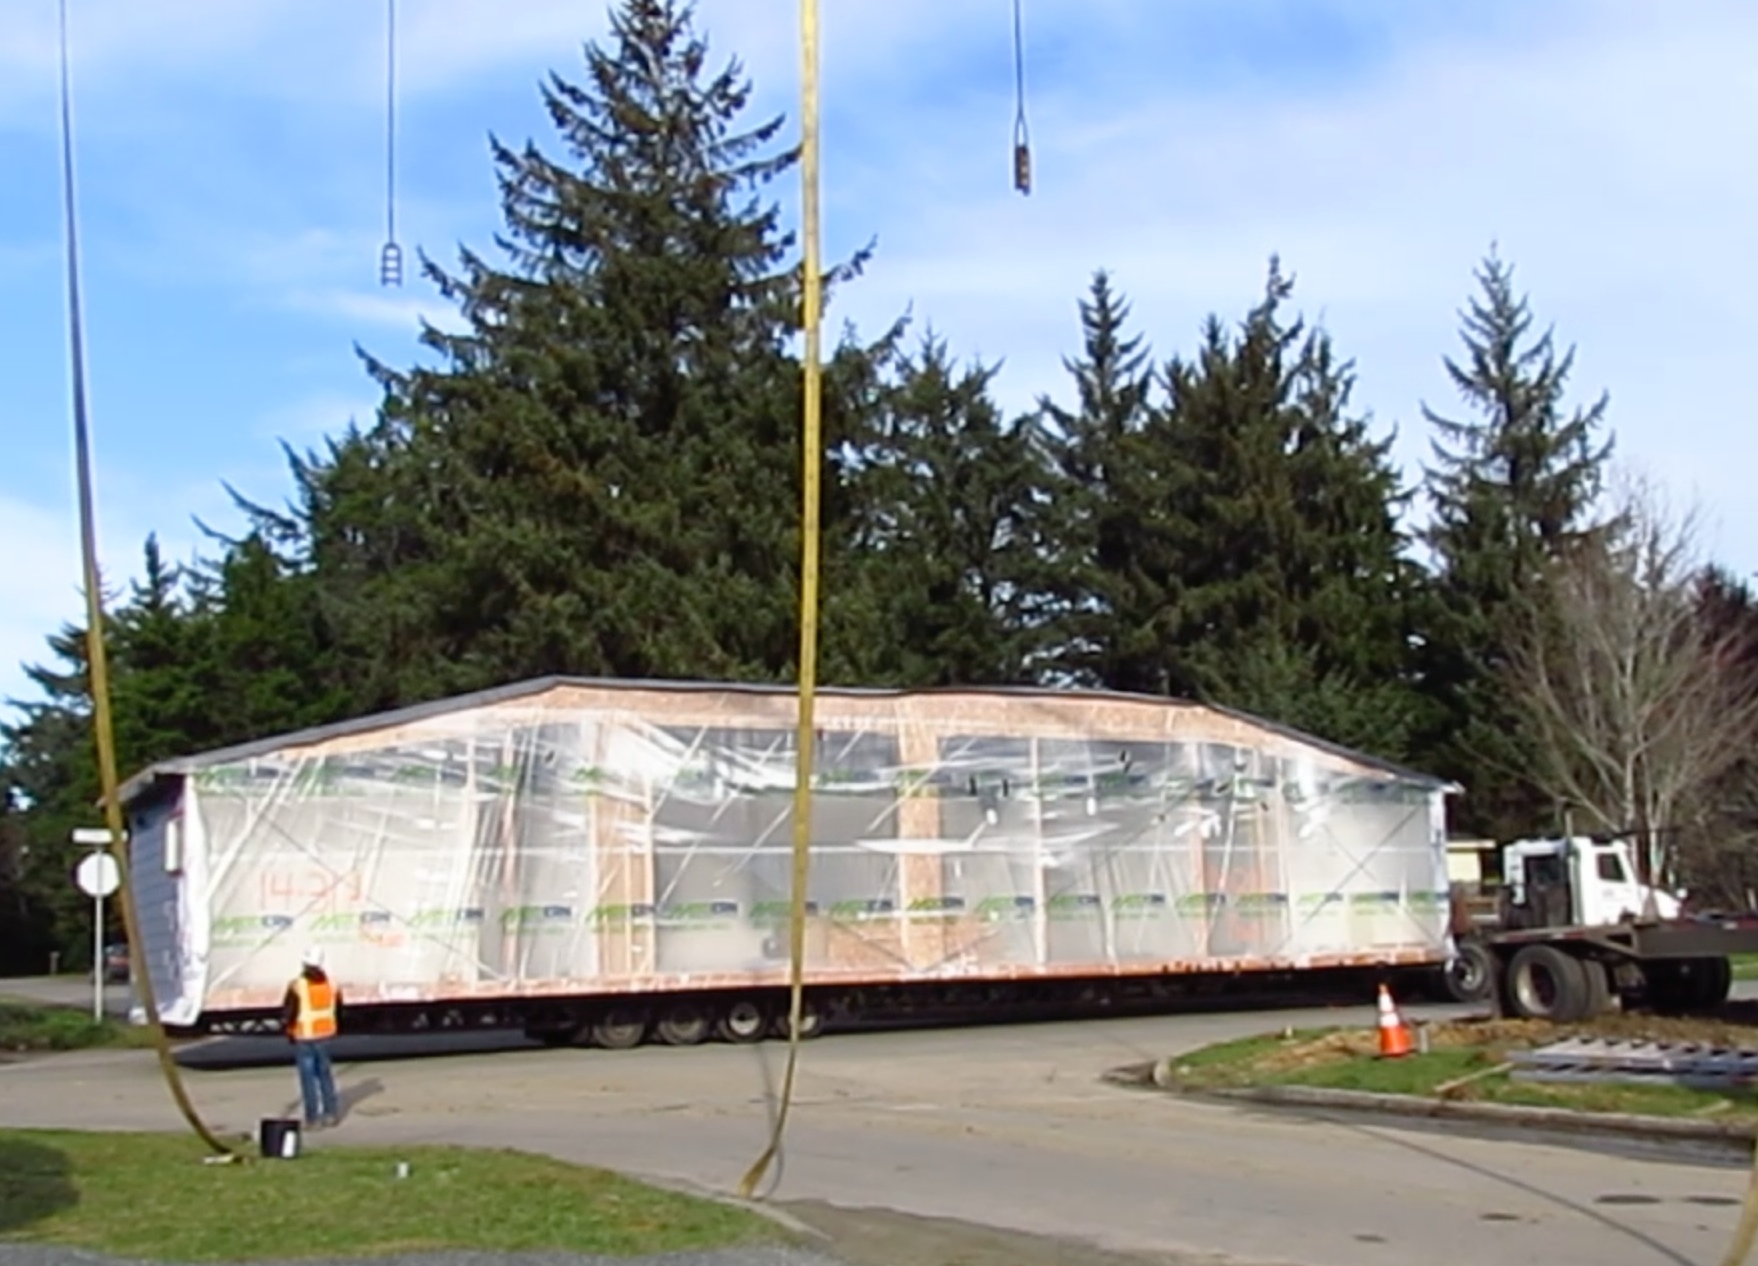
and there’s the truck hauling the last unit to be set up. I’m lucky…the weather is great and I have time to shoot a video. How cool is that?
For the next hour I was able to shoot video of the Modern Building Systems crew rigging the module, the crane lifting the module off the truck, and swinging it into position. I’ve got to say I was impressed at how everyone knew what to do…and they absolutely nailed the placement of that module. I know, I’ve got it on video, corner lined up to corner, perfectly!
‘Summertime’ in November
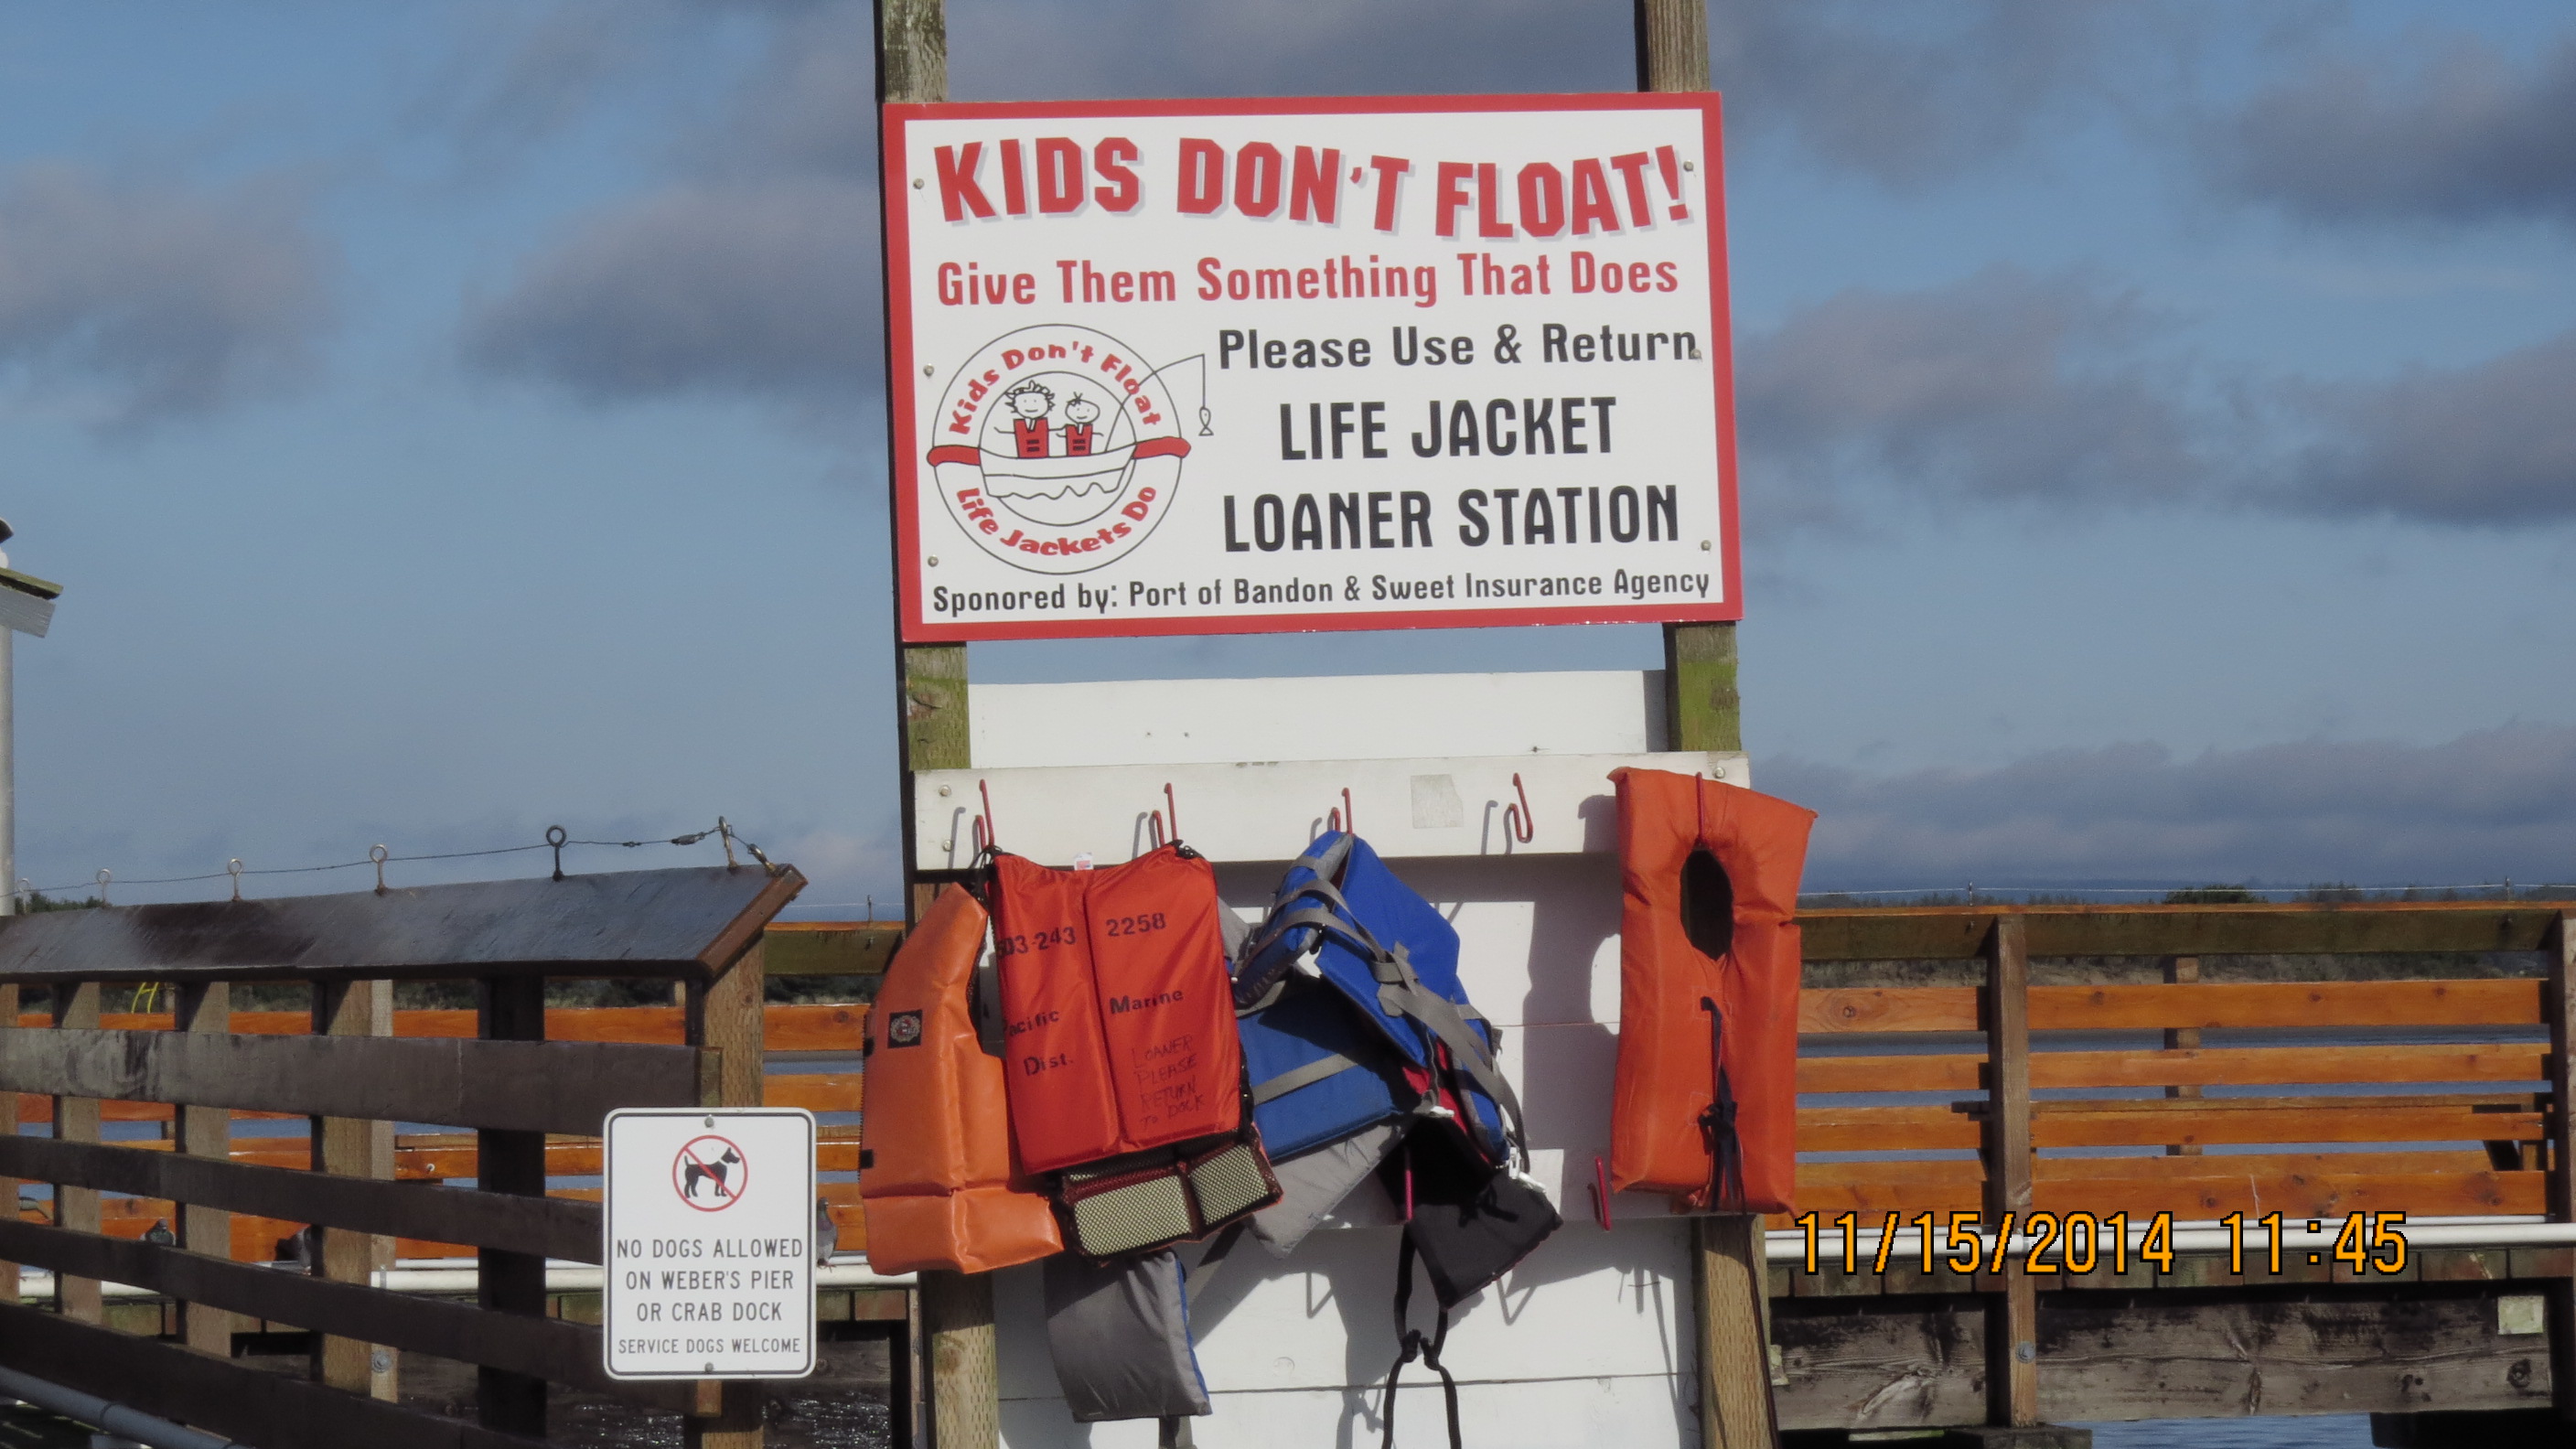
Posted in Music video, Uncategorized, Videos, tagged Bandon Lighthouse, Kirk Schumacher, Old Town Marketplace, Pelican, Port of Bandon, Sweet Insurance Agency on November 16, 2014| 12 Comments »
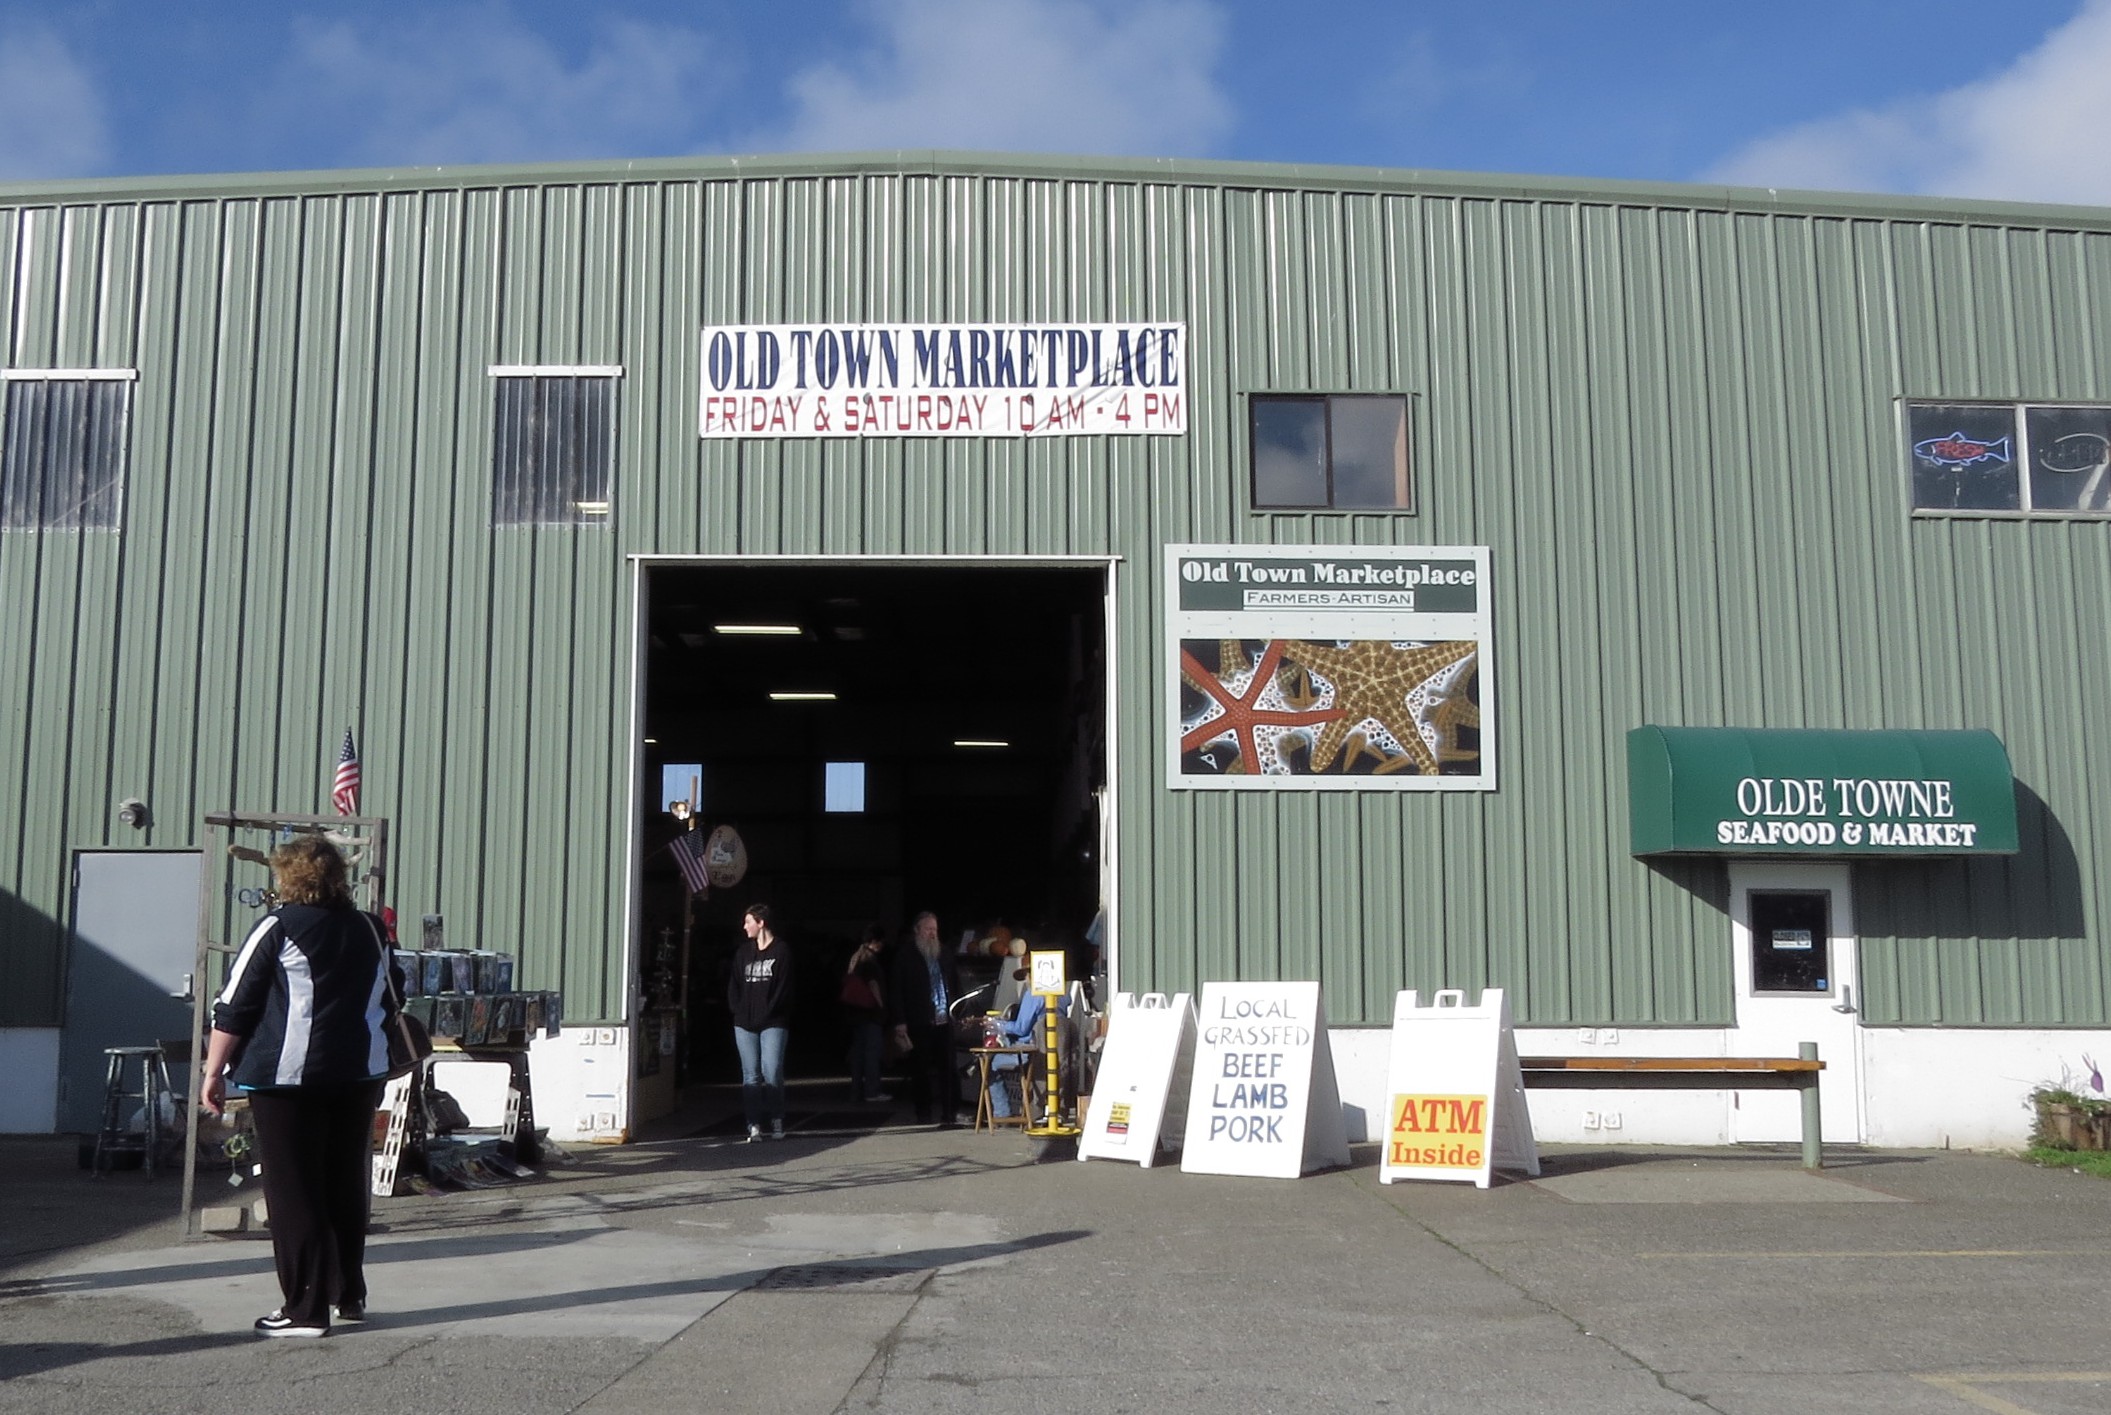
It was such an uncharacteristically warm day, we decided to bicycle down to the Port of Bandon to peruse the Old Town Marketplace.

It was one of those perfect days when everyone was in a good mood with the weather being warm, farmers selling their veggies, and Kirk Schumacher strumming his guitar. I asked Kirk if he would sing one of my favorite summertime songs. Without missing a beat, he belted out “Summertime.”

Bandon Lighthouse

Crabbing at the dock, Bandon lighthouse in background.

I even got to watch a pelican swallow a fish, twice…possibly the same fish. 🙂
Seth’s Sourdough Breads
Posted in Baking bread in a wood-fired oven, Uncategorized, tagged Allen Scott wood-fired oven, Baking bread in a wood-fired oven, Sustainable living on November 14, 2014| 5 Comments »

It took about six months for Seth to build his Alan Scott wood-fired bread oven and the shop that serves as his kitchen.
My daily walks would take me by his place. I watched as he built the roof. It was meticulously built on the ground with beautiful jointing. I wondered how he was going to lift it up to the top. One day, as we walked past, there it was connected to the uprights. I asked him how he got it up there. His reply…”one piece at a time.” “I built it on the ground to make sure it was right.”
The small fire was lit on Sunday, the day before ‘bread day.’ Enough heat is stored in the dome to bake 125 to 130 loaves of bread the next day.
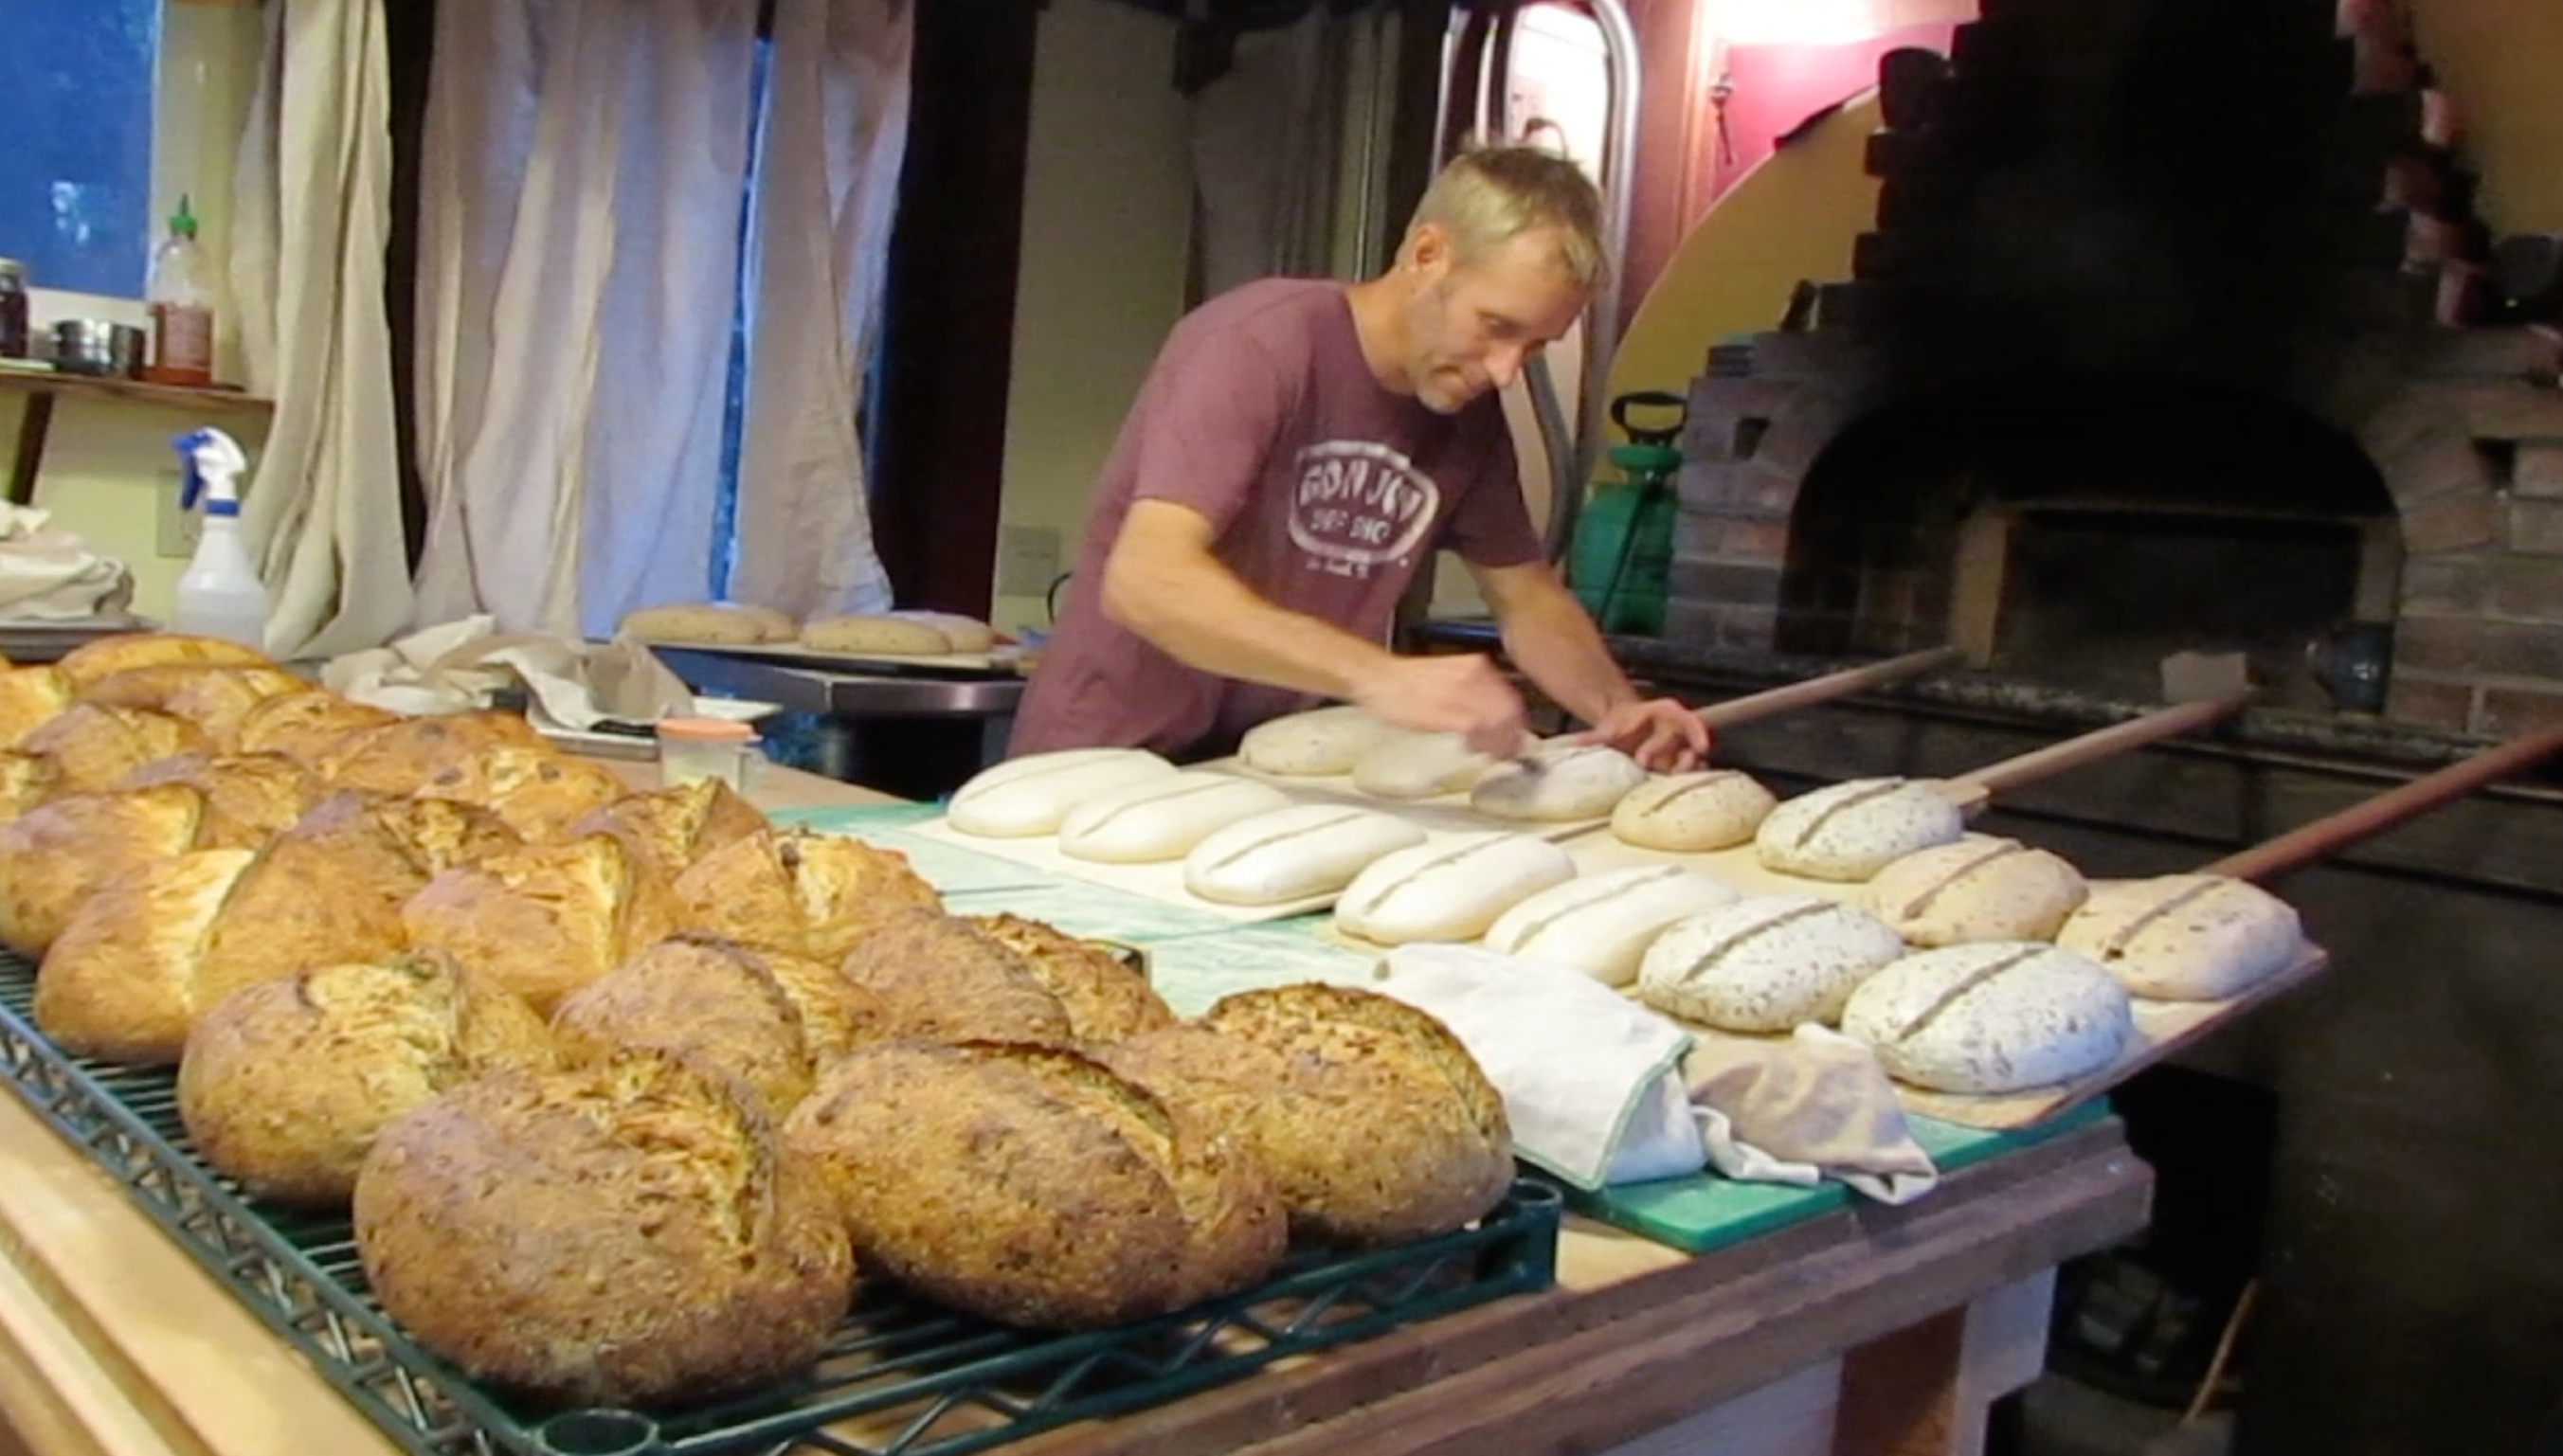
Seth scores the dough so moisture will be released and enable the bread to ‘bloom.’

When done, the bread goes onto the cooling rack.
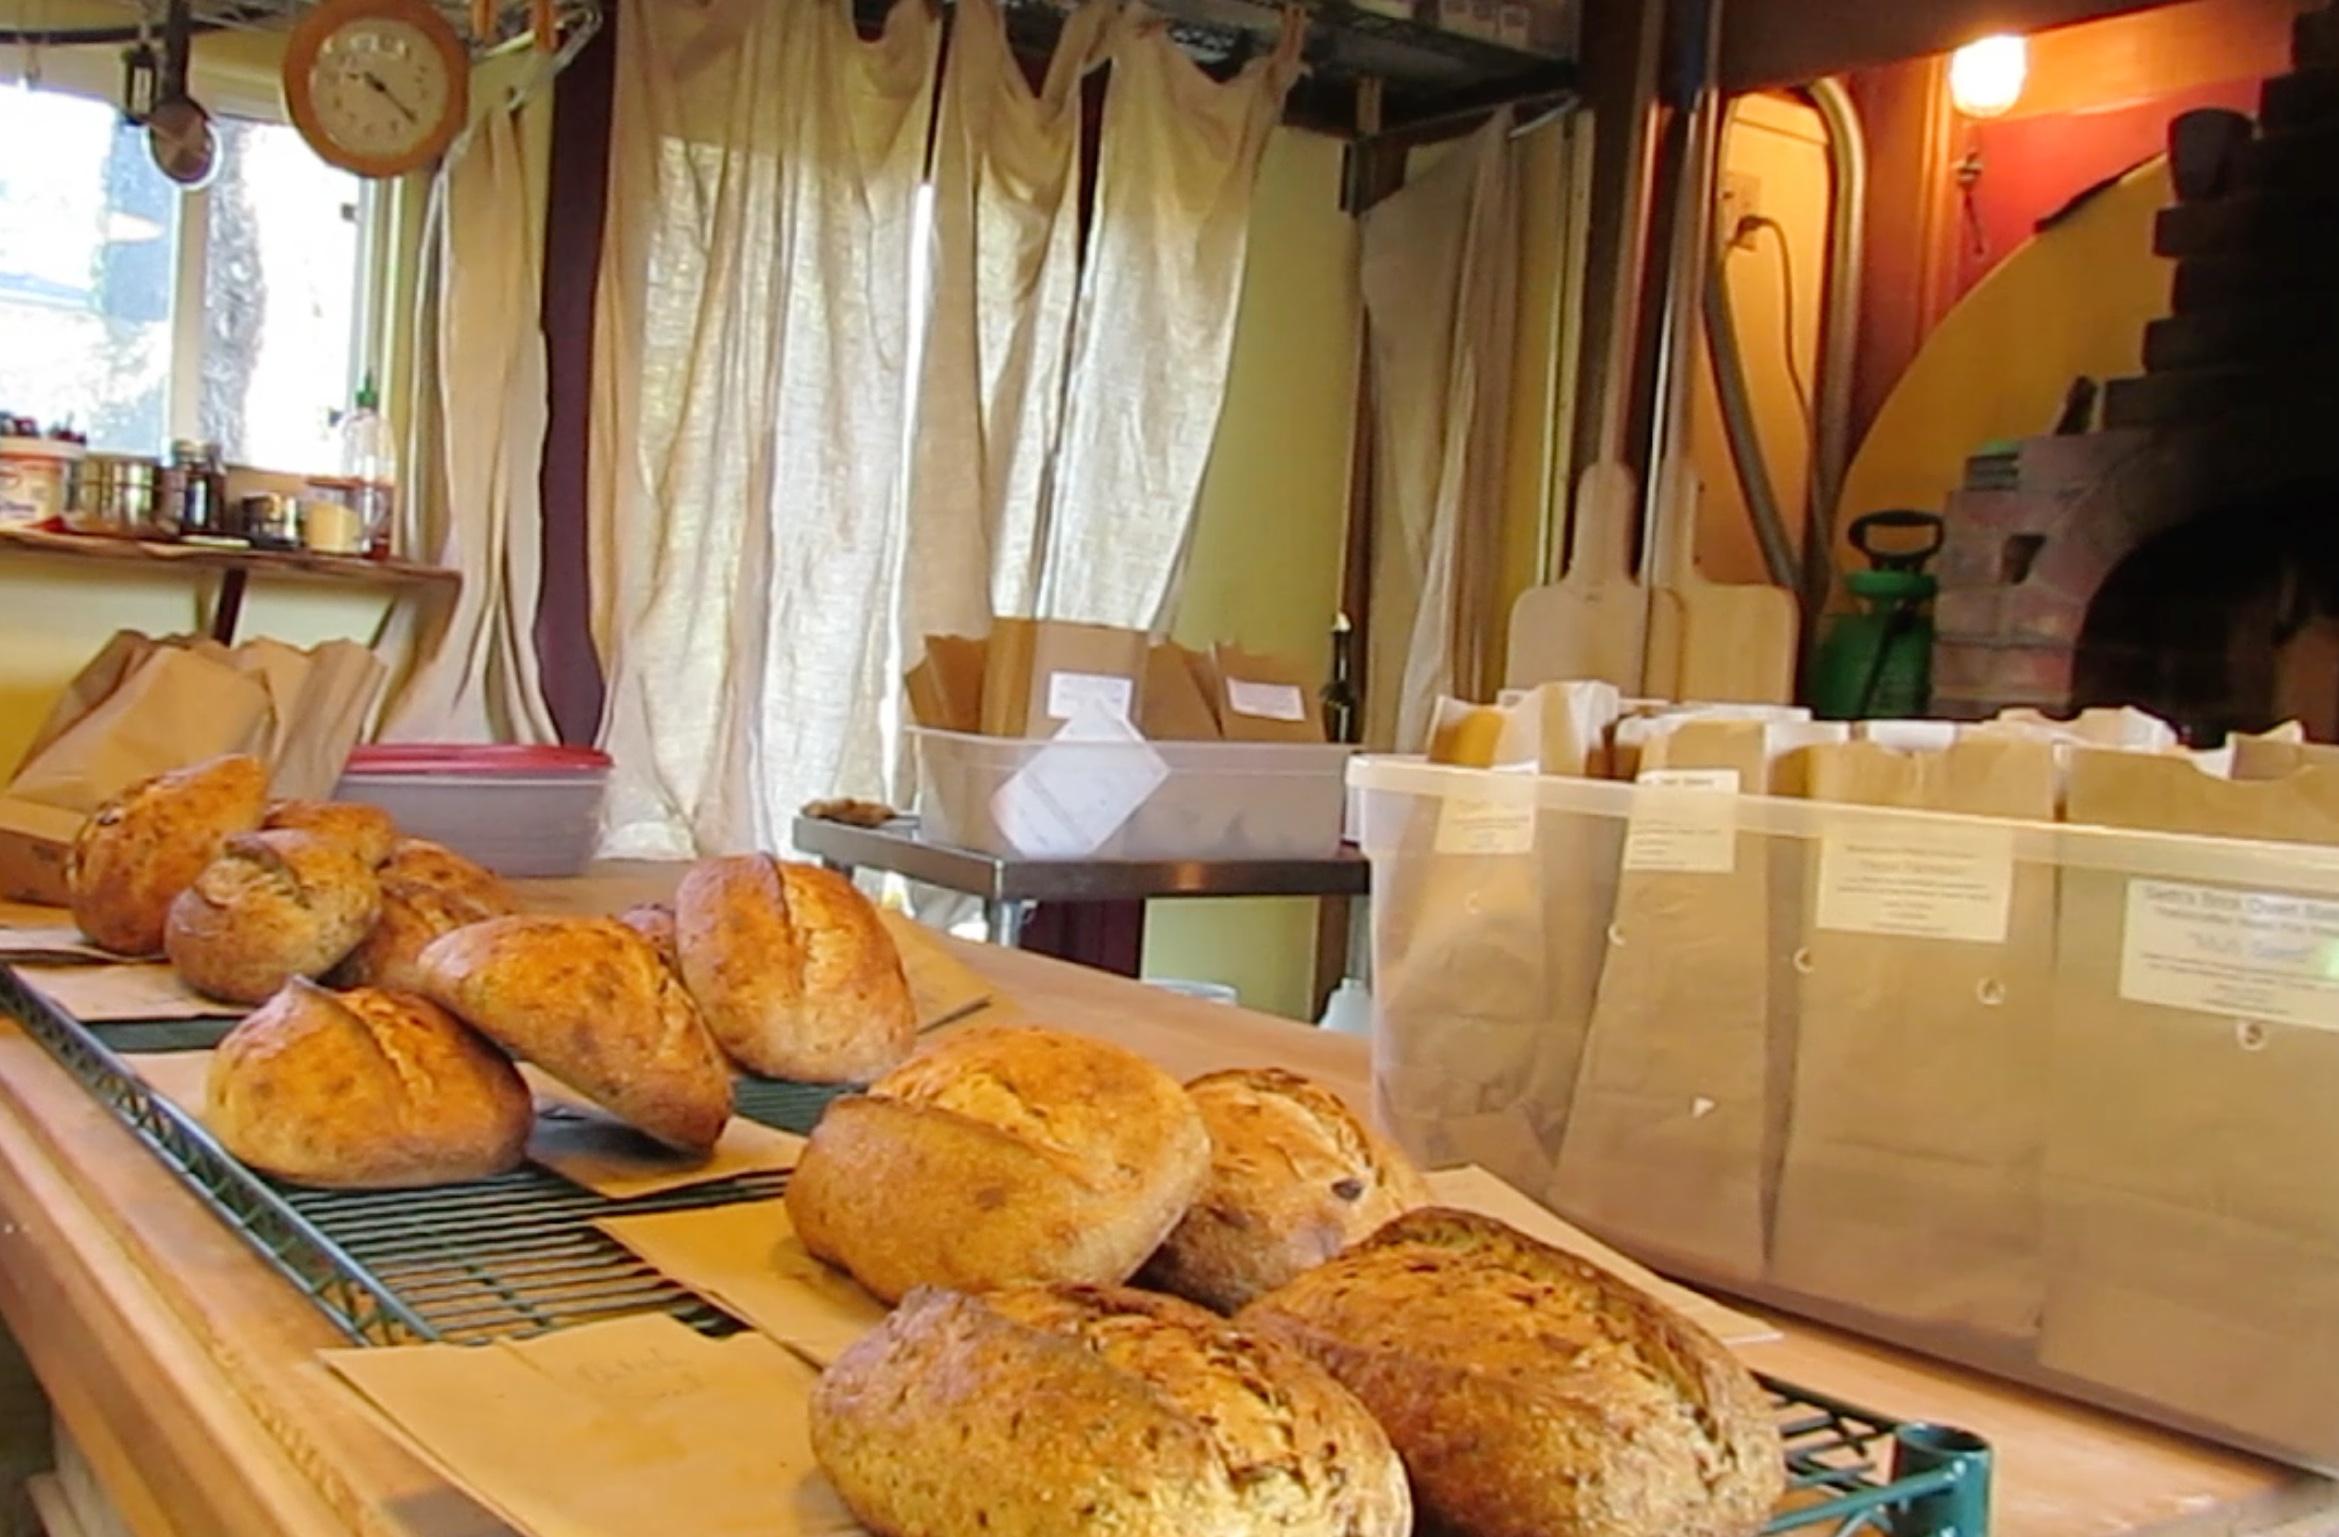
I had breakfast and returned to see the bread all sorted for deliveries.
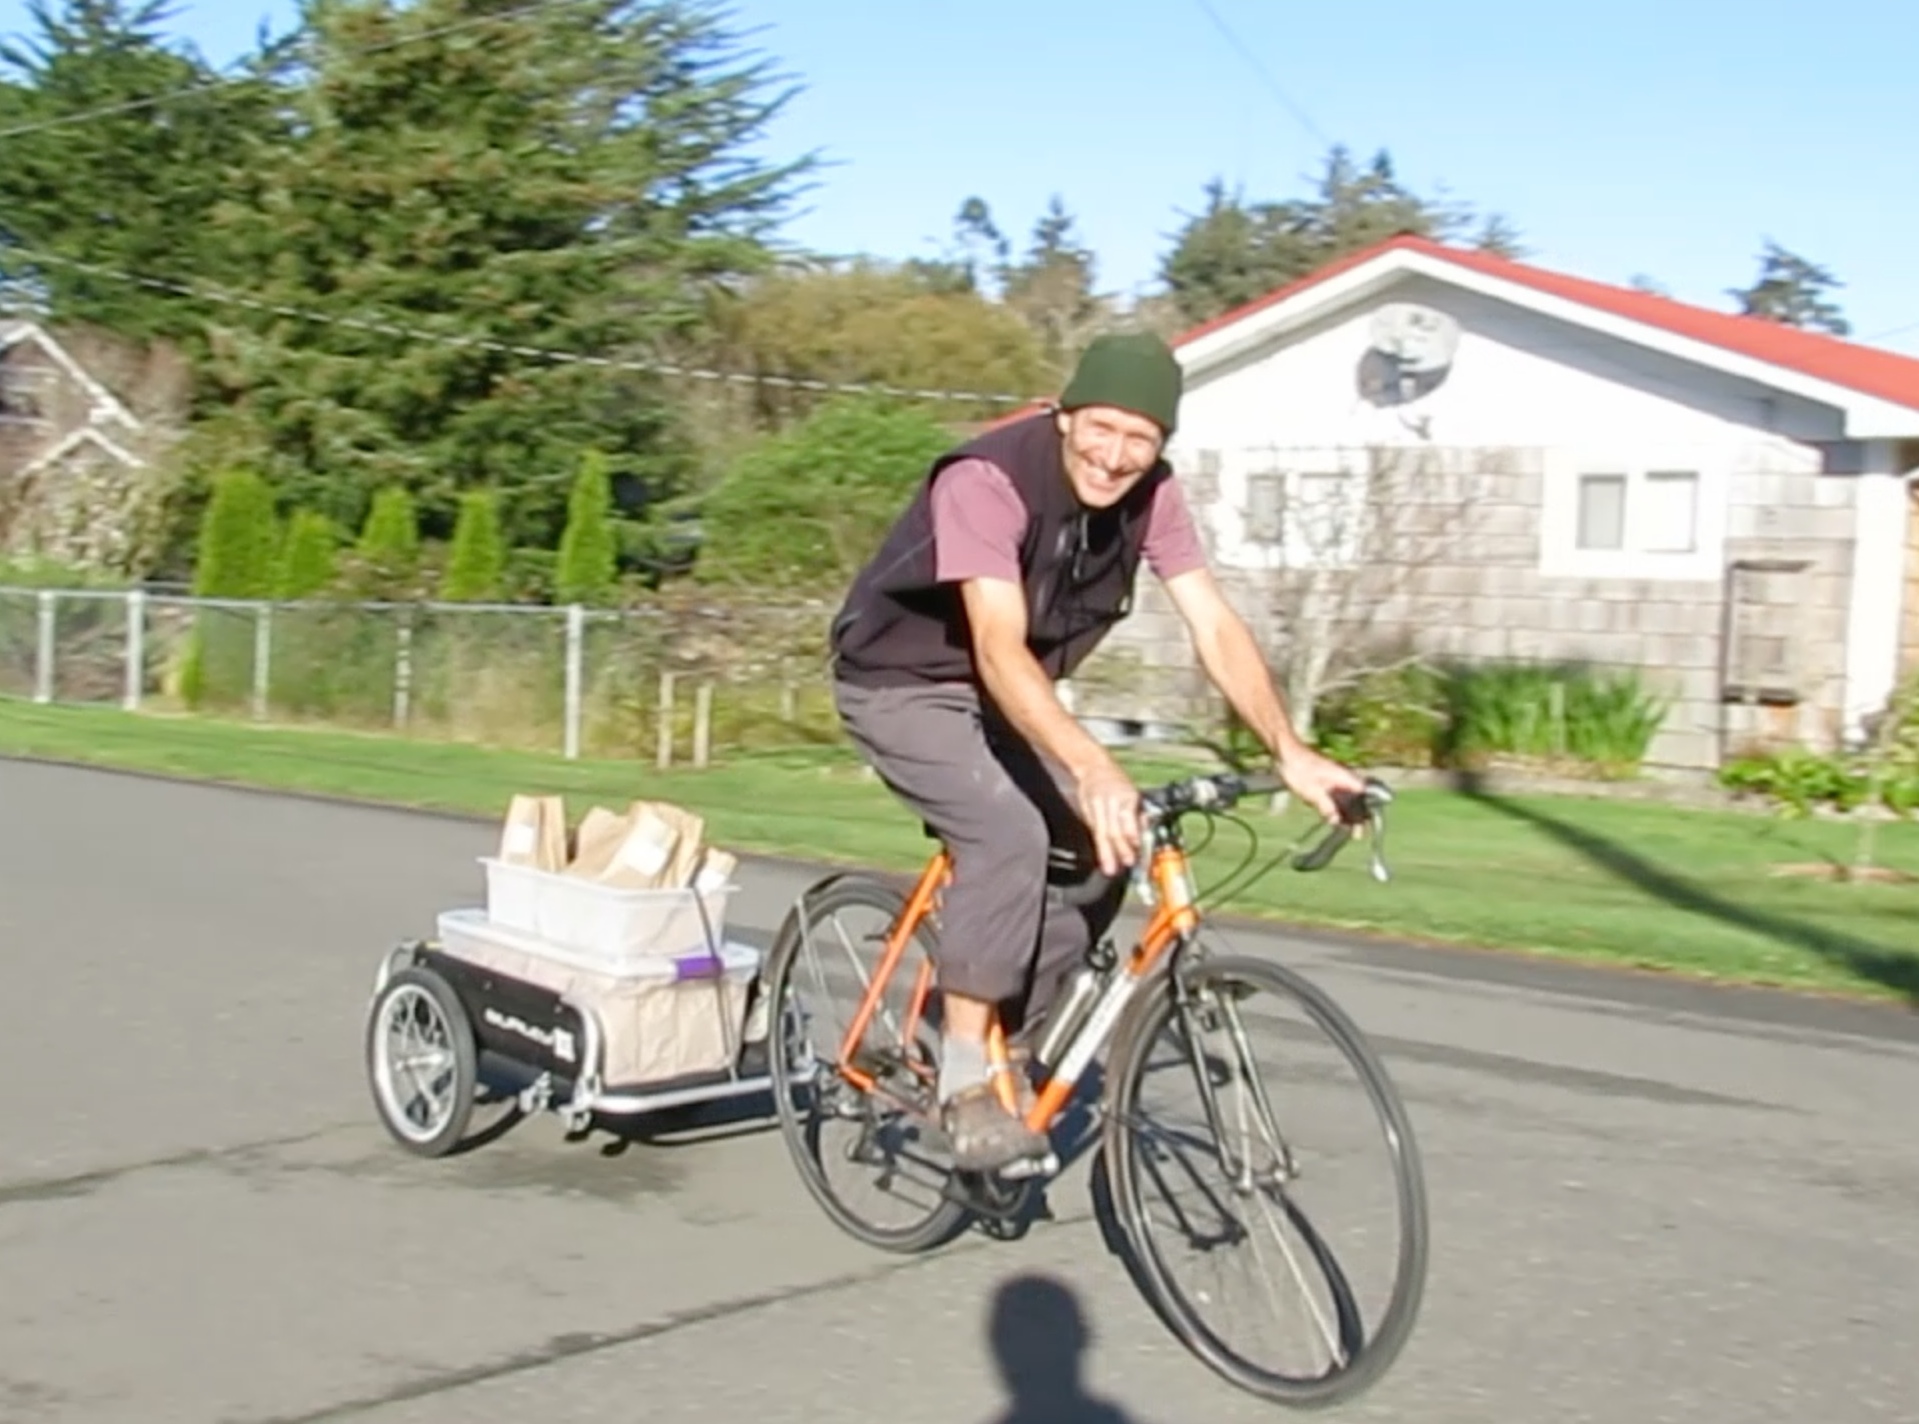
At about 9:30 am, fresh bread gets delivered by bicycle to the natural foods store.
Brian Builds a Cob Oven
Posted in Building a cob oven, Uncategorized, tagged Baking a pizza in a cob oven, Building a cob oven, Cob oven, Cooking with a cob oven, permaculture, vertical bottle insulation on October 22, 2014| 15 Comments »

Here I am building a ring of re-purposed paver stones on top of the concrete foundation I poured. The ring will hold a bunch of rubble (old bits of concrete from pulling old fence posts, broken cinder blocks, rocks etc) that will make a solid base for the oven.
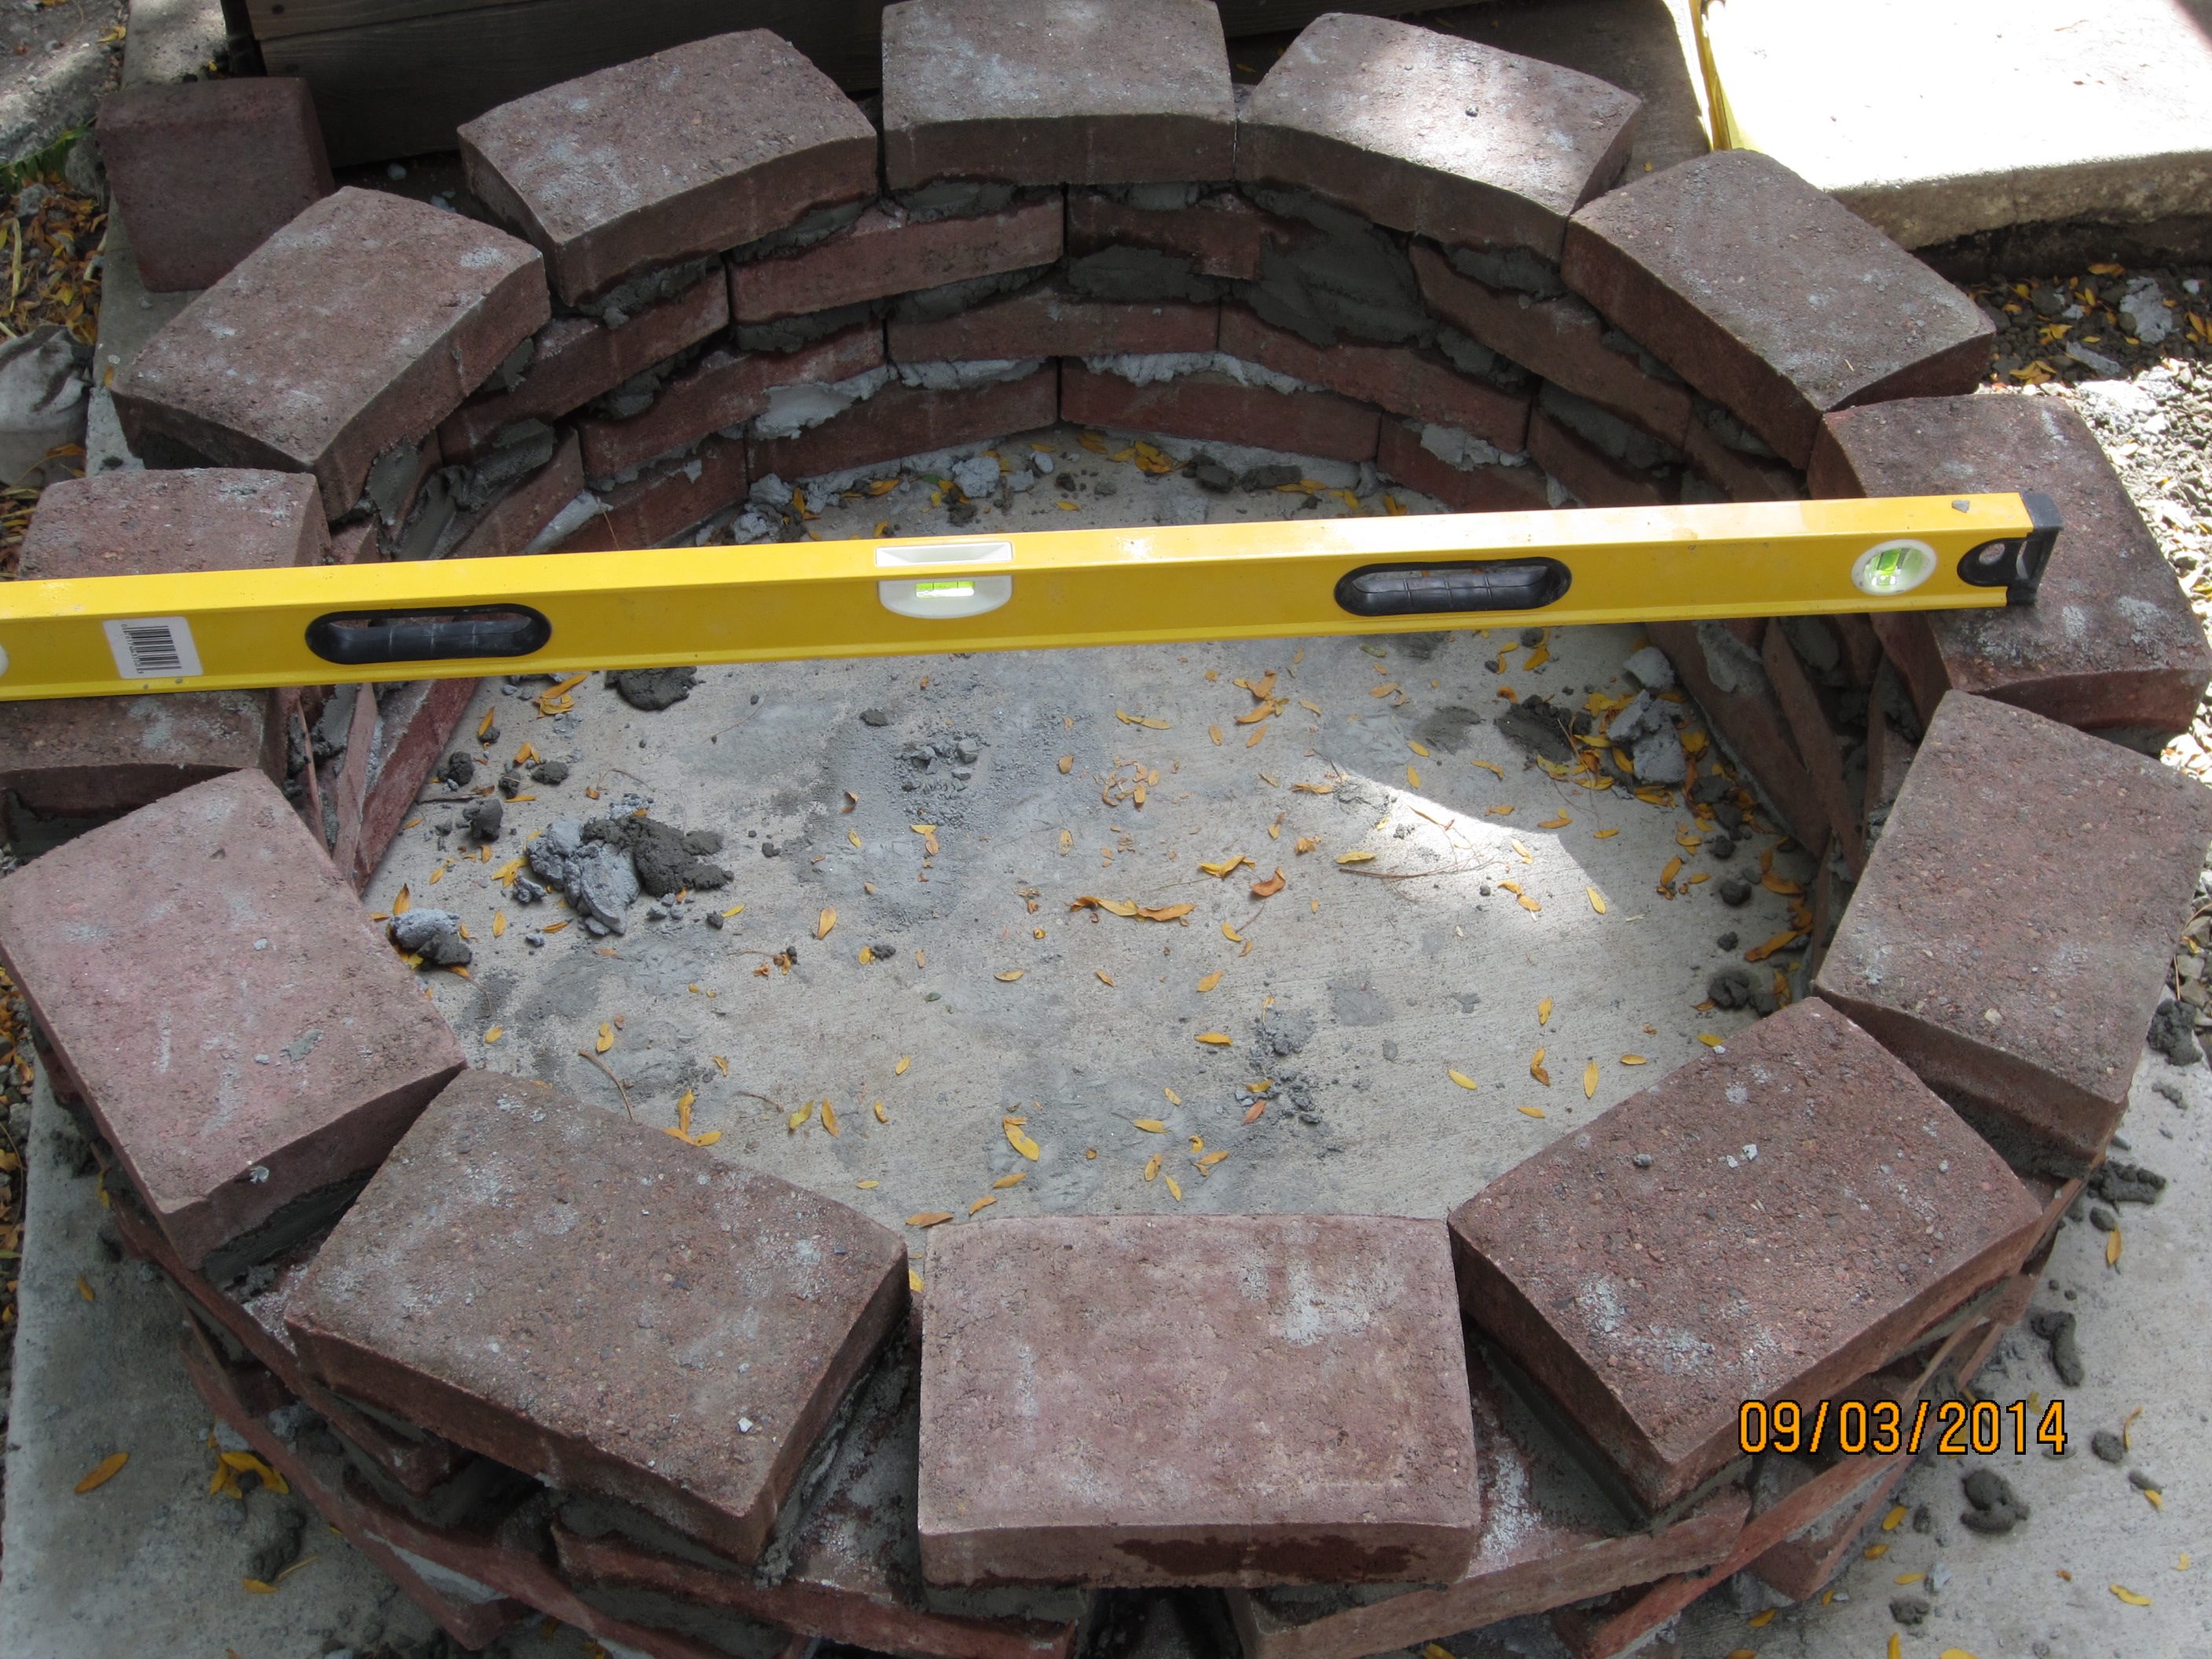
I’m up to 4 courses of bricks for the ring, and trying to keep everything level

I’ve got 8 courses of bricks at this point, which is as high as i’m going with the pavers (about 26″ high). I’ve also been filling in more rubble for the base and tamping it down.

I added on last ring of bricks to raise the height of the oven base a little. In this case I used standard red clay bricks and set them on edge. This will let me have a little more insulation between the oven and the base.

Adding more rubble, odds and ends from the brick wall project and a bag of concrete mix that got wet last year.
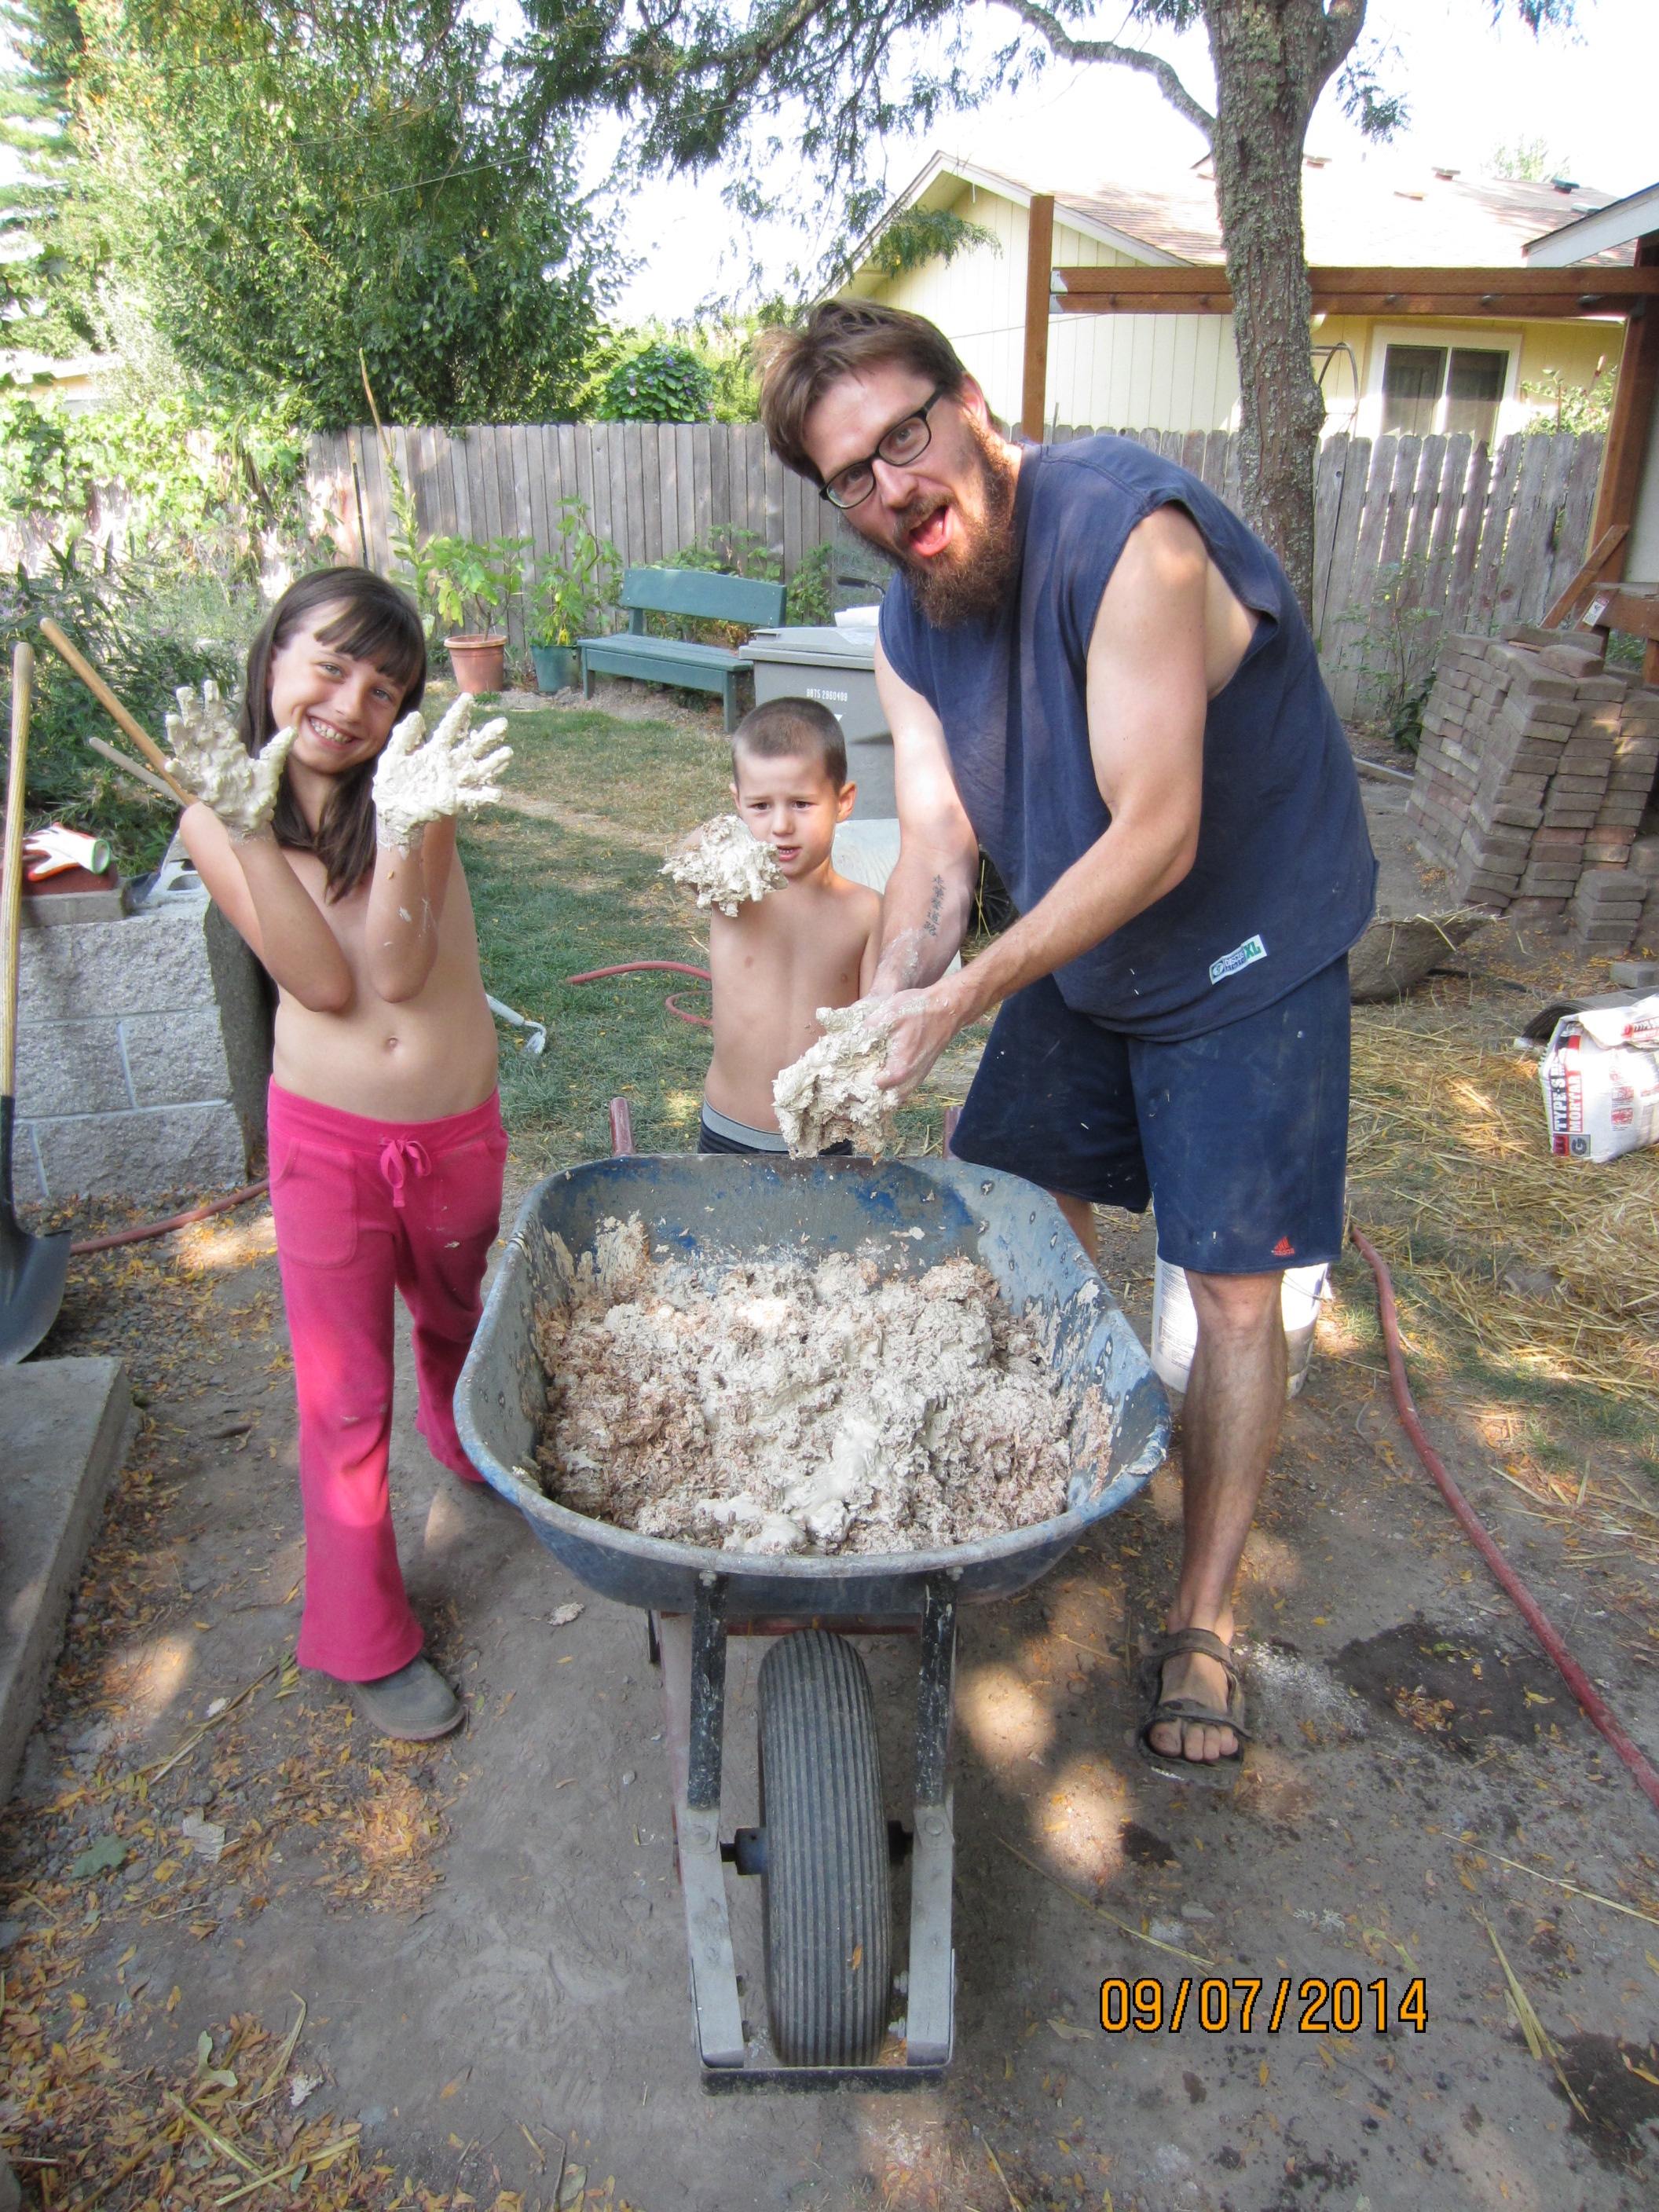
The kids and I mixing up our first batch of ‘insulation’ for the oven. We are using a thick clay slip made from fire clay and mixing in pine shavings (livestock bedding). The idea is when it dries and then gets really hot the wood will undergo pyrolysis (decompose to gaseous products without actual combustion) and leave a sort of clay sponge that should make a good insulator.

Here we are putting in the base insulation. Beer bottles separated by small gaps filled with the wood shaving/clay slip mix. The idea is to provide a solid base with good insulative properties.

Packing ‘insulation between the beer bottles. May have had a few beers (you know, for the good of the oven) at this point judging by my expression and the headband….

A second layer of bottles goes in the floor, and if you look you can see a ring of horizontal bottles between the vertical course of bottles and the outer brick.

The base insulation layer is done. There is now about six inches of insulation between the outer ring and base, and where the thermal mass of the hearth will be.

This is first layer (about 1 1/2″ thick) of thermal mud being put inside the insulation layer. The thermal mud will be directly under the fire bricks we are using as a hearth.

We filled in the base with a 4 inch thick layer of ‘thermal’ mix. 4 parts sand to 1 part fire clay. This will hold the heat of the oven, gradually releasing it after the fire is out so that we can bake for hours after removing the fire from the oven. A new edition to our flock is checking it out…. 🙂

Now that we have the insulation and thermal reservoir in the base it is time to lay out the hearth. The kids consider geometry….

A rough first pass at the hearth layout shown from the back side of the oven. Note the circle drawn on the bricks. That represents the internal void of the oven.

Here we are making a sand castle that will become the void space of our oven. Instead of going with the round oven hearth suggested in the book I extended it a wee bit into an elliptical base for a bit more cooking area. the damp sand was densely packed by whacking it with a 2×4.
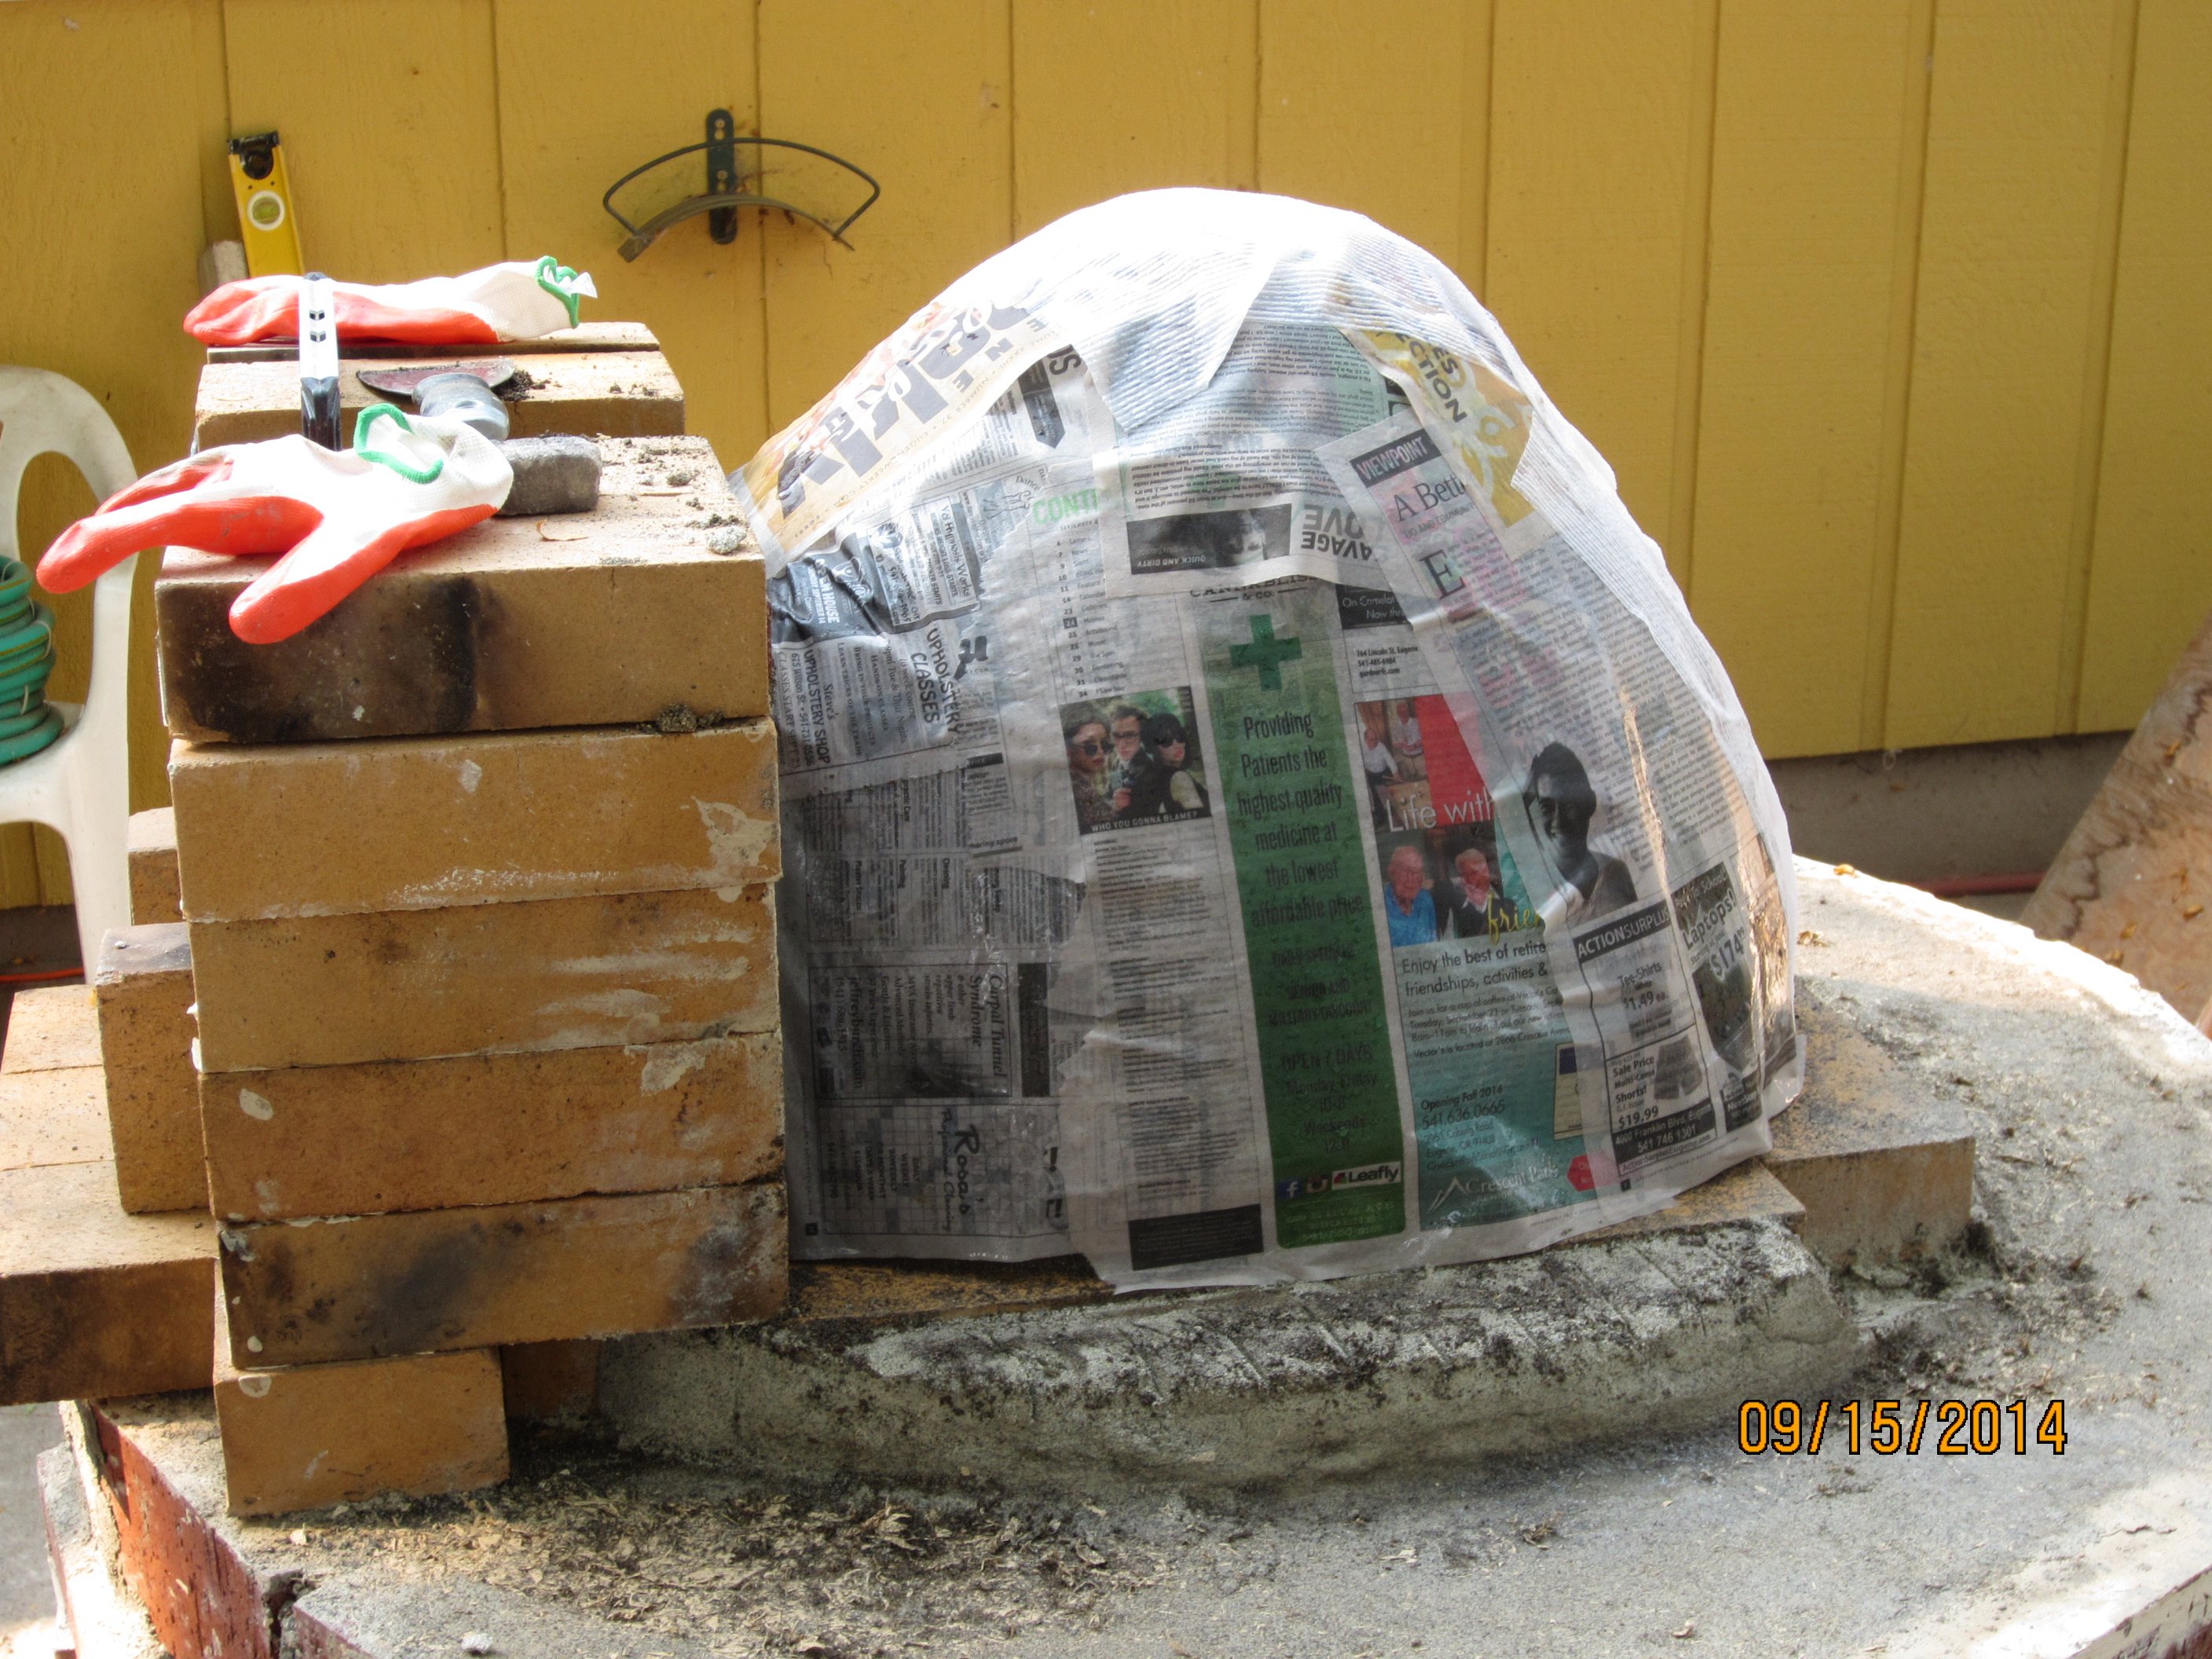
We cover the sand form with wet newspaper so that we can see the transition between sand and clay when digging out the oven.

Beginning to lay the thermal mix around the oven form. We are shooting for about 3-4 inches of thermal mix. Too much and it takes a lot of wood to heat the oven, too little and you run out of heat too quickly. The thickness of this thermal mass layer needs to be tailored to what you will use your oven for. Since I don’t plan on many marathon 16 hour baking days, 3 inches should be fine 🙂

Continuing to add to the dome. At this point there is about 350 lbs of clay and sand in the thermal layer.

The dome is finished (actually this is the second time we built the dome. The first time the kids were really trying to help and we were running out of daylight, so let us just say that quality control was lacking that day).

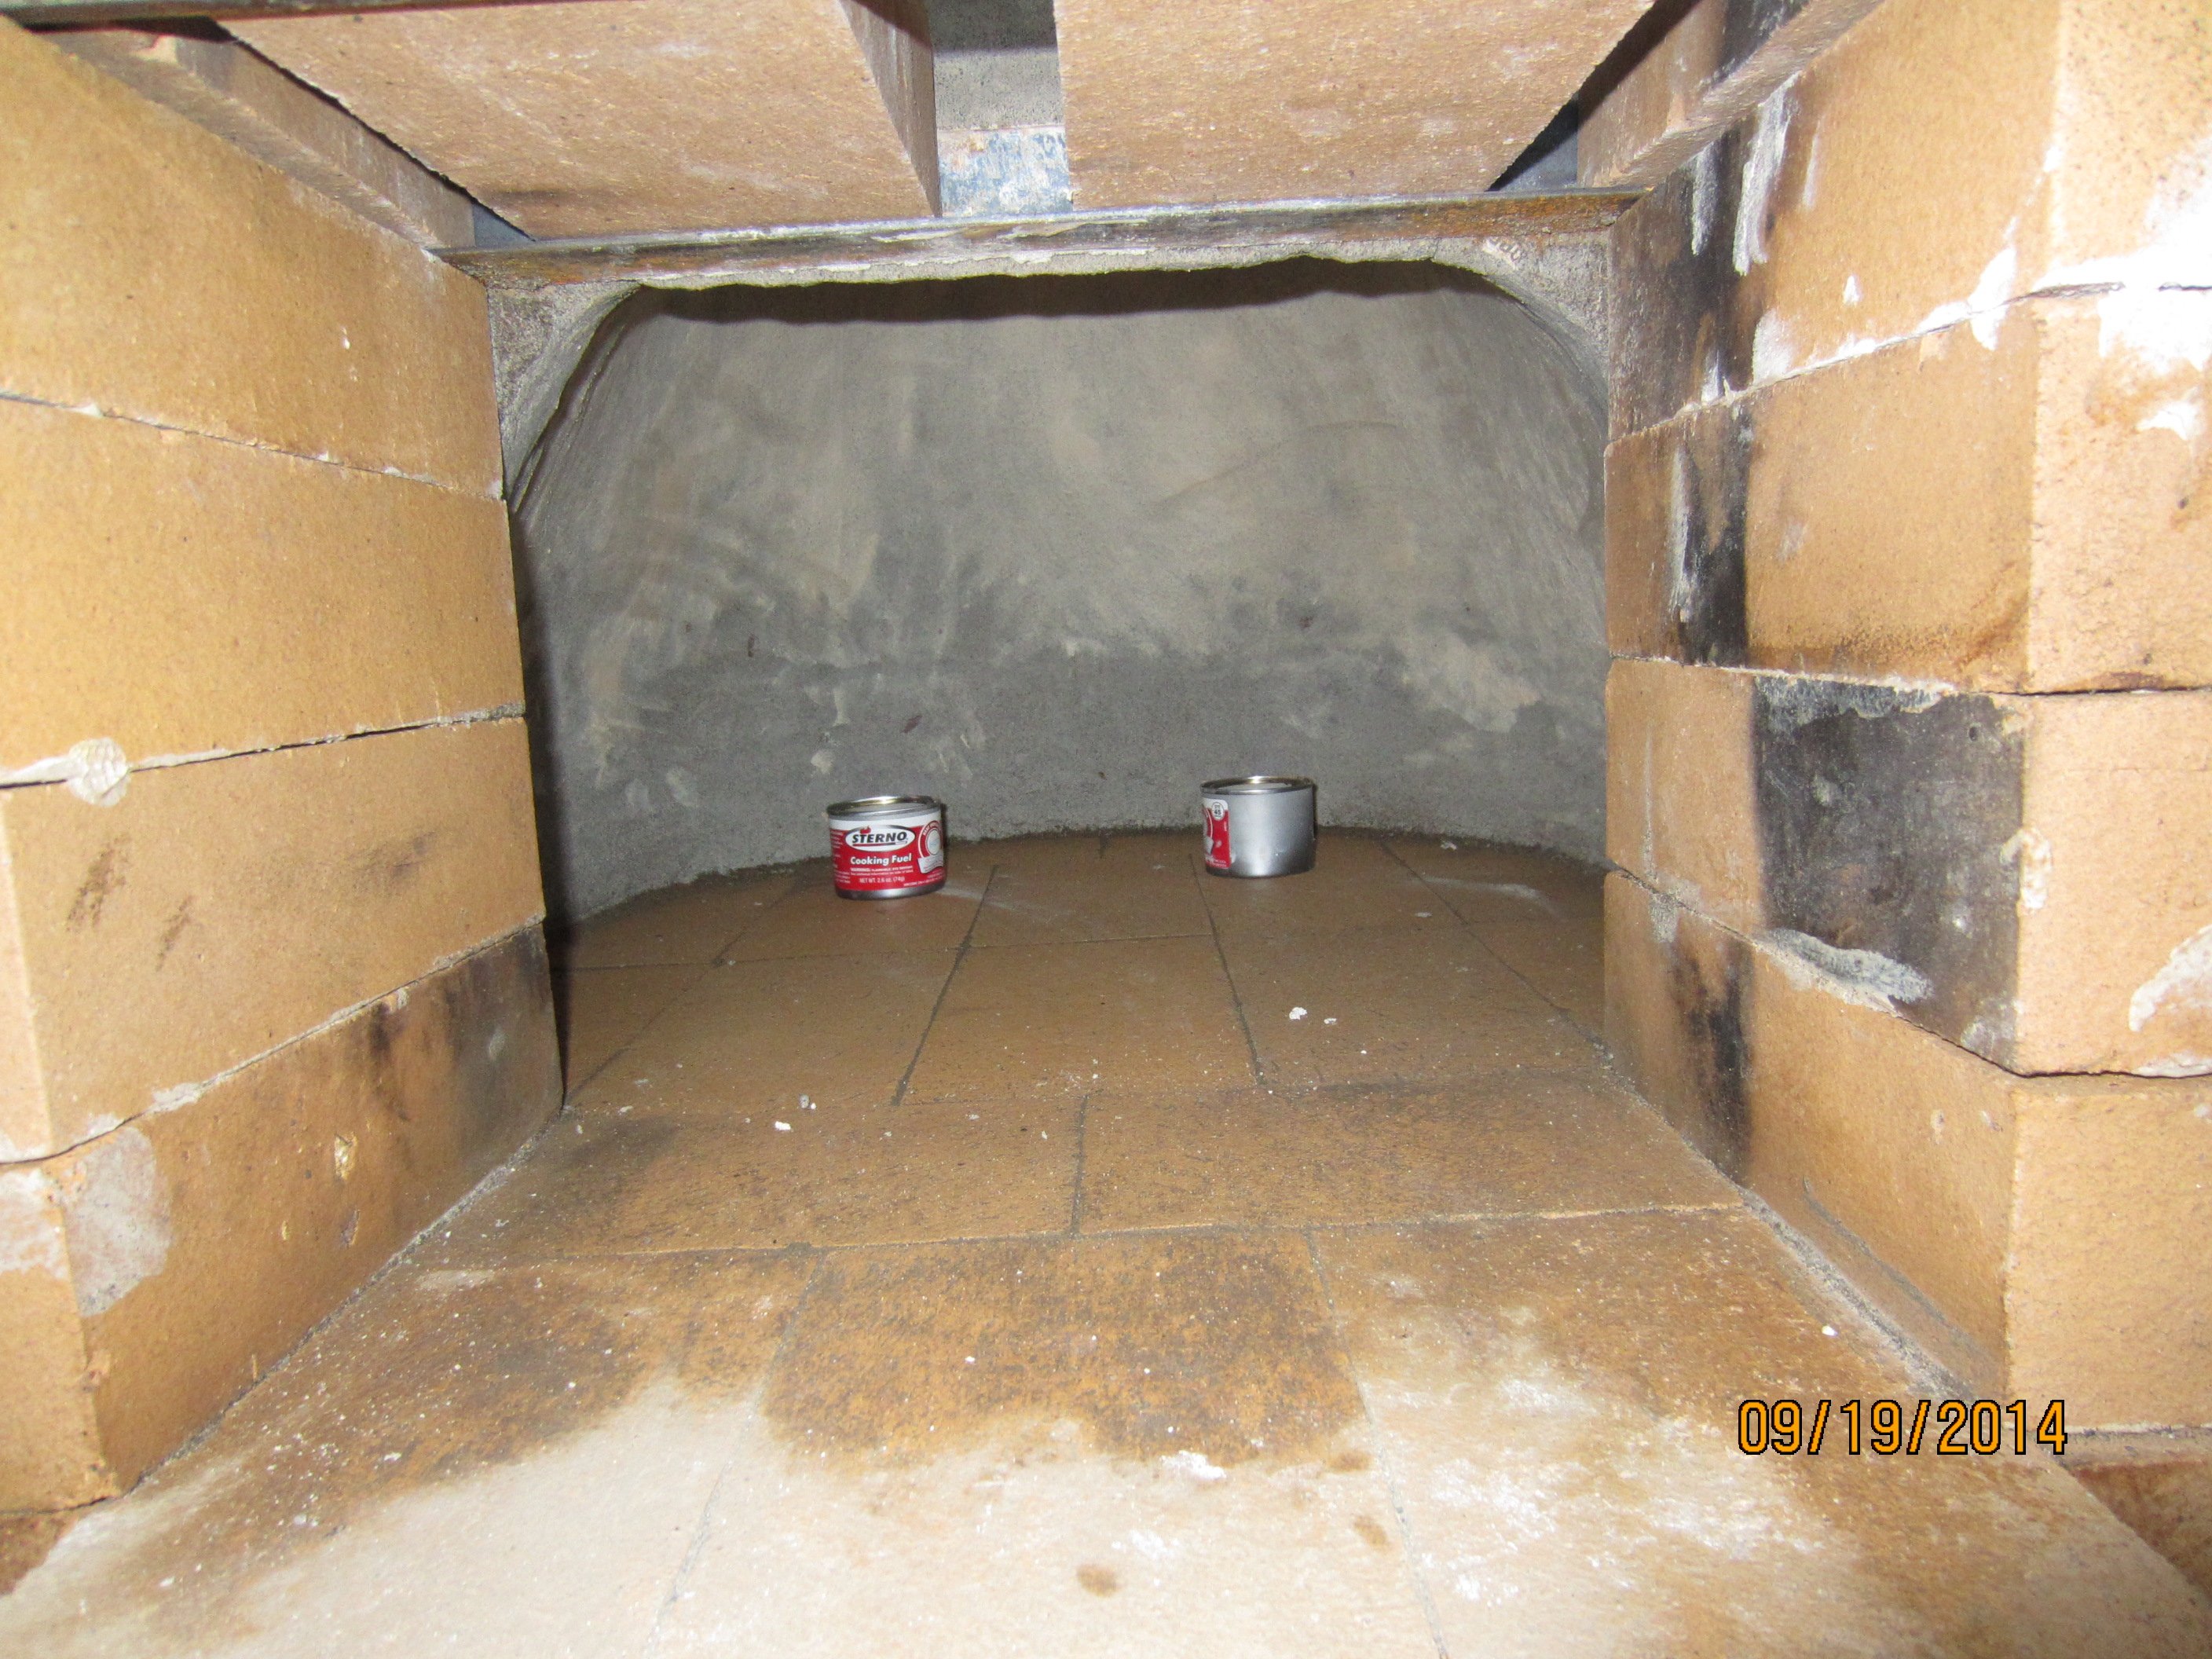
I am impatient, so I start scraping sand out of the dome after only 2 days. My plan is to speed the drying by using some Sterno inside the dome while leaving some of the sand for support. It seemed to work. The dome did not collapse and after 3 cans of Sterno I got most of the sand out.
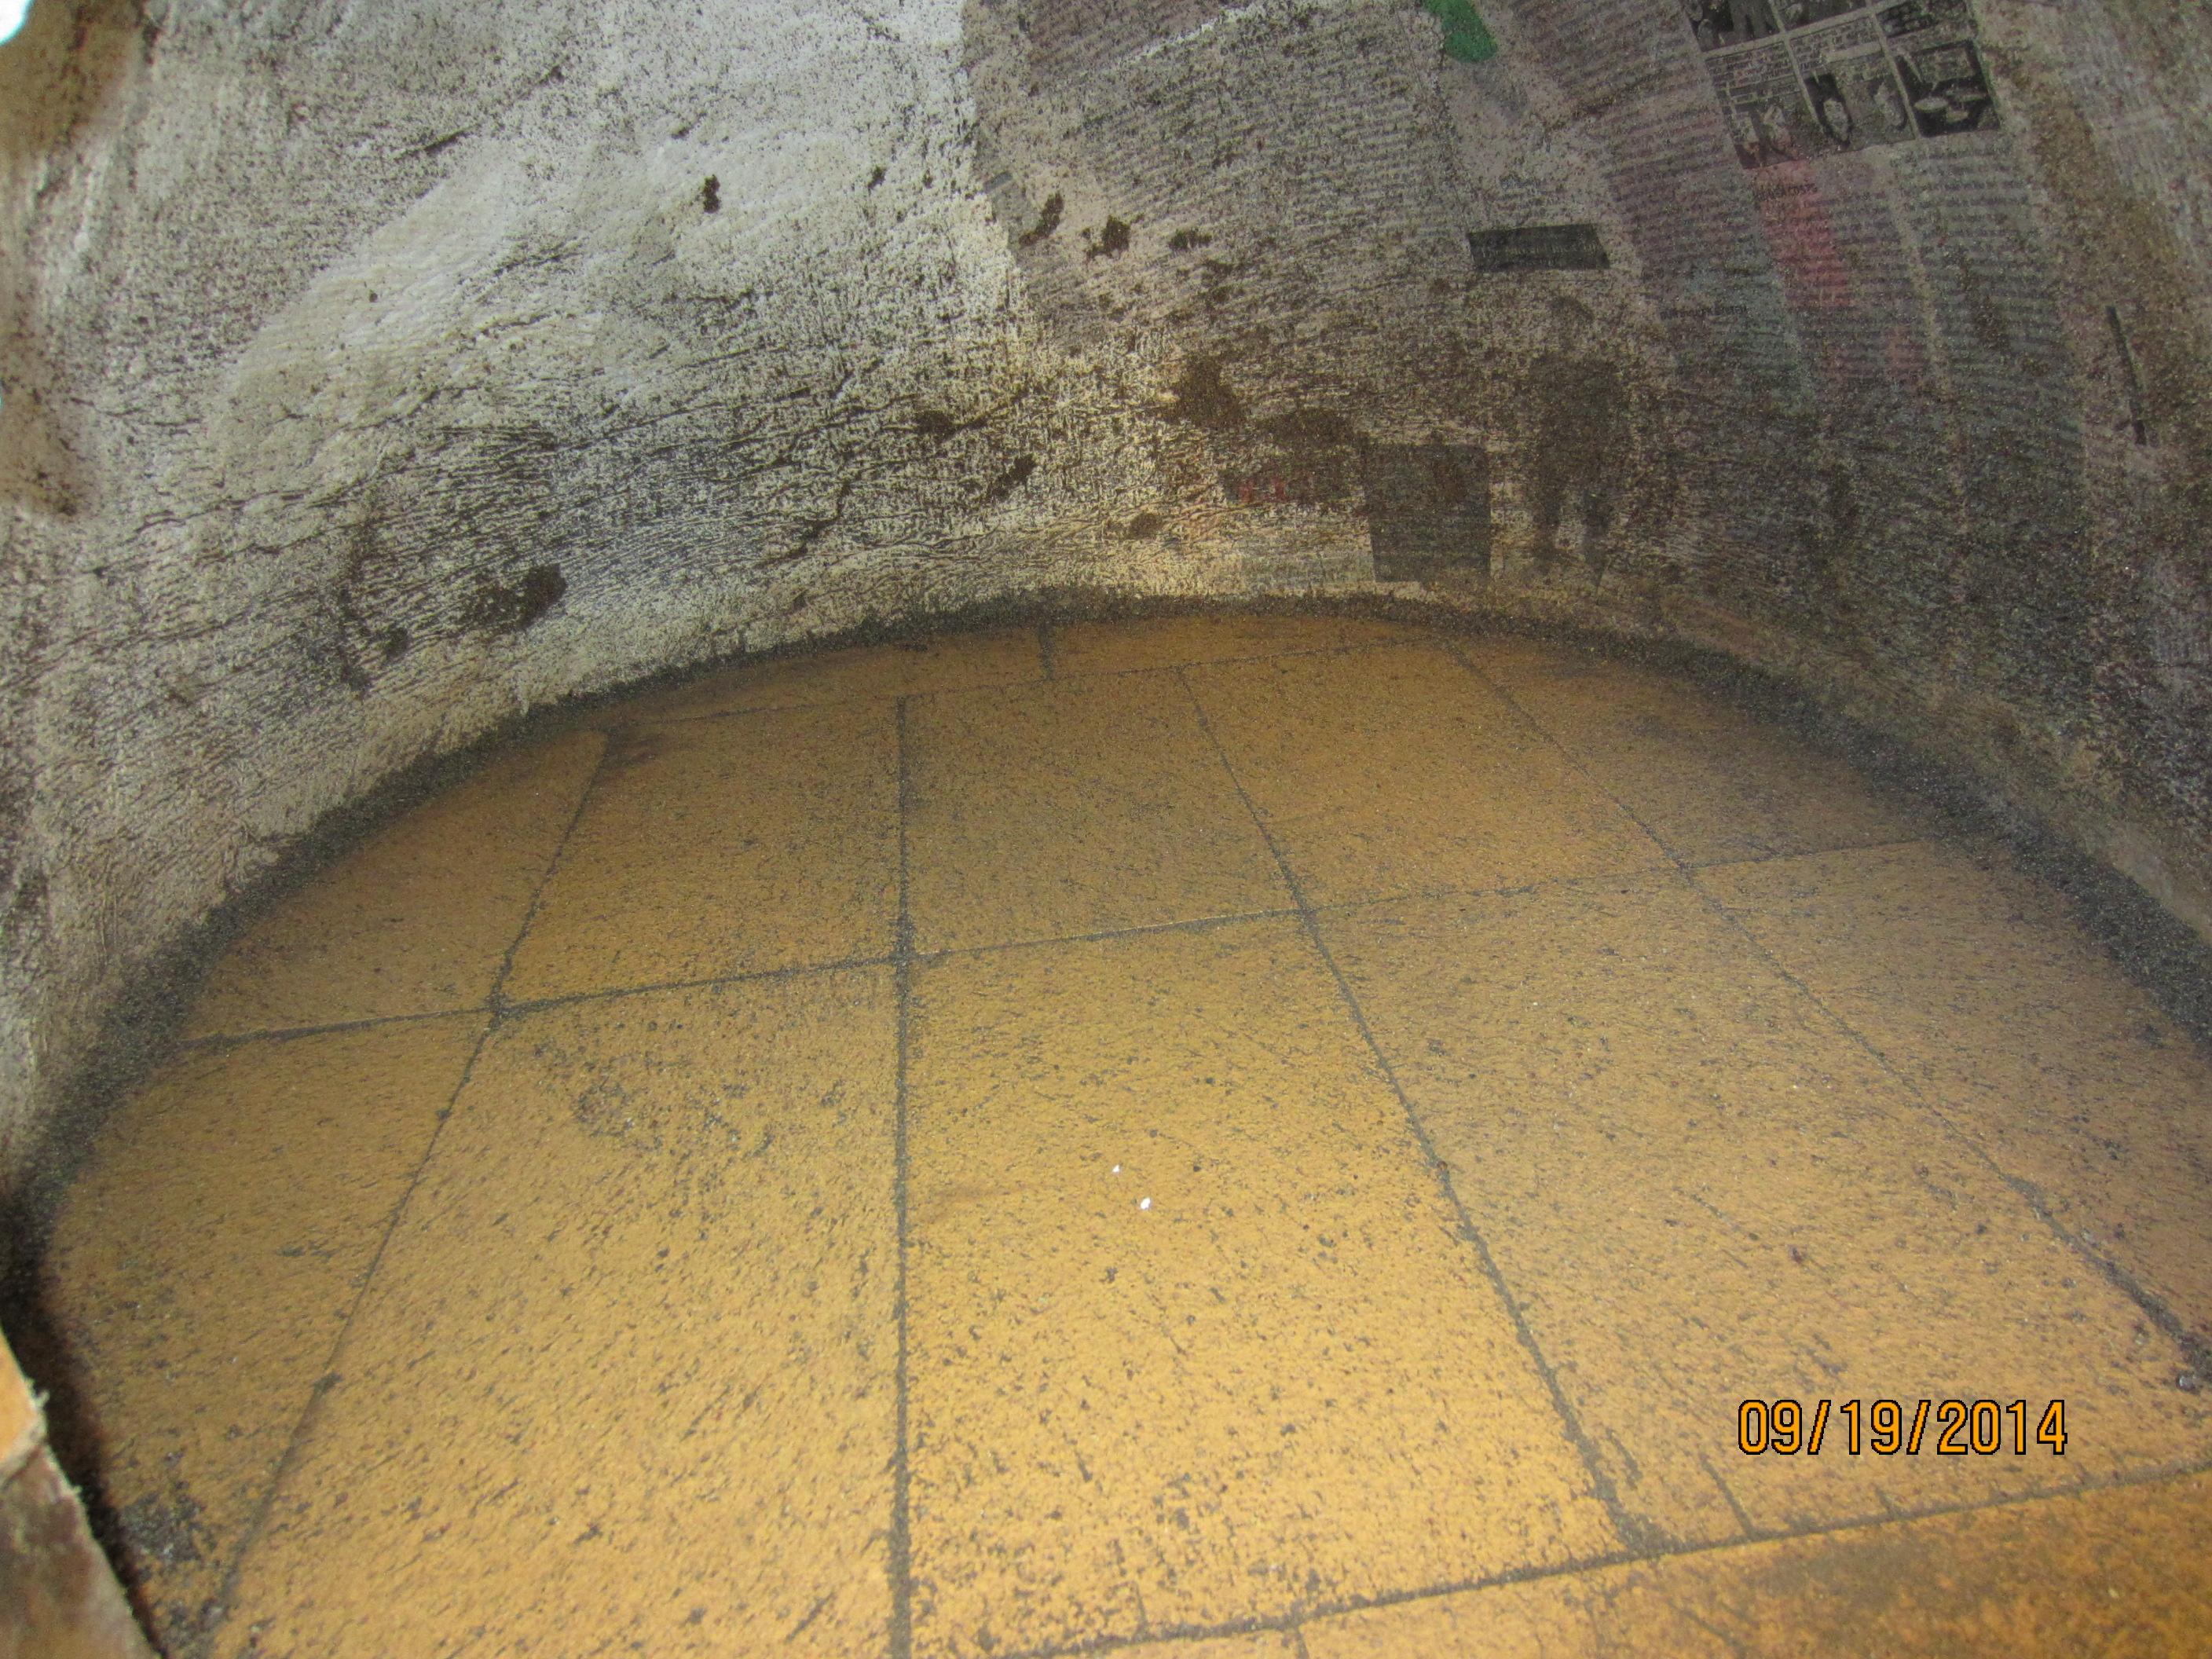
The sand is out!!! You can see the newspaper layer that we put down is intact, so I managed to remove the sand without messing up the inner surface (for the most part). Now I’ll peel the paper off and work on polishing the inside of the dome…

The sand and newspaper has been removed from the oven cavity. The inside of the dome isn’t dry yet, so I was a little concerned it might slump.

As the inside dries (the outside was significantly drier by now) some cracks form. I don’t want sand and clay to spall off of the dome into our food, so I set about filling in the cracks with some wet thermal mix and massaging it in with the back of a serving spoon.
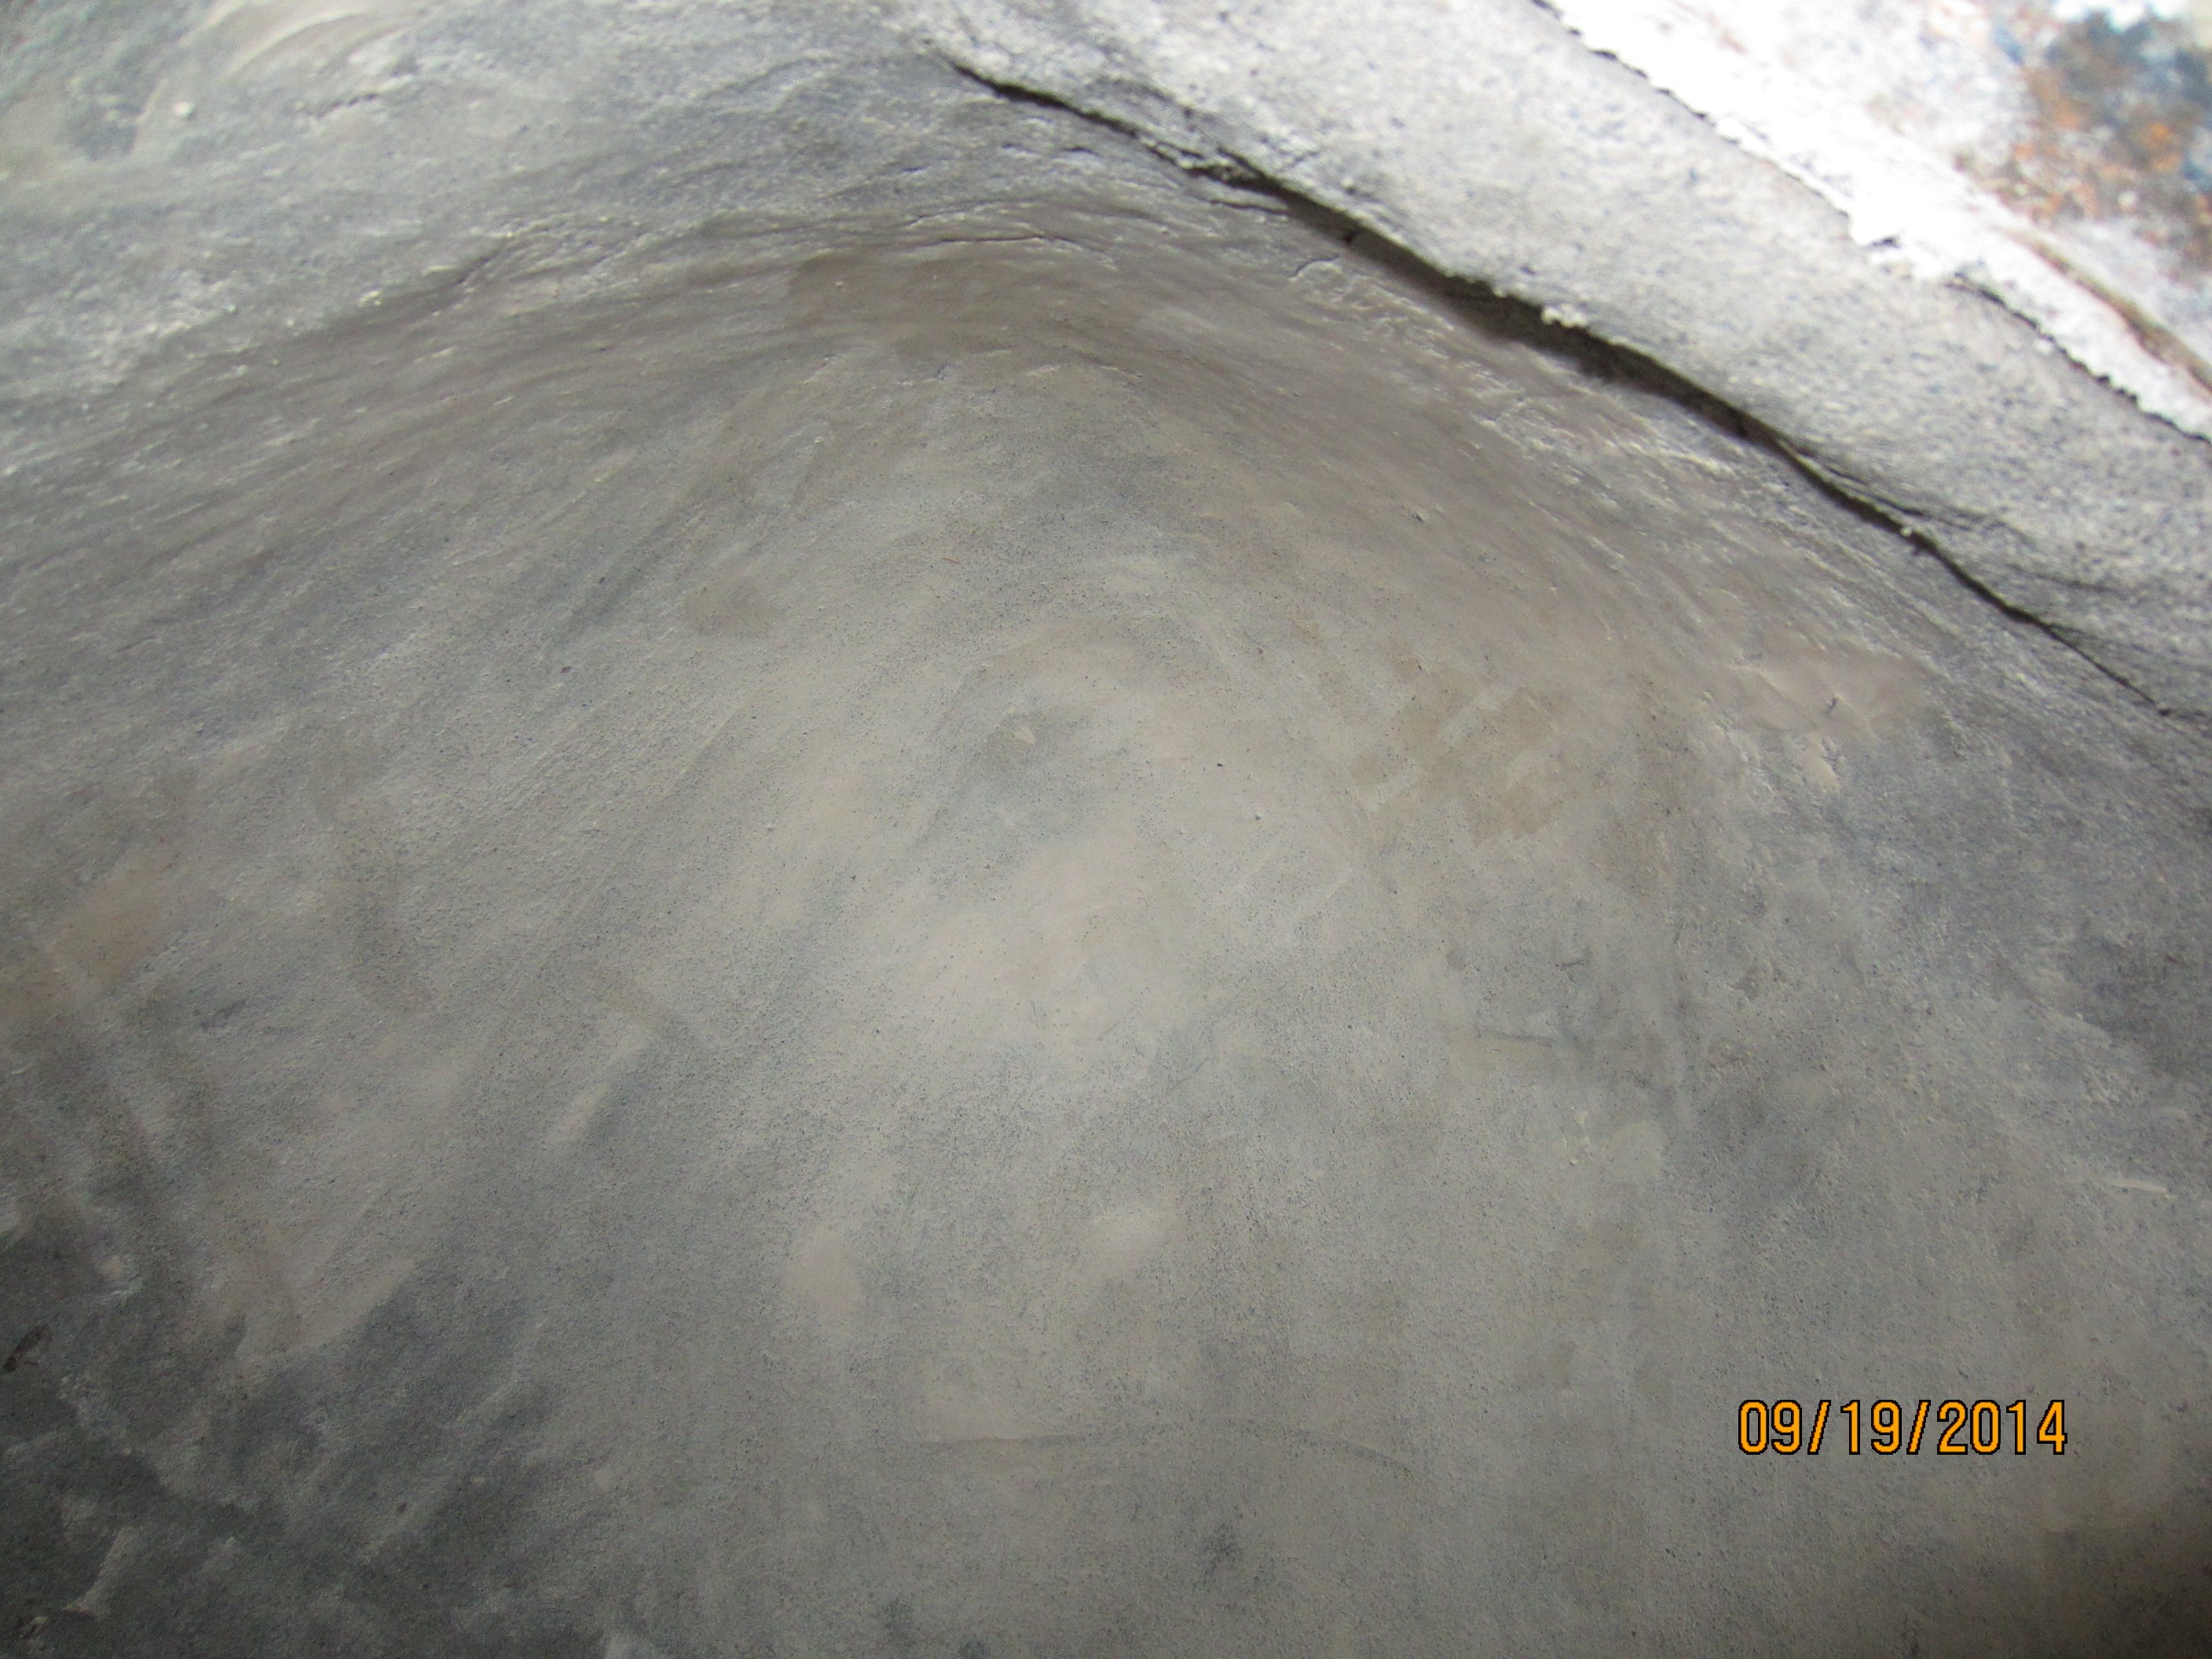
First pass with the spoon is done, and the dome is looking pretty smooth, though still pretty wet.
In an effort to speed things up on the inside I fire up two cans of sterno.
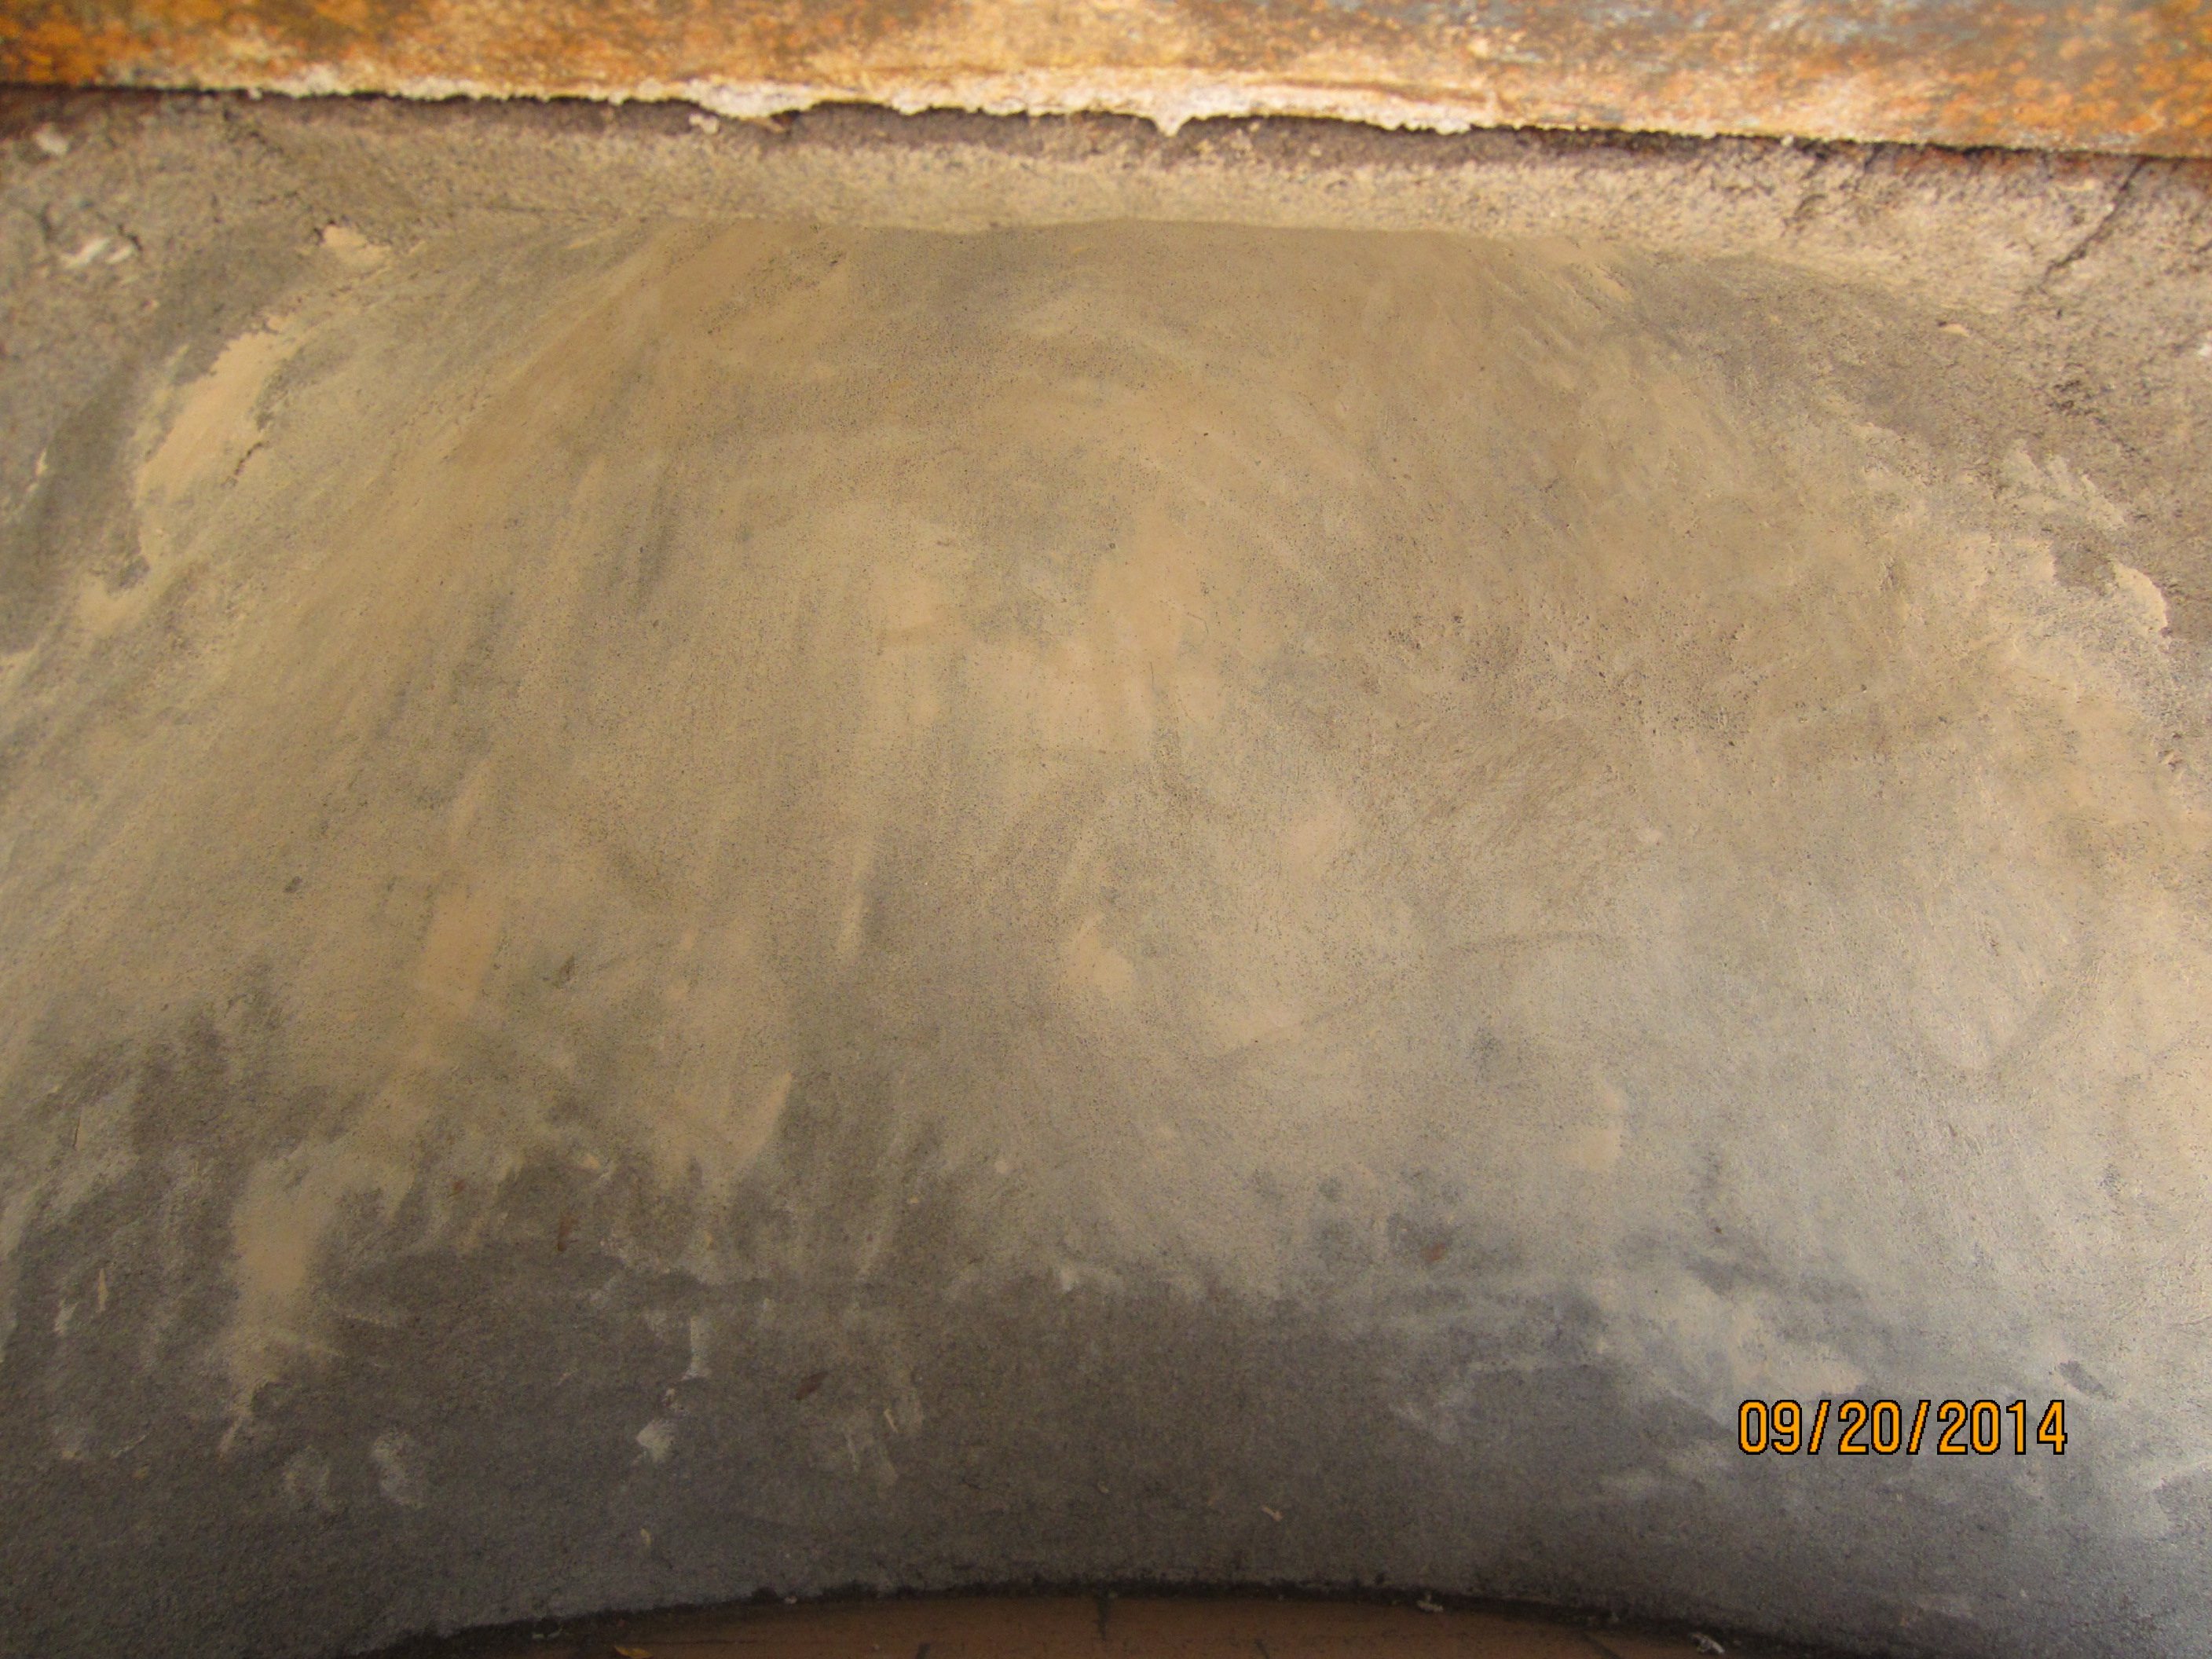
After a little more drying and cracking (and 2 more rounds of patching/smoothing) the dome is looking good and feeling dry.
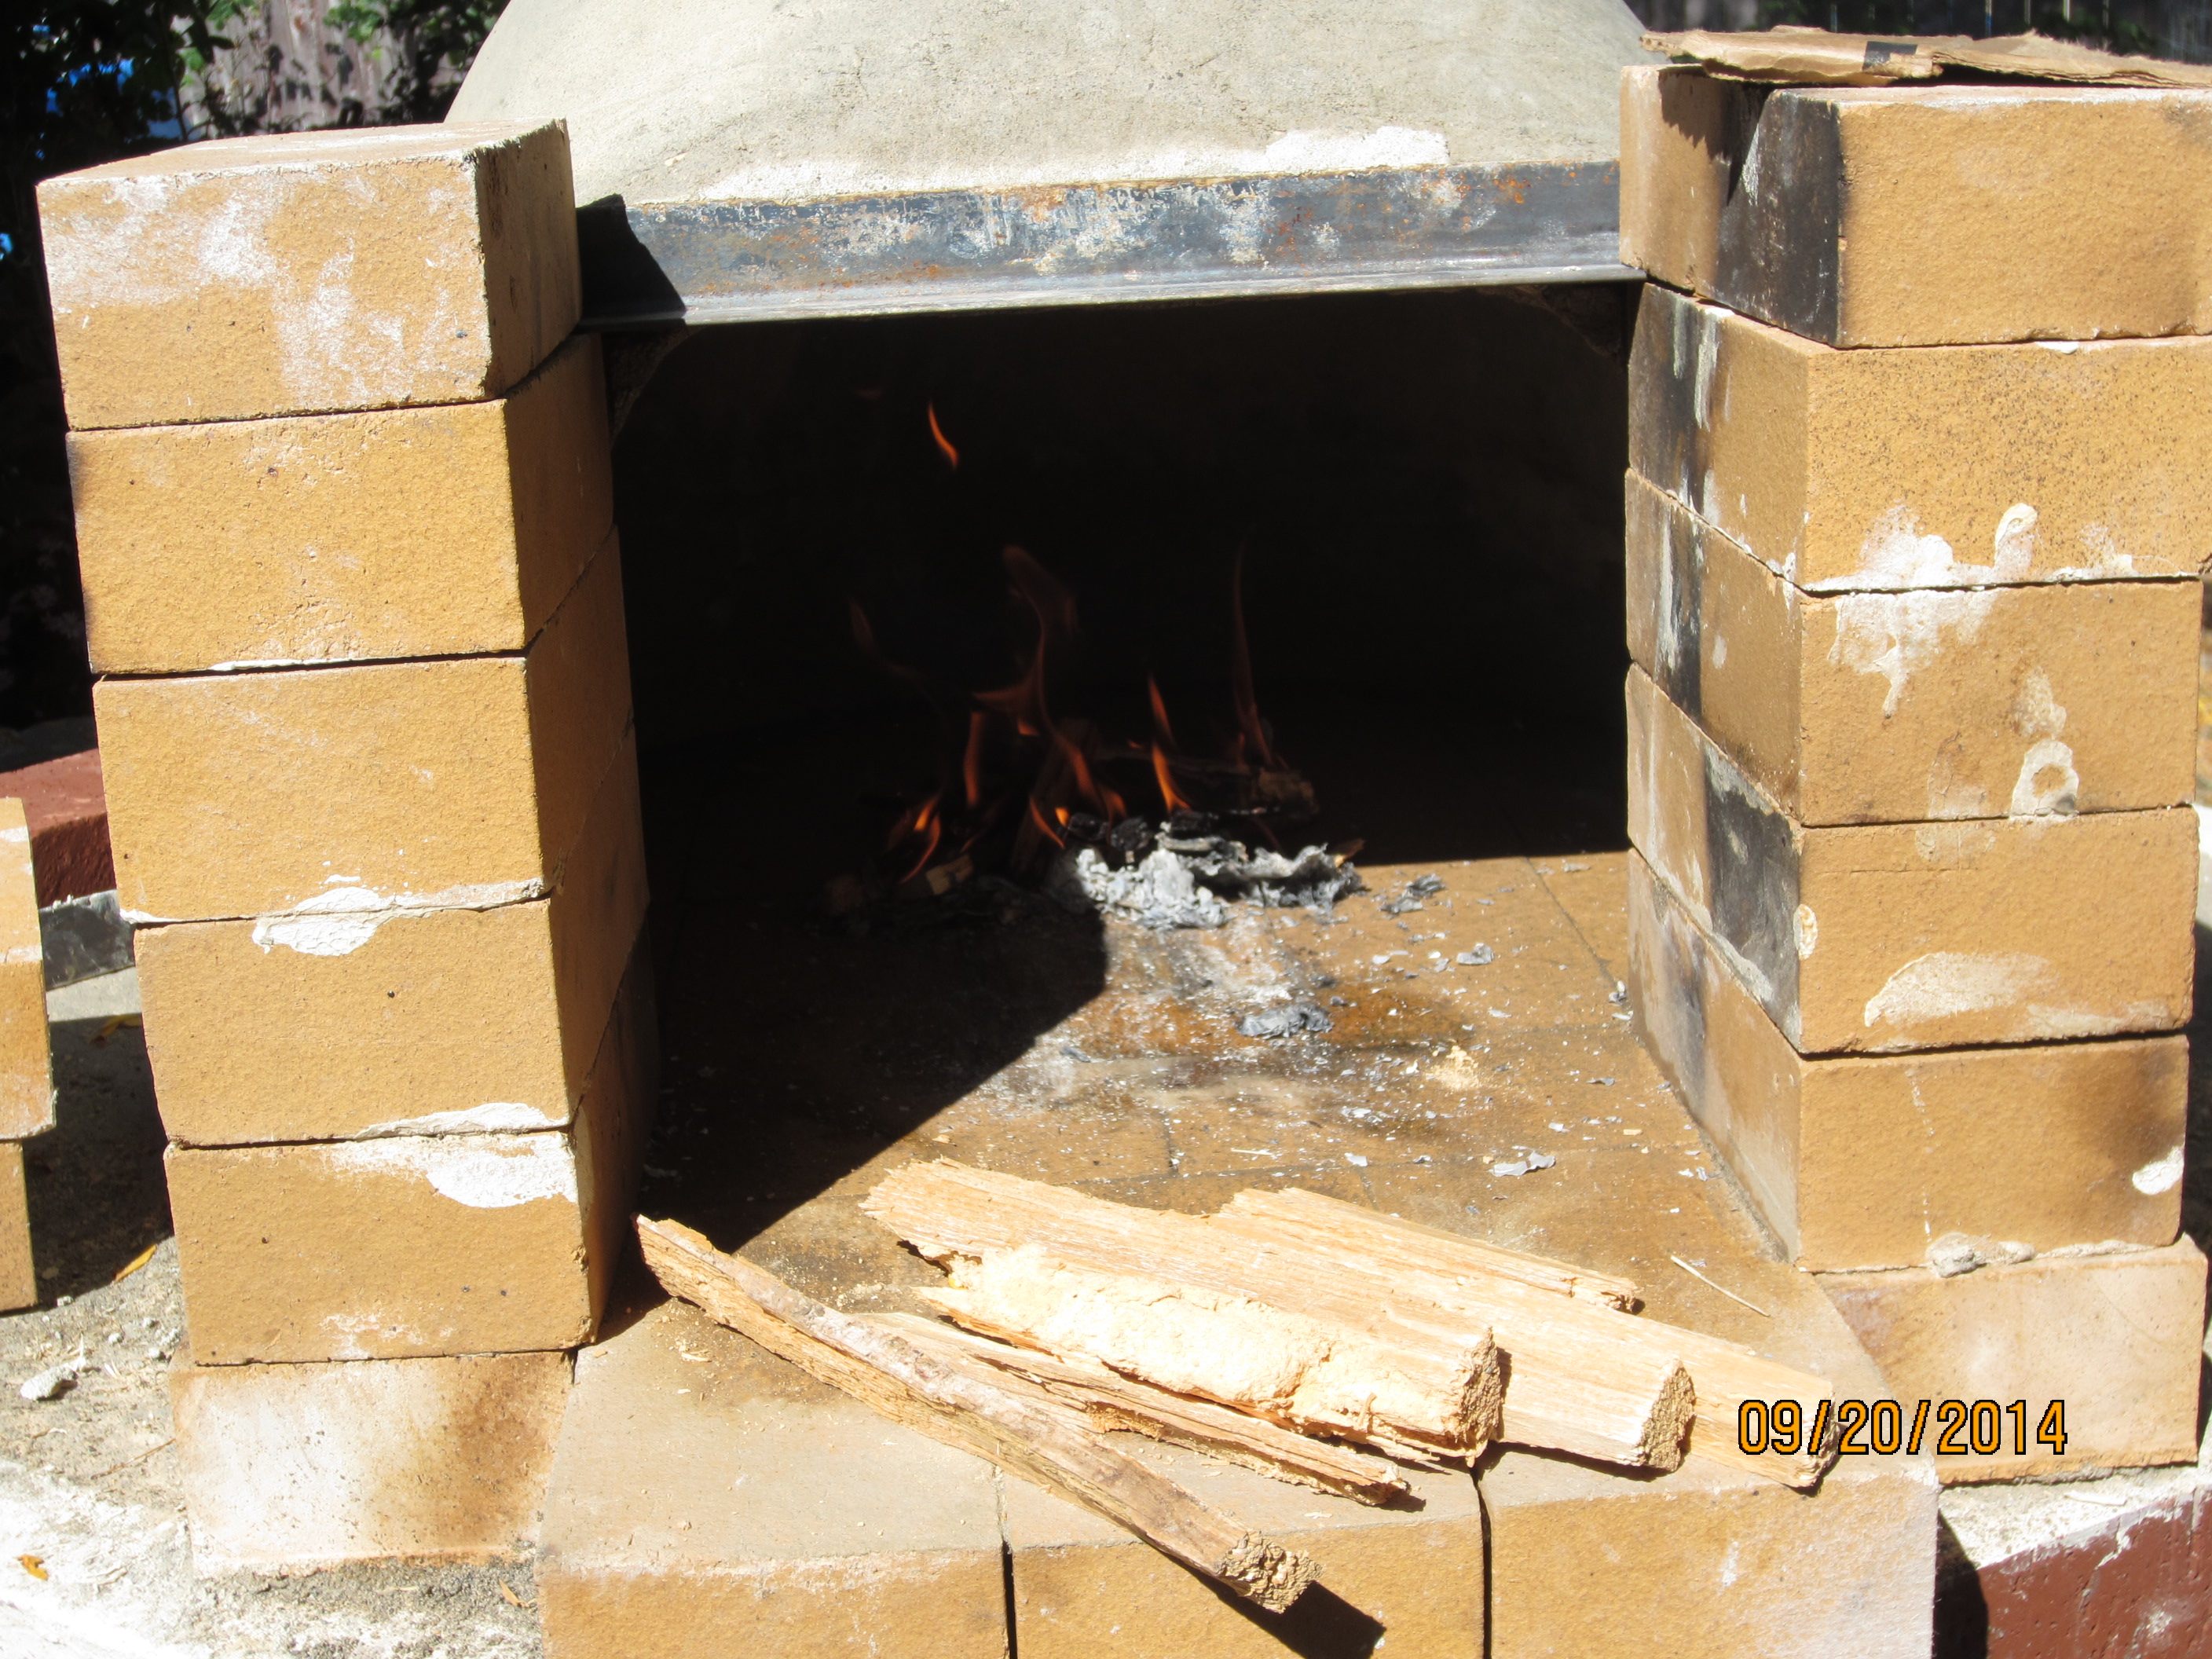
Now we attempt to really get things moving with a small ‘drying fire’ just inside the dome.

Since the drying fire went well I decide a little more fire might speed things up…

As the fire is burning, drying out the dome, we add the first layer of insulation mix. More of the clay slip and wood shavings. Since the dome is dry it probably won’t stick well, but this is OK since the layers will be acting independently, both structurally and functionally.
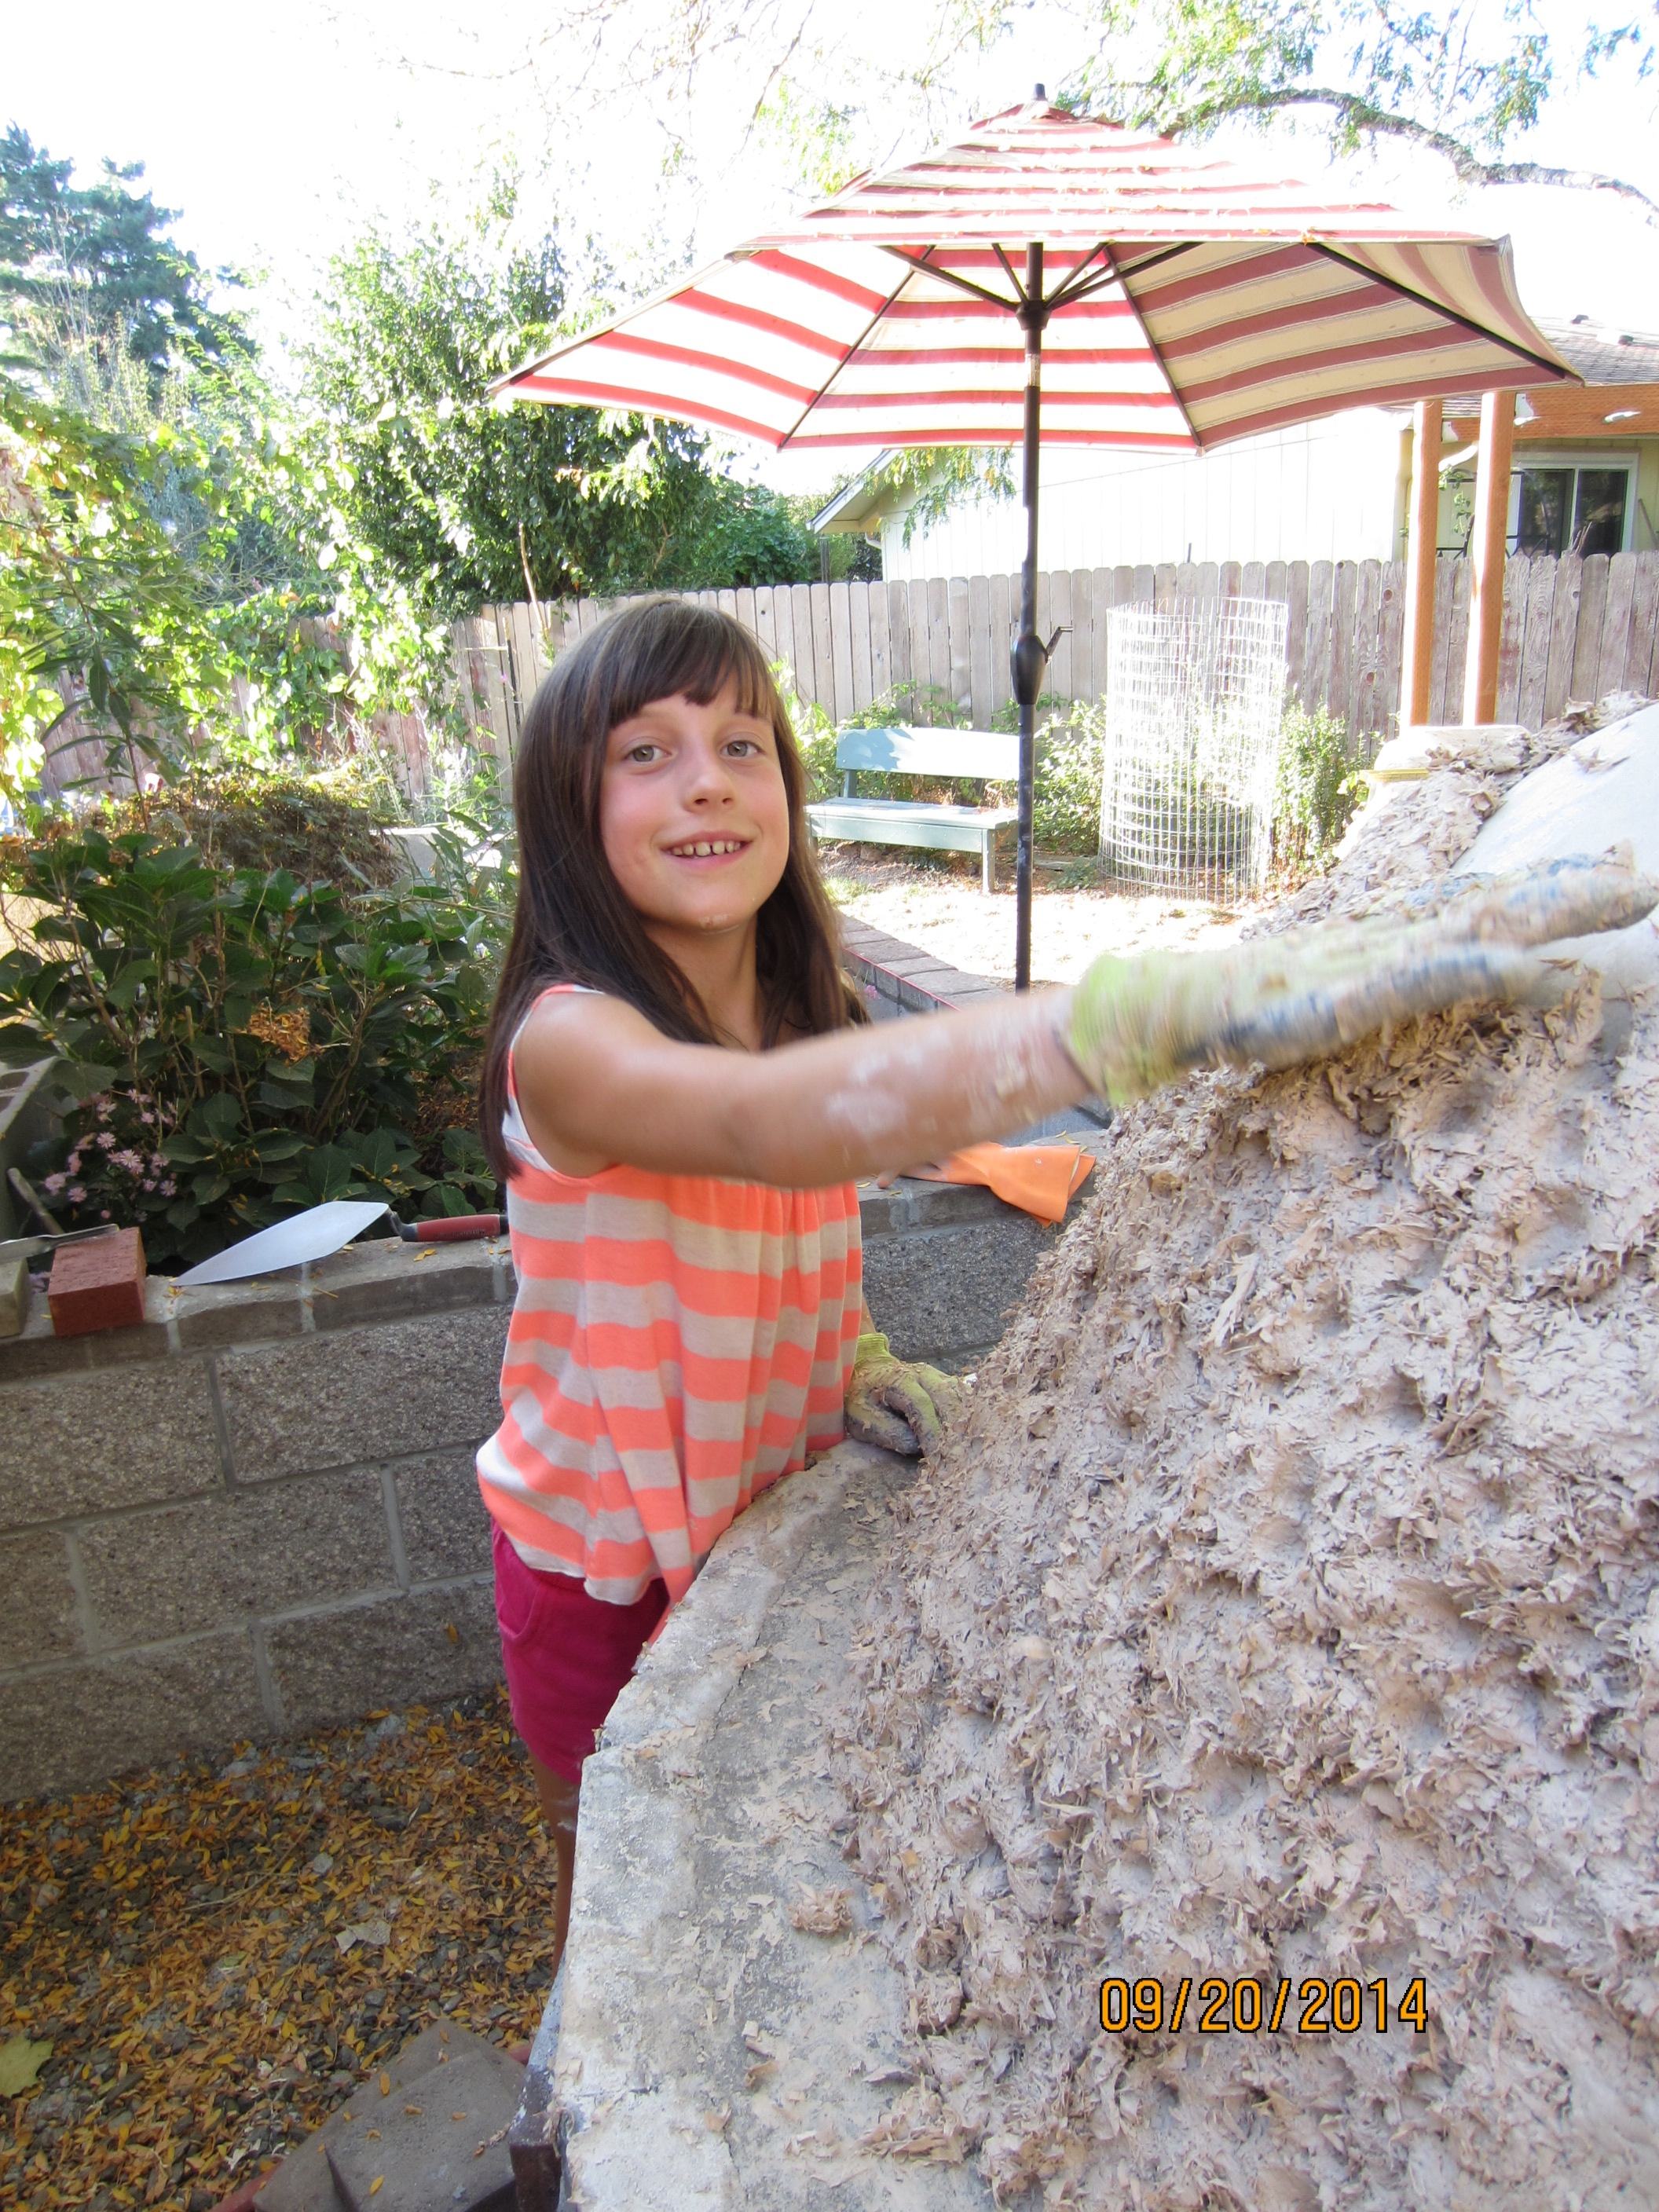
Chloe puts the finishing touches on the first insulation layer. Notice the divots in the insulation. This is so that the next layer will bond to it.
Tulip Tree Blossoms!
Posted in Bee to Flower relationship, Bee Video, Bee-loving flowers, Follow a tree, Natural Beekeeping, Tulip Tree, Uncategorized, tagged honeybee pollinating Tulip Tree, Tulip tree blossom, Wasp in Tulip Tree blossom on June 8, 2014| 7 Comments »
“And then the day came when the risk to remain tight in a bud was greater that the risk it took to bloom.” Anaïs Nin
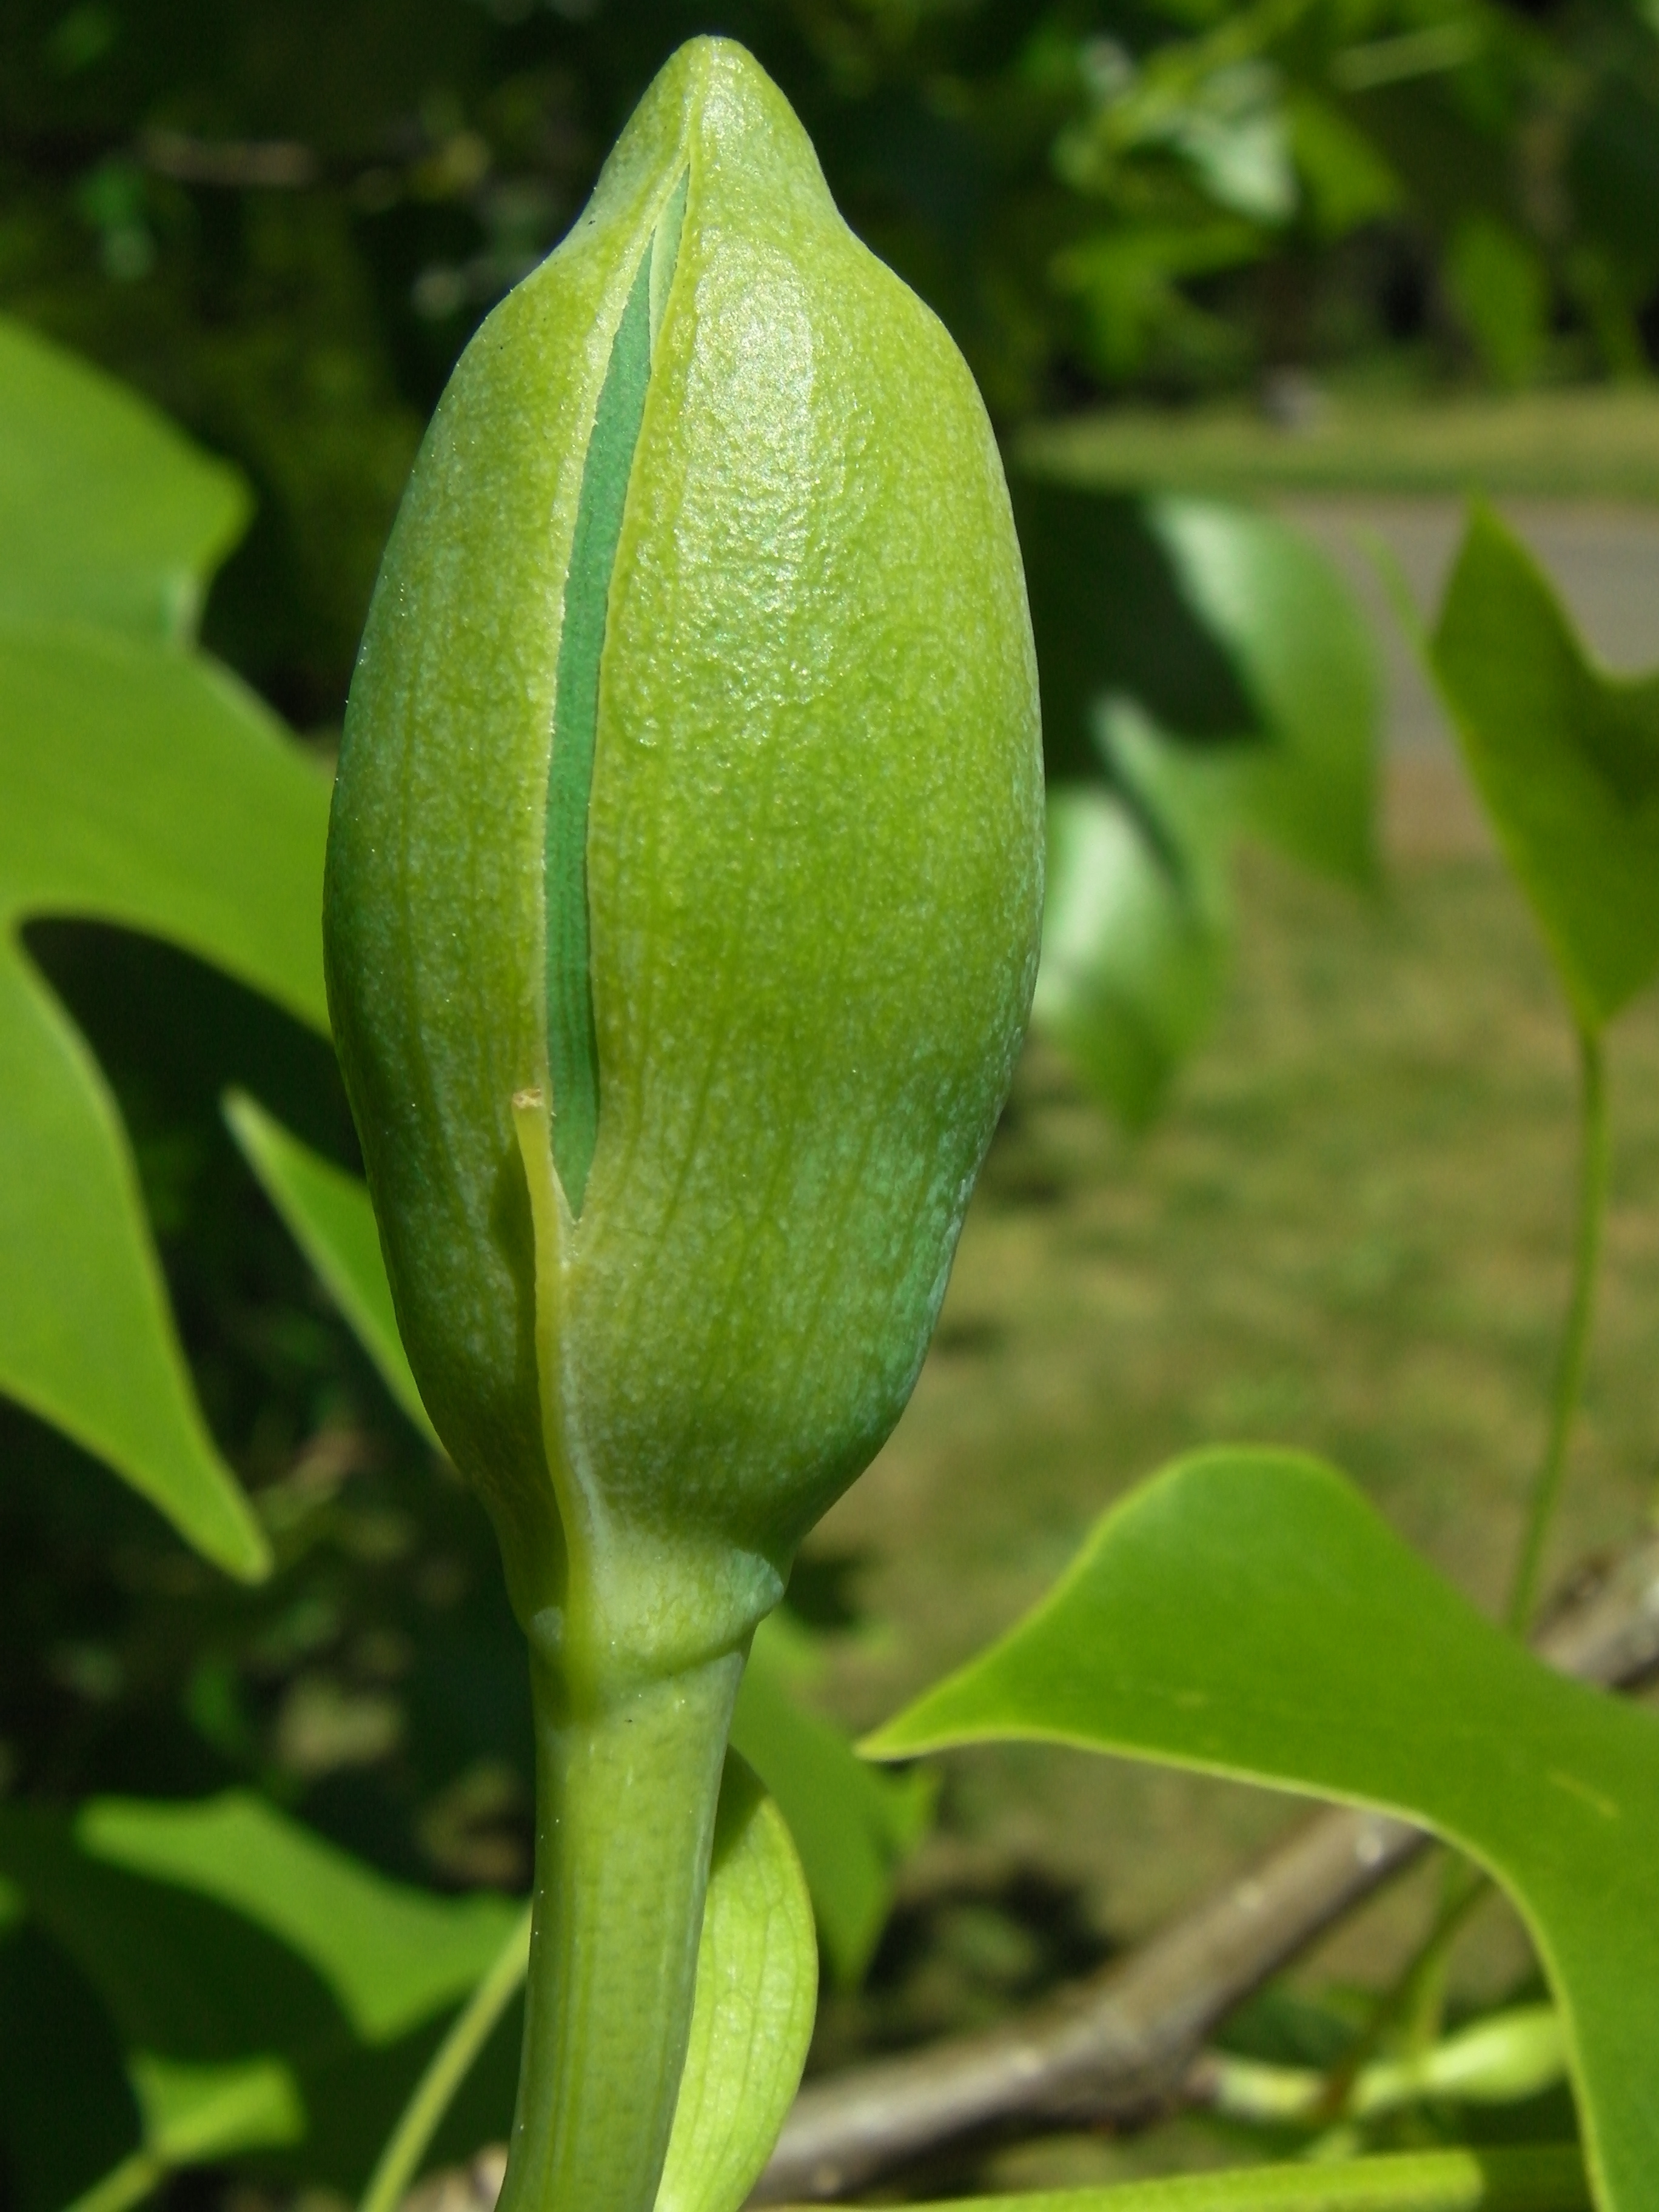
May 13, 2014…Showing signs of swelling. Outside starting to split open.
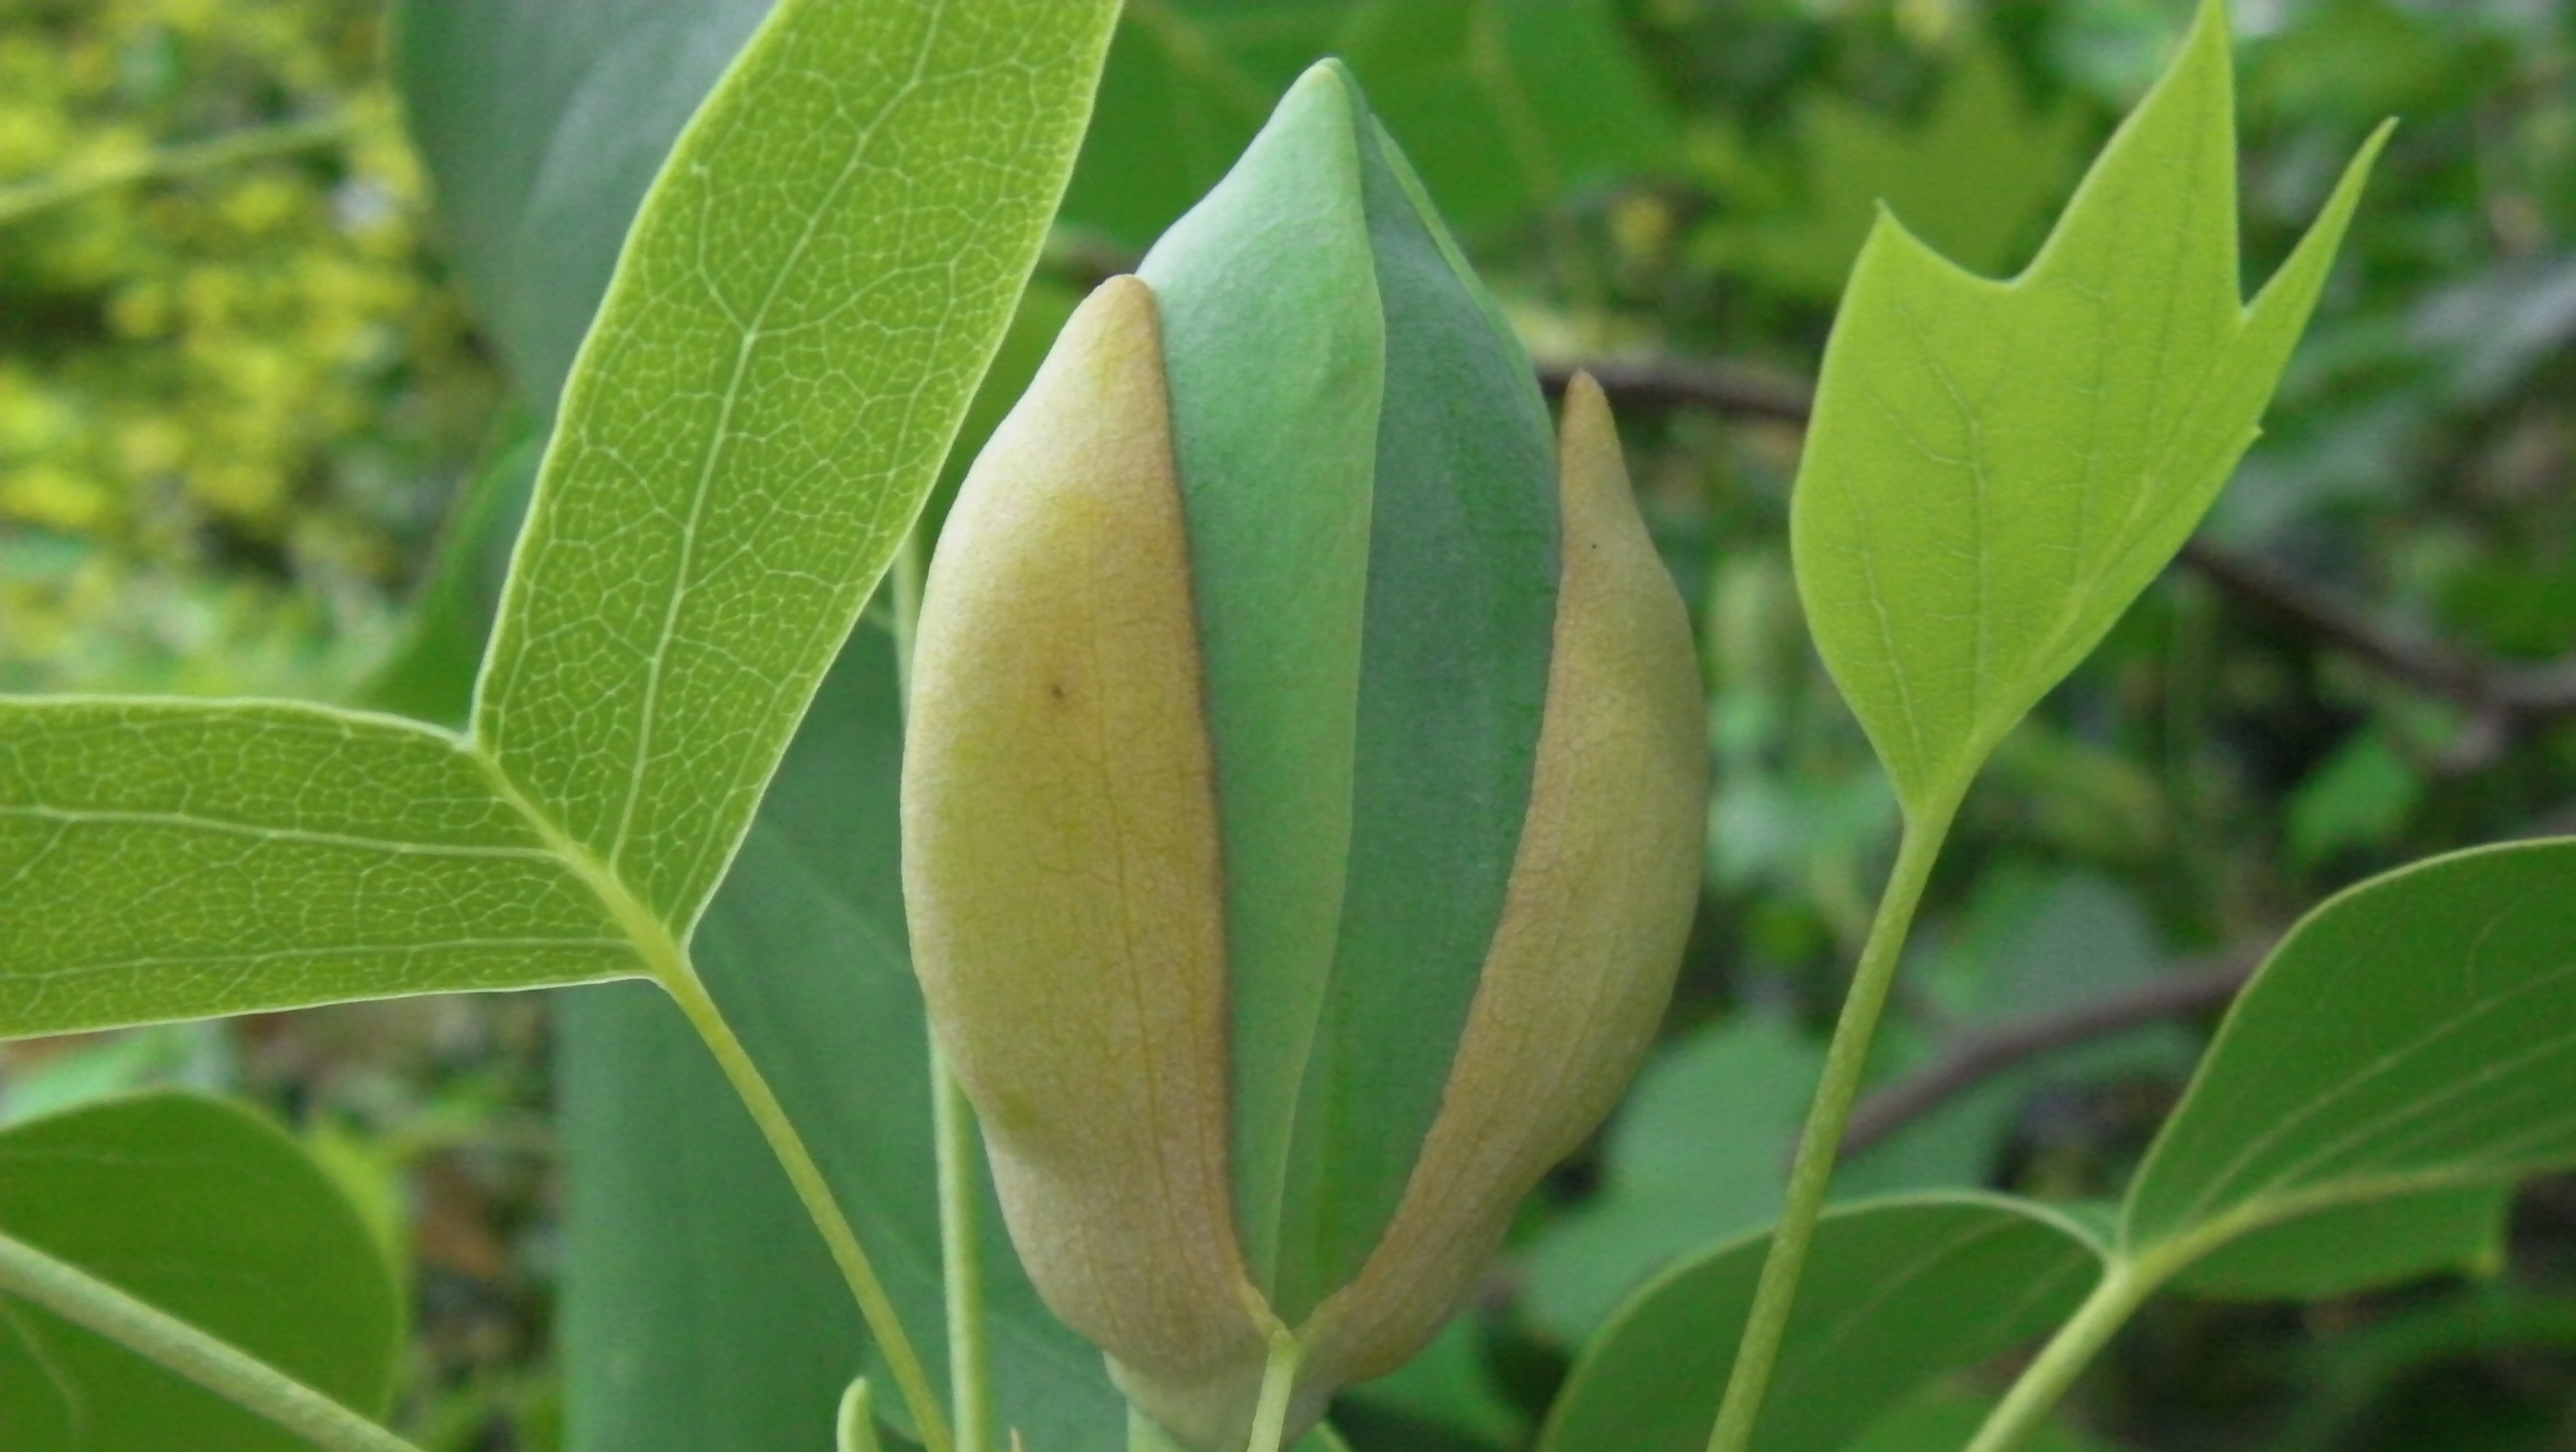
May 15, 2014…It’s swelling up, getting ready to burst open.

May 27, 2014…Tulip Tree blossom emerges at long last.

May 27, 2014…The inside of a new blossom is well worth the wait.
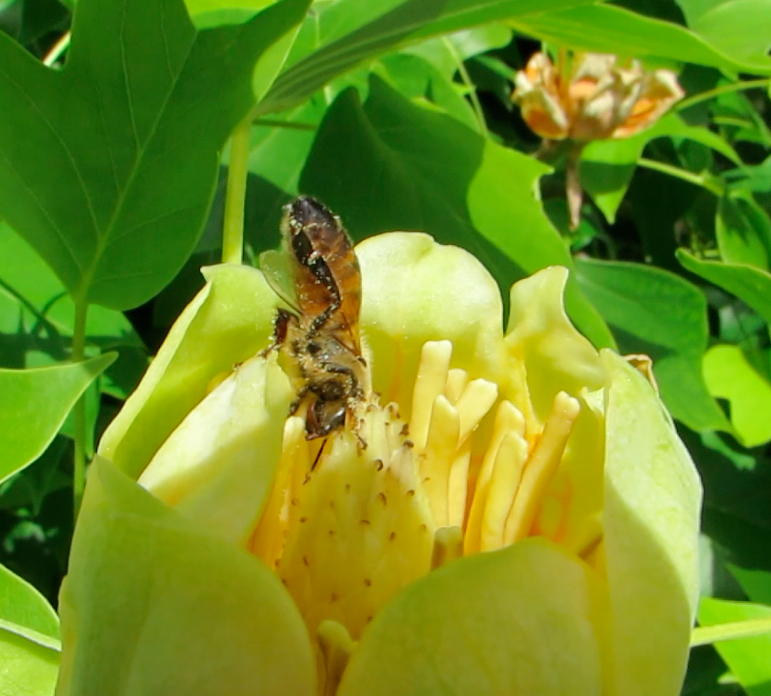
This honeybee got down to work. In the video you can see the bee moving to the rhythms of “Havana.”
Following a Tree, April 2014
Posted in Follow a tree, Uncategorized, tagged follow a tree on April 13, 2014| 10 Comments »

March 13, 2014…a leaf is shaping up on our mystery tree
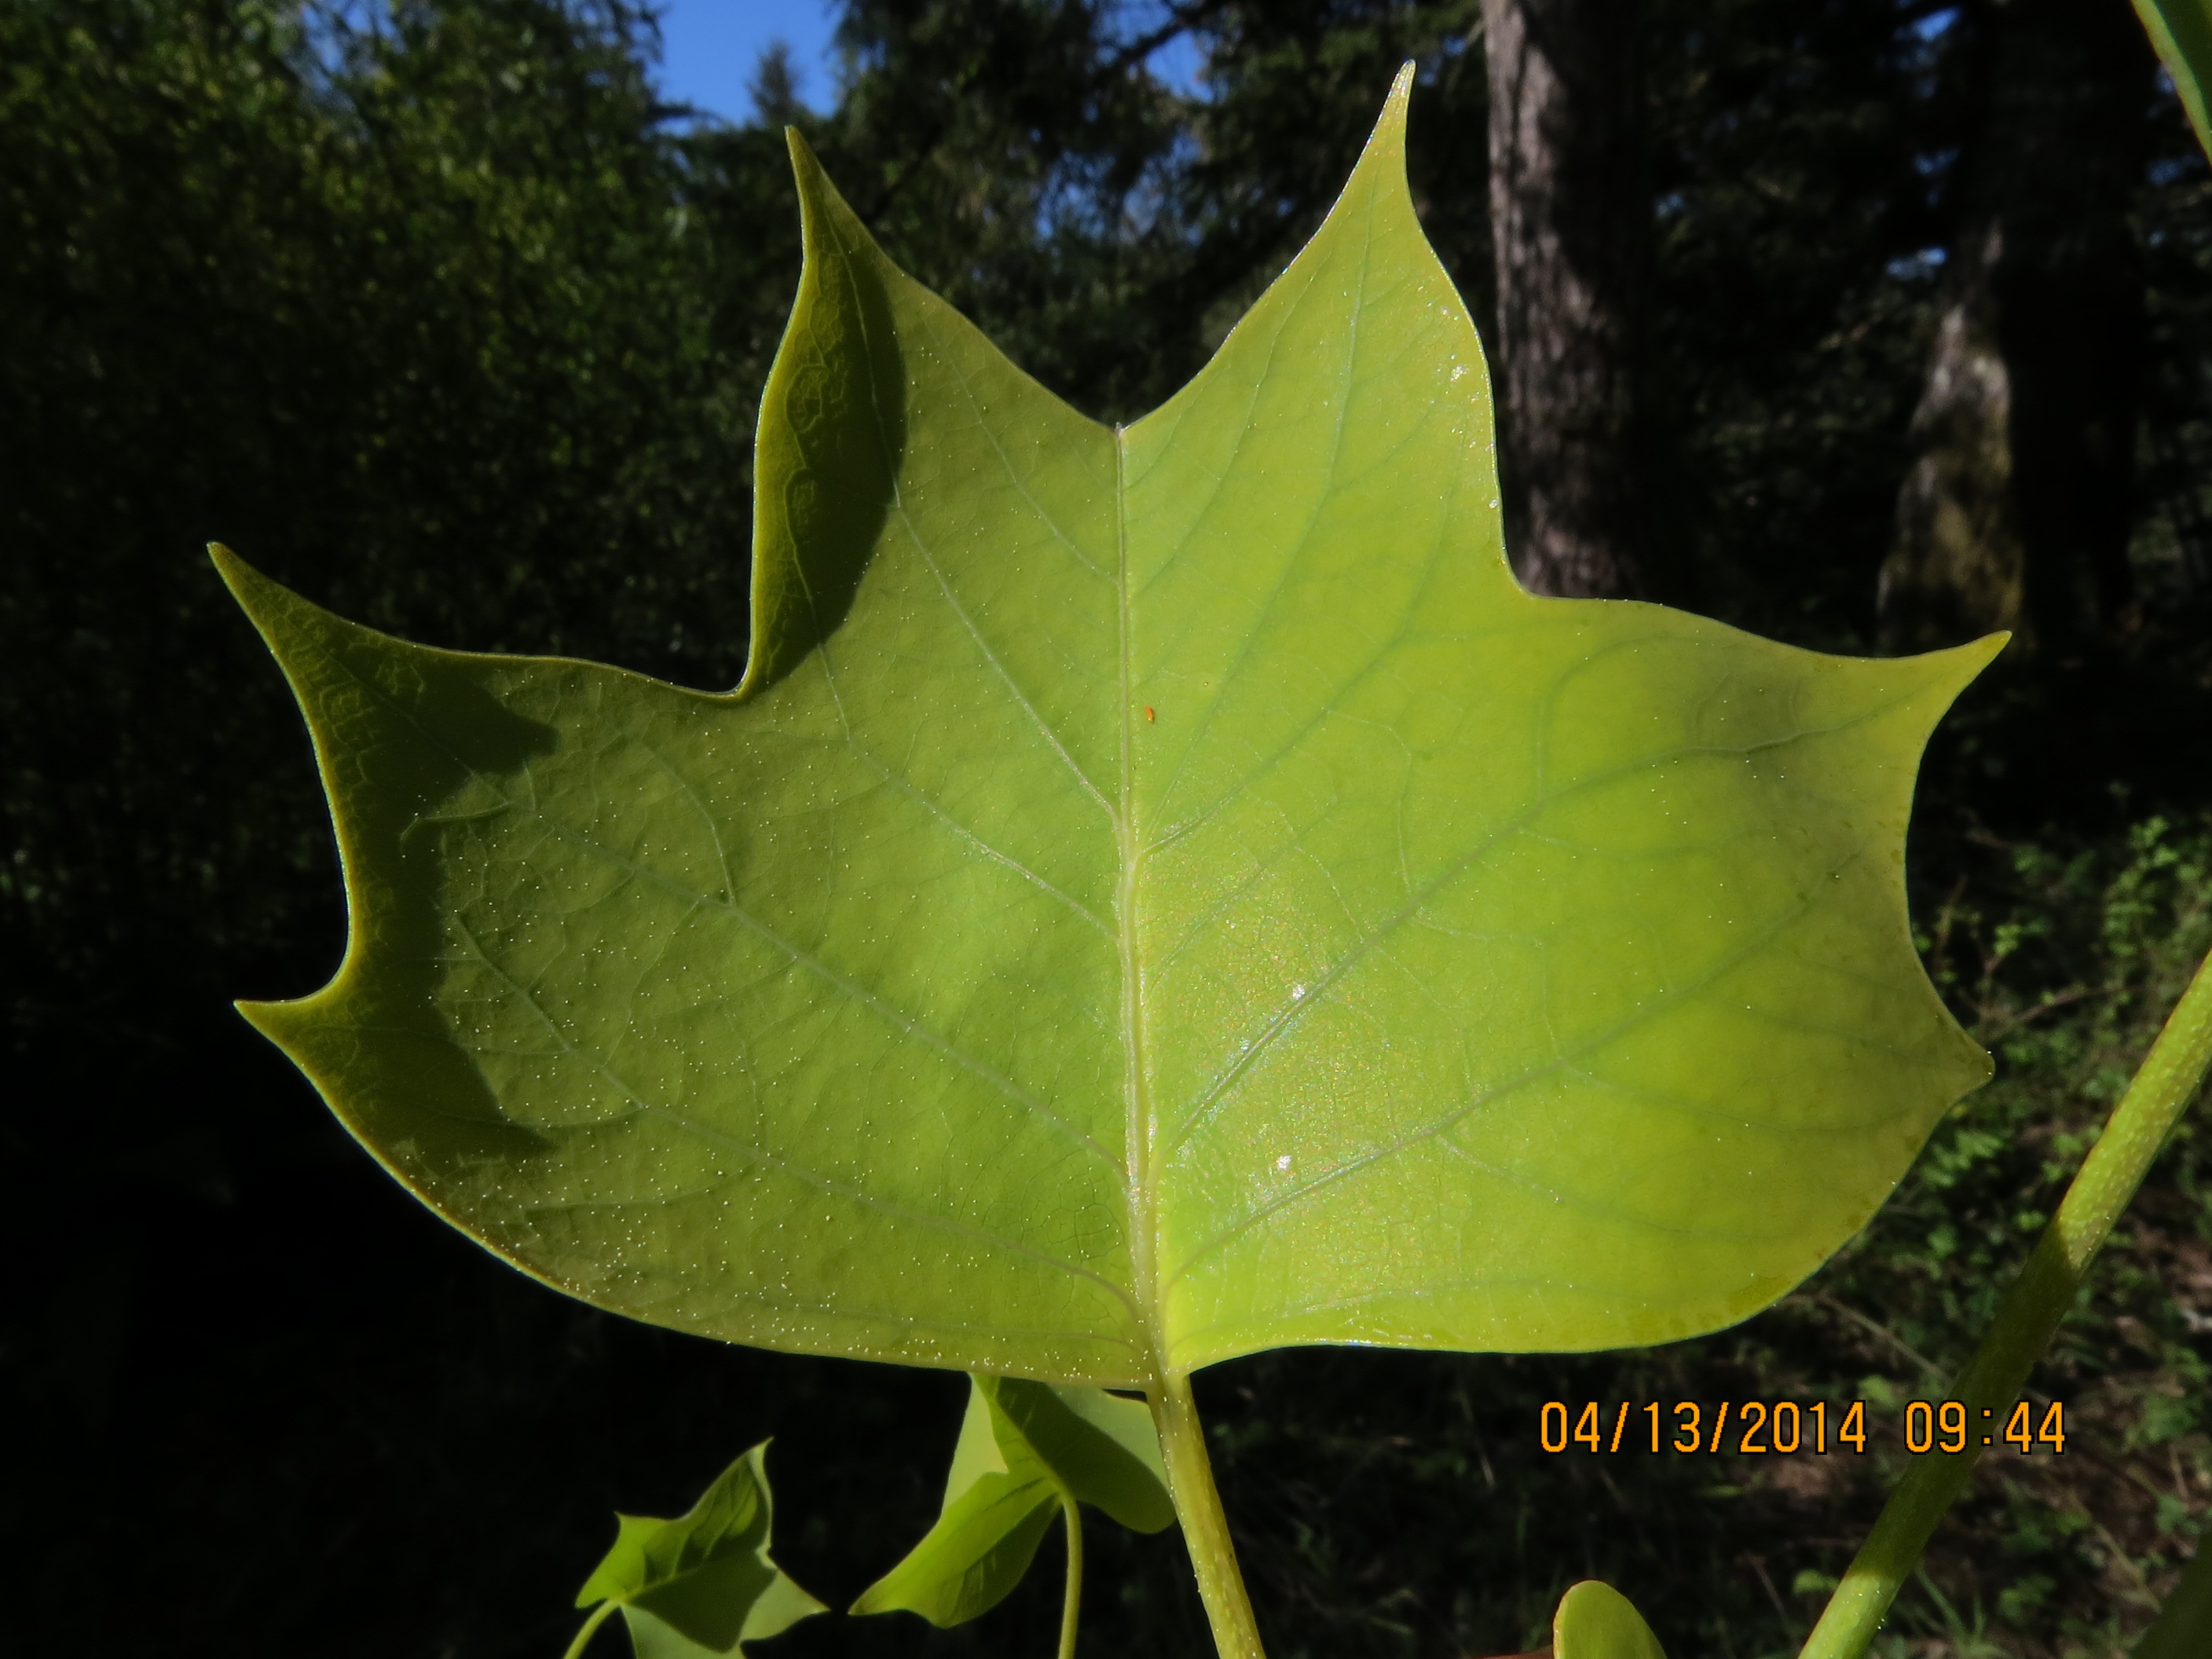
April 13, 2014…As I was walking this leaf back home, I passed Linda’s house. “Linda, how are you at identifying trees,” I asked. “Hummm, it looks like some sort of ivy tree,” she replied. “Are you kidding?” “This is a tree with a single wide trunk,” I countered. “Well, there are such trees as ivy trees,” she said. “I will let you know when I find out,” says me.

April 13, 2014…Back of leaf.
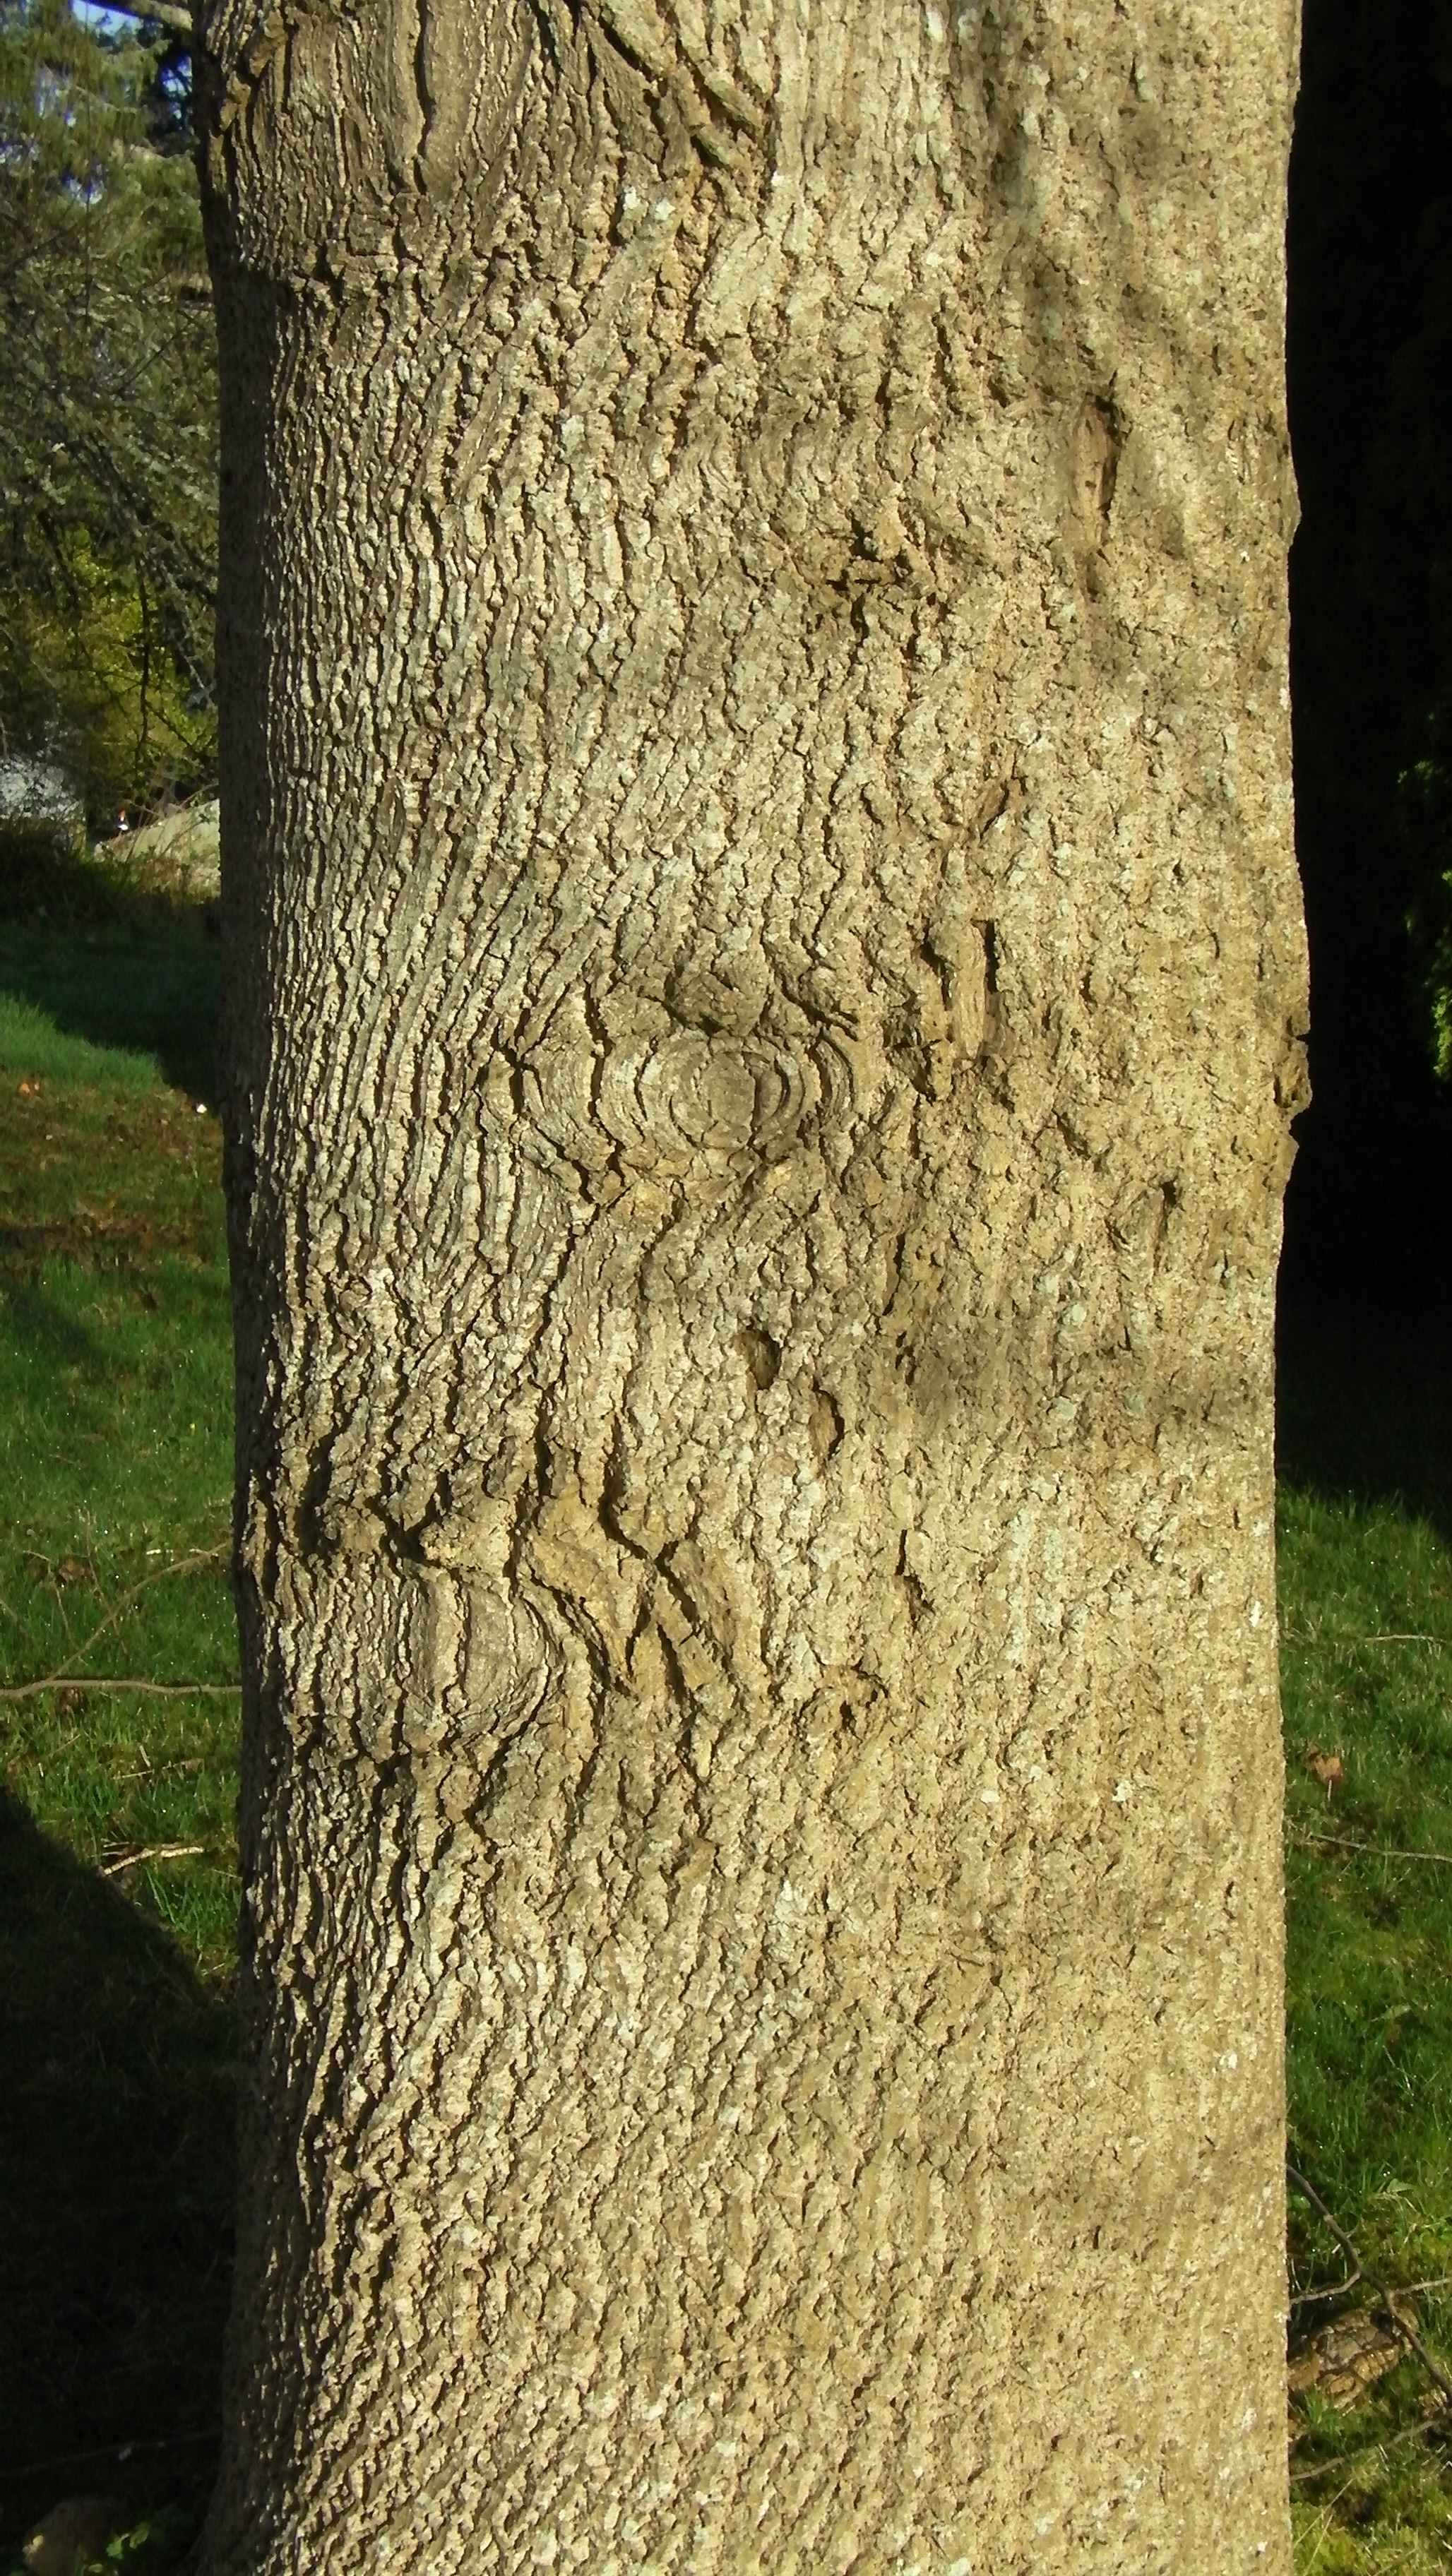
March 13, 2014…trunk of mystery tree
Good Advice From Bees
Posted in Uncategorized on April 13, 2014| 3 Comments »
This brought a chuckle from my wife and I. I just had to pass it on. 🙂